
Checklist features have been added by D365BC’s 2021 Release Wave 1 to help you quickly set up your company’s initial configuration.
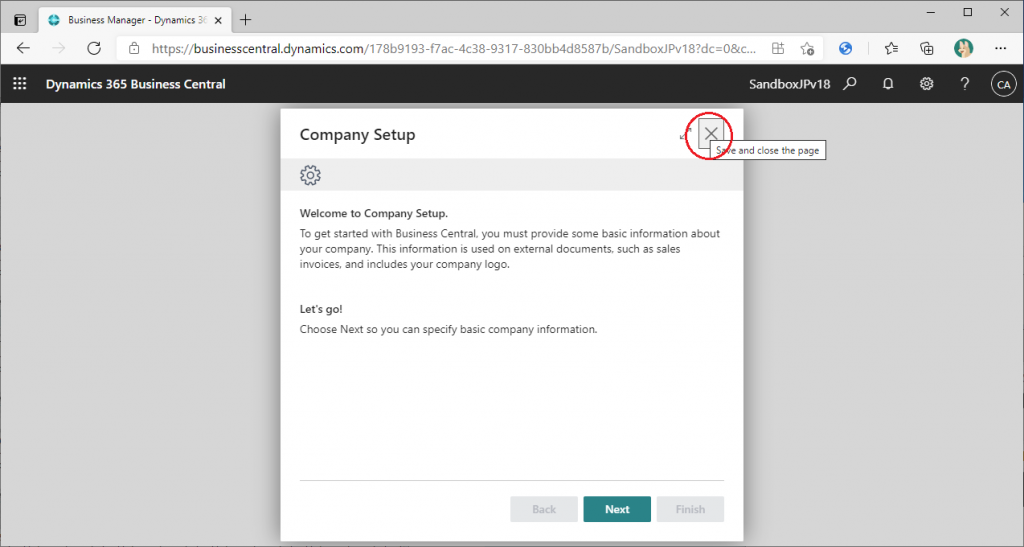
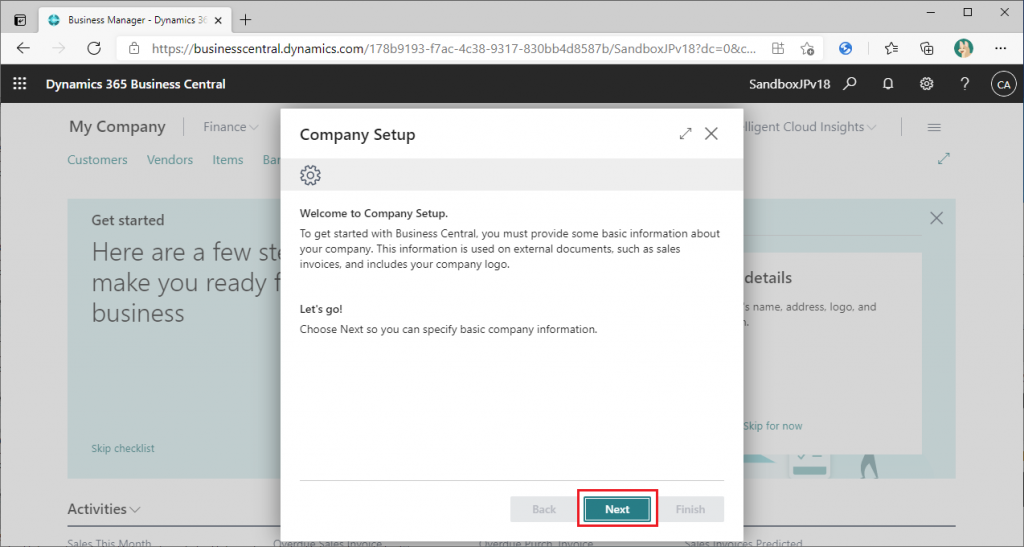
When you sign in for the first time after creating a new company, the Company Setup wizard will start automatically as shown below. However, you can close it by clicking the X button in the upper right corner of the pop-up.
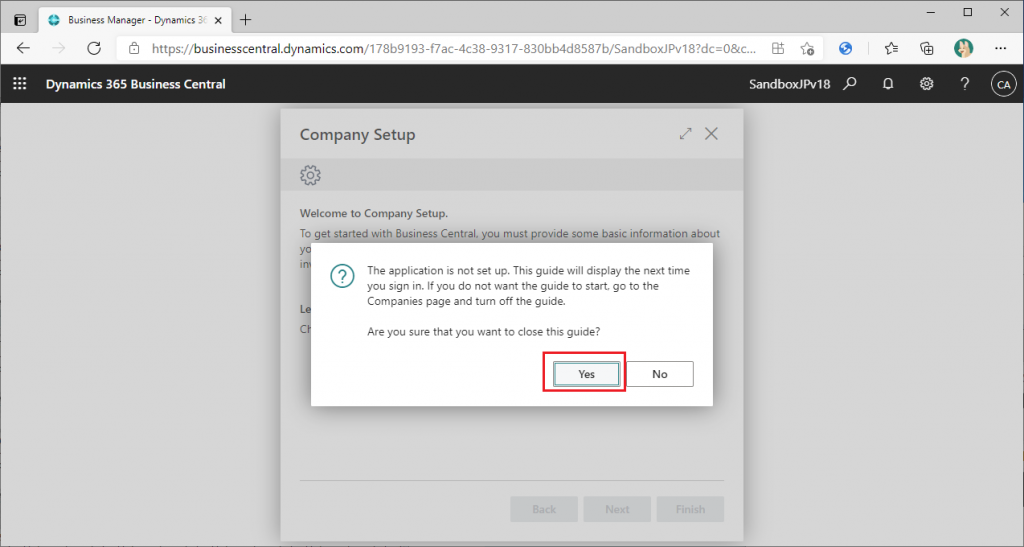
”Yes”を選択して閉じます。
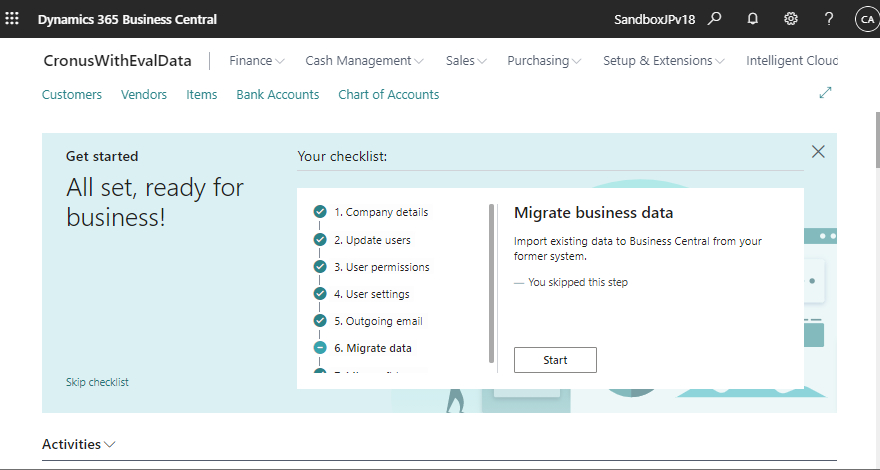
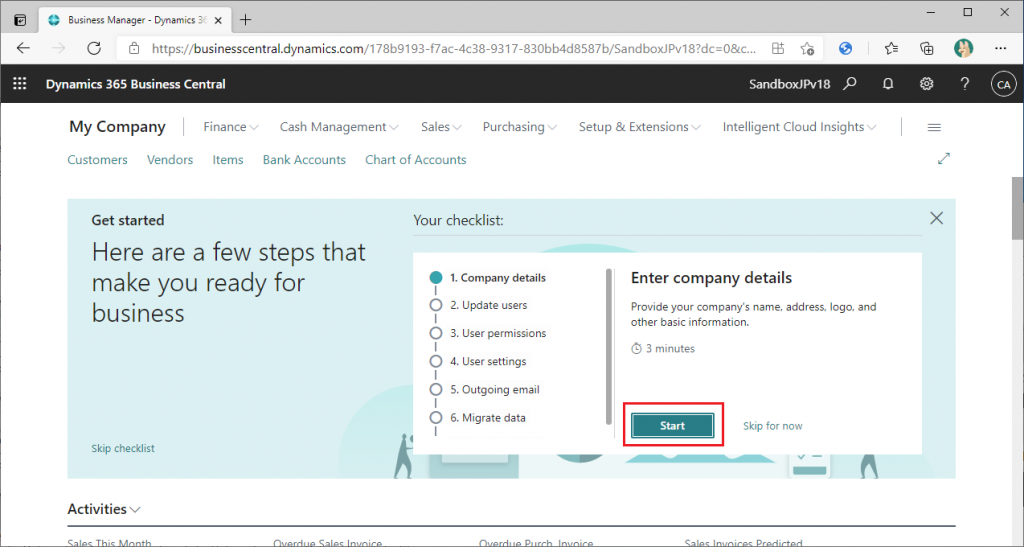
The Roll Center will appear. The headline says “Get started” and shows seven steps as the default settings.
1. Company details
2. Update users
3. User permissions
4. User settings
5. Outgoing email
6. Migrate data
7. Microsoft Learn
This new feature supports the execution of these seven steps in order. Let’s go through them in order.
____________________
1. Company Details
‾‾‾‾‾‾‾‾‾‾‾‾‾‾‾‾‾‾‾‾
On the checklist screen (see above), click the Start button to start Step 1.
The Company Setup Wizard will start. This is the Wizard you canceled with the X button at the beginning. The checklist for this new feature seems to be the ability to call existing wizards in sequence.” Click on the “Next” button to proceed. The following is the same Company Setup Wizard page as before, so I’ll skip the detailed explanation and show you the setting values and the button I clicked.
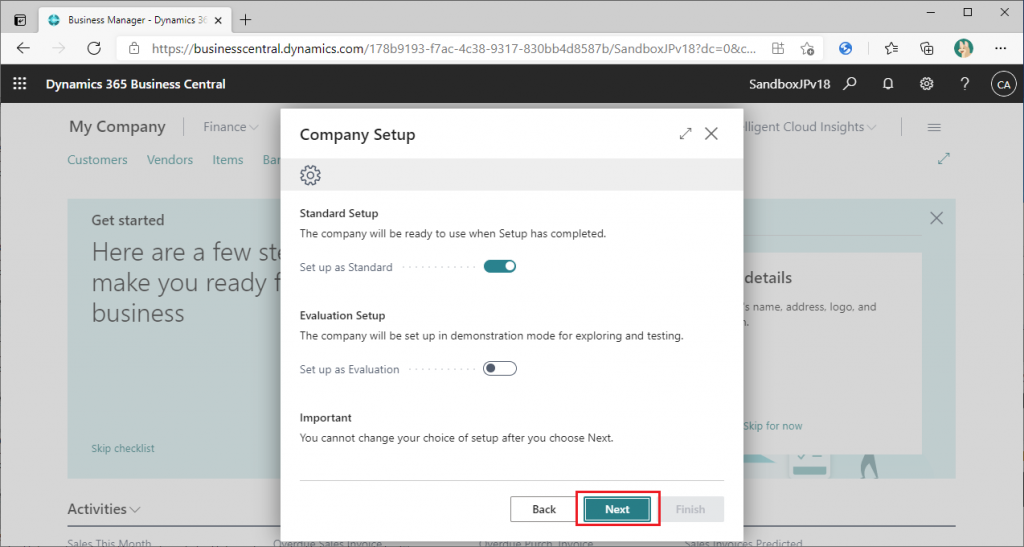

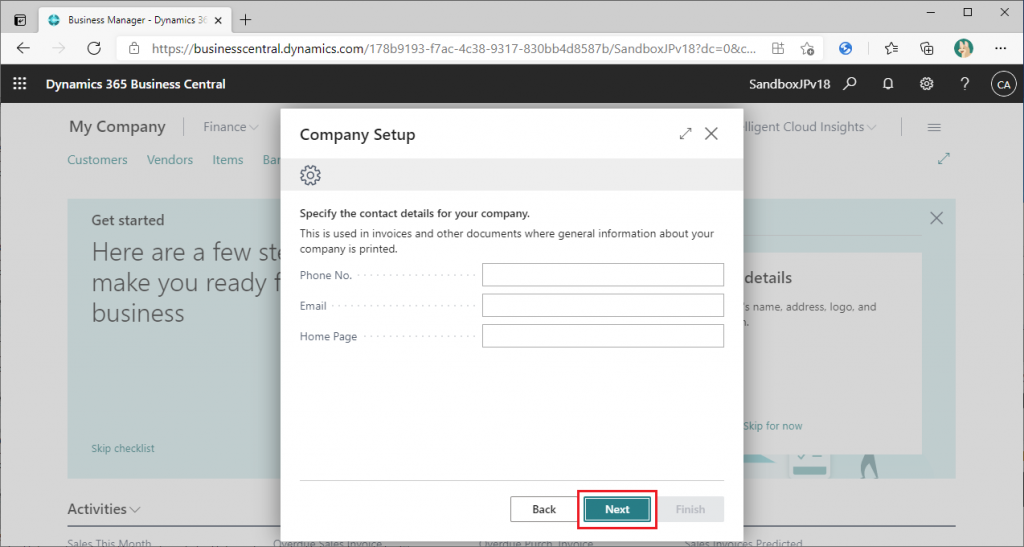
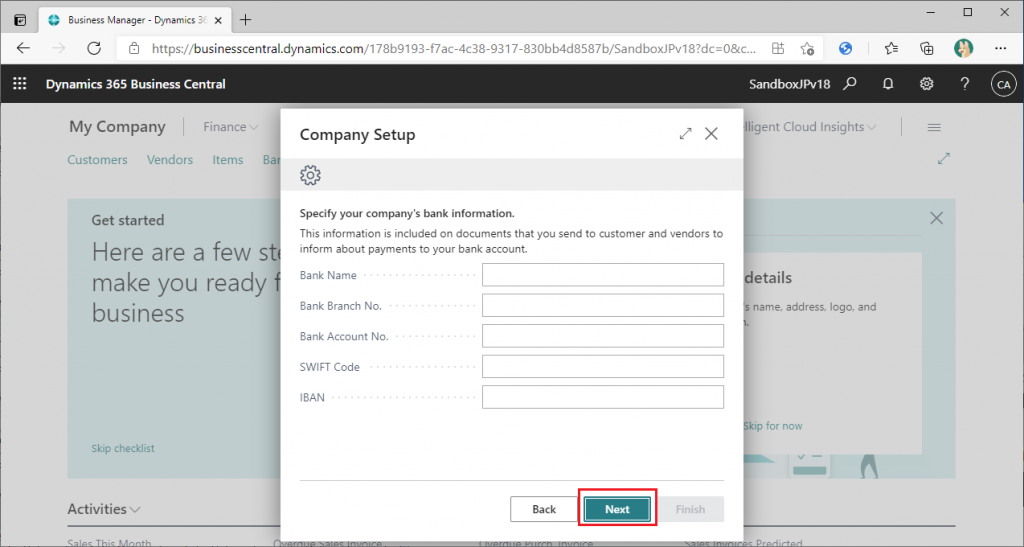
There was nothing of note, and I had no problem following the same steps as in the previous version of the Company Setup procedure.
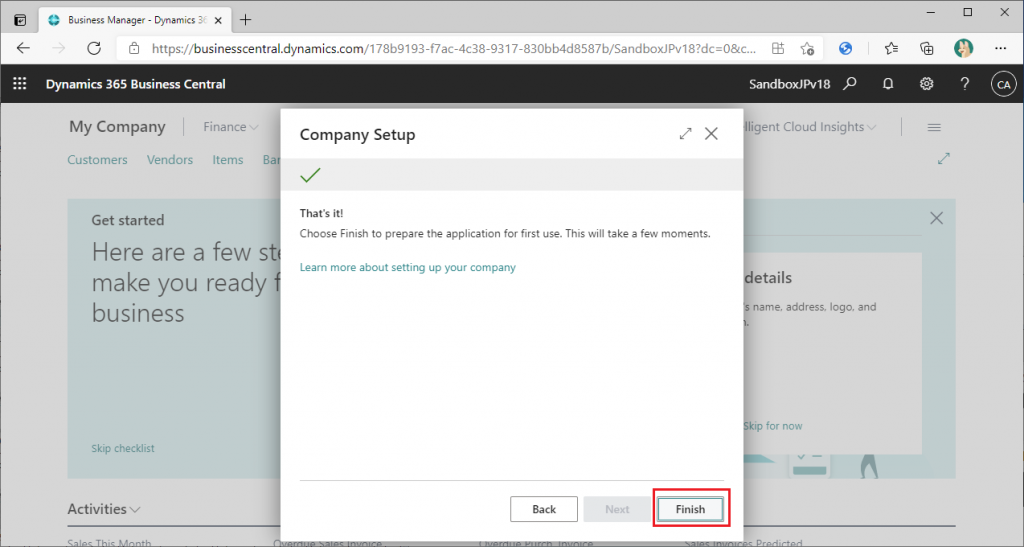
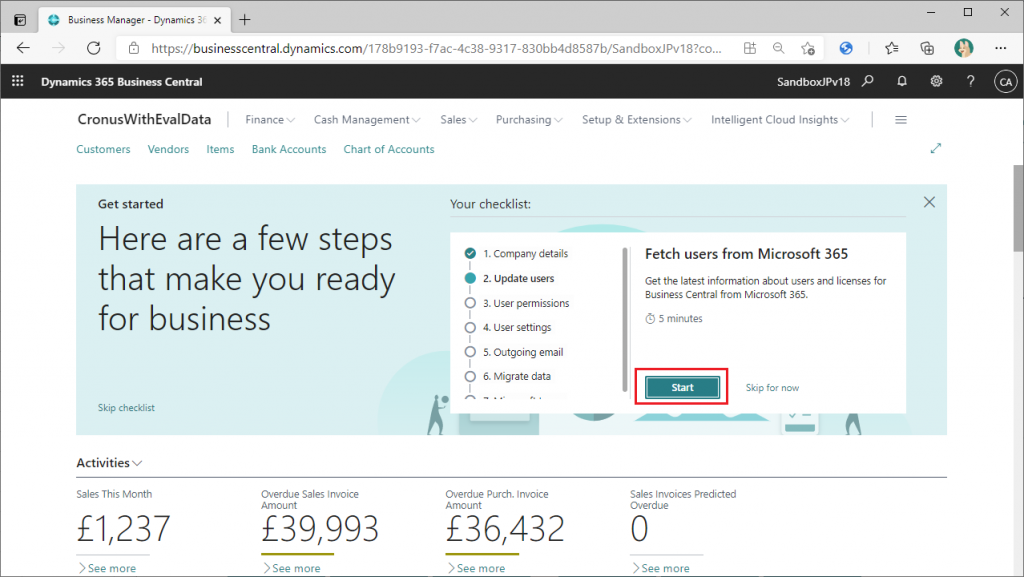
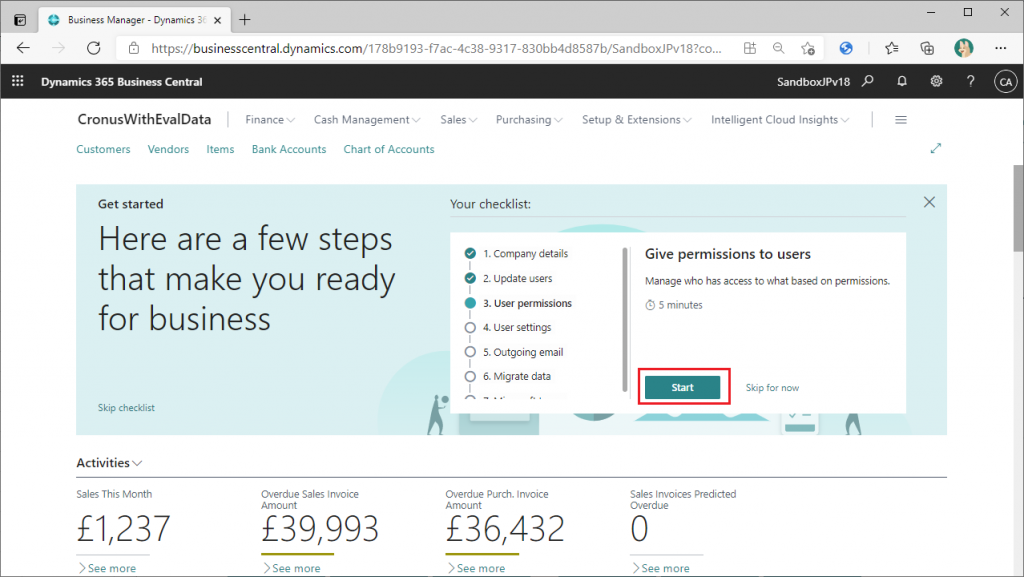
When the Company Setup is complete, you will be returned to the checklist page. The icon for Step 1 in the checklist is now marked as completed, and the icon for Step 2 is now marked as in progress. The next step is to start the Update users in Step 2.
____________________
2. Company Details
‾‾‾‾‾‾‾‾‾‾‾‾‾‾‾‾‾‾‾‾
Click the Start button on the checklist page to start Step 2. (See image above)
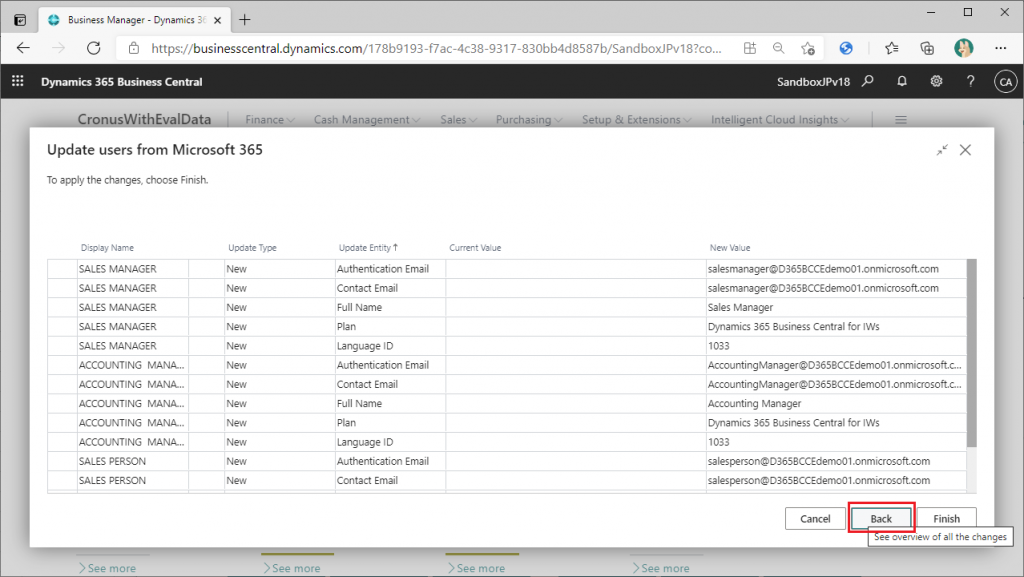
The wizard that updates the BC user information based on the Microsoft 365 user information will be started. This is a wizard that can also be launched from the user list page, and since the procedure is exactly the same, I will skip the detailed explanation and show you the setting values and the button I clicked.
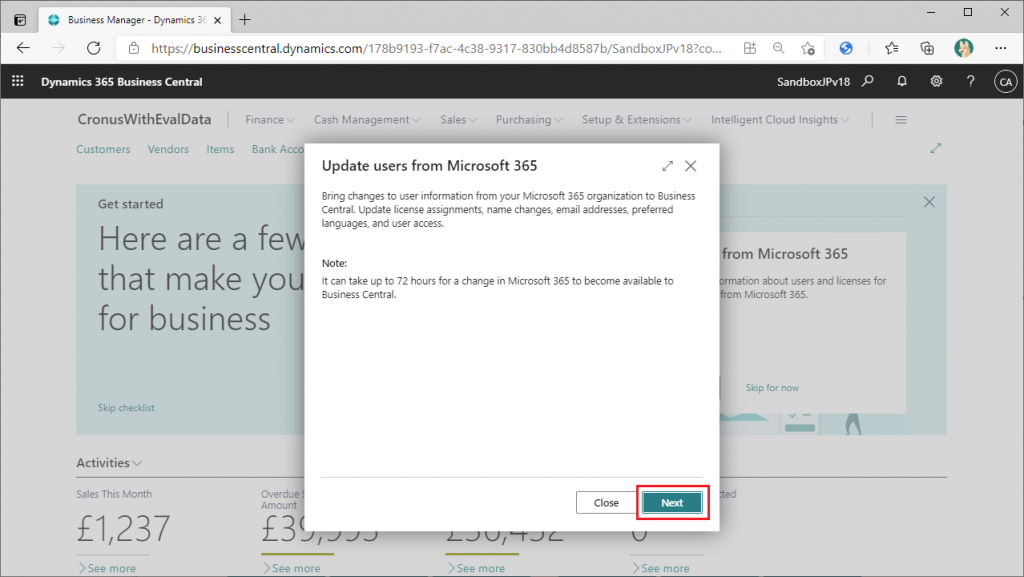
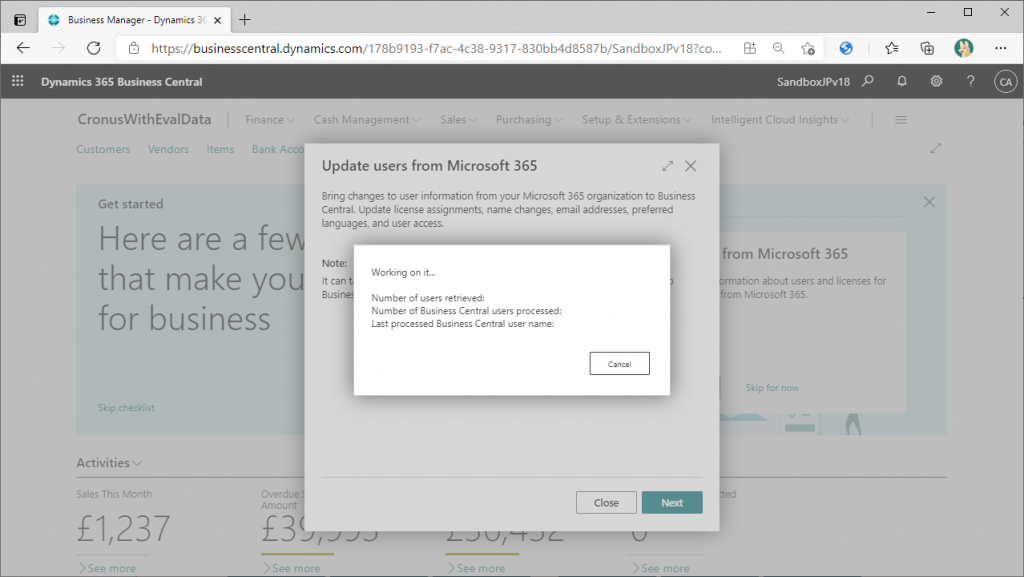
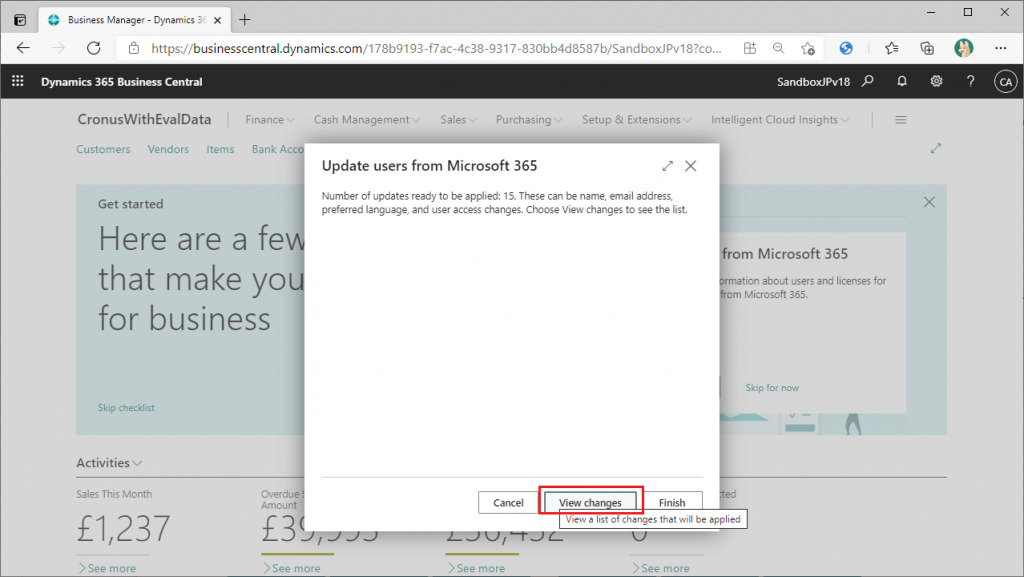
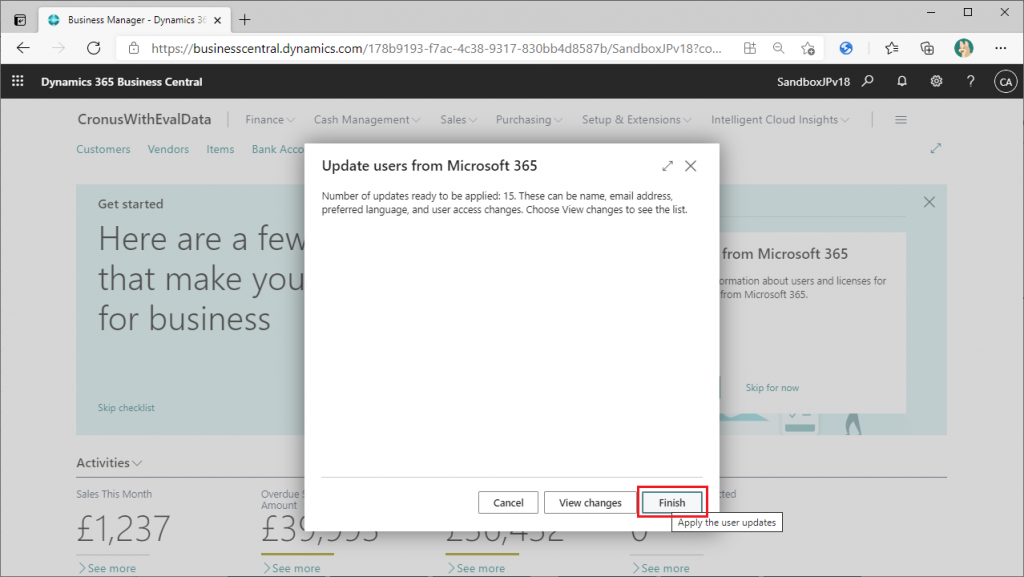
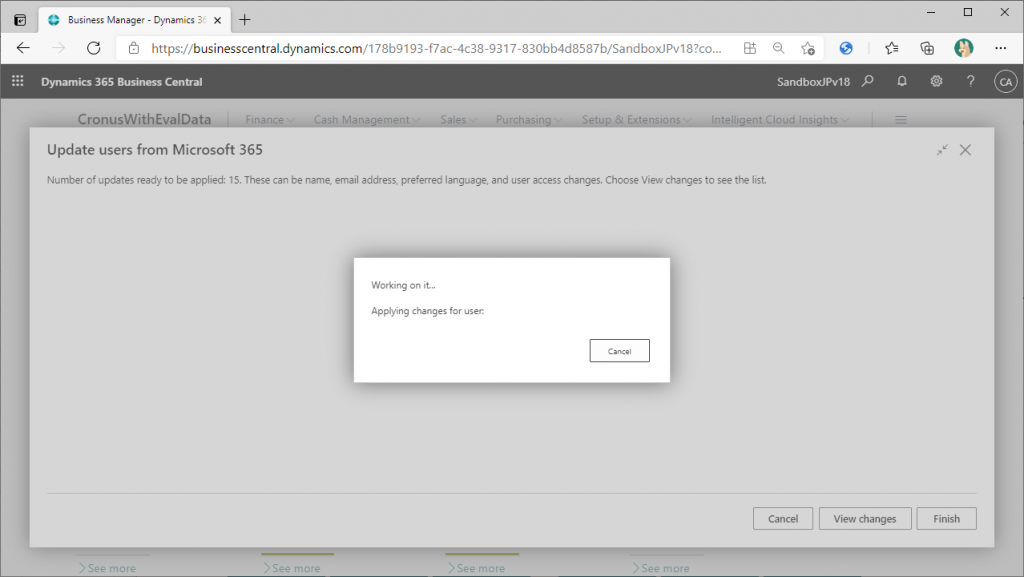
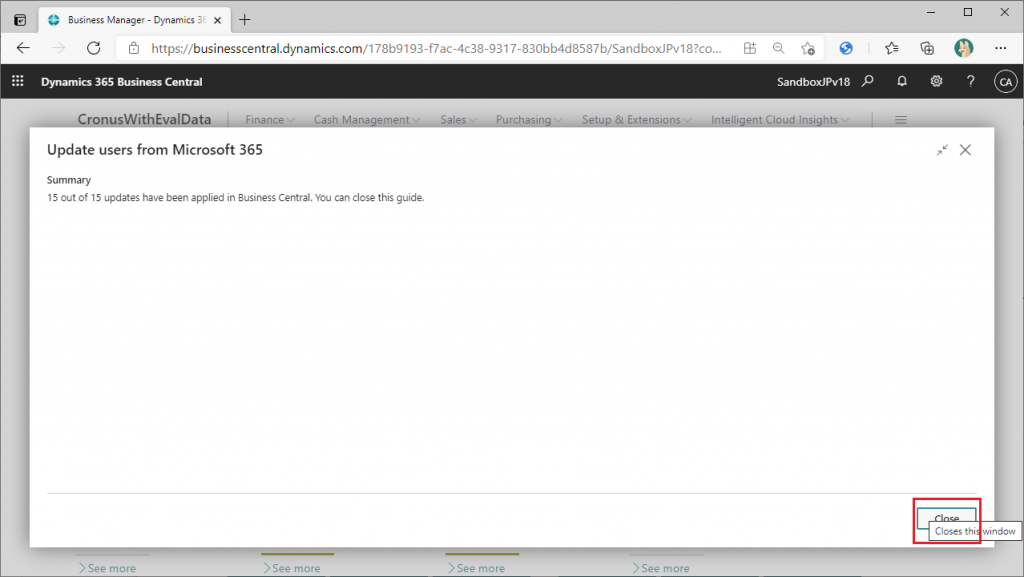
This was completed without any problems, just like when you want to run it from the user list page. Click on the “Close” button to complete.
When the Update users step is completed, you will be taken back to the checklist page.
____________________
3. User permission
‾‾‾‾‾‾‾‾‾‾‾‾‾‾‾‾‾‾‾‾
Click the Start button on the checklist page to start Step 3. (See image above)
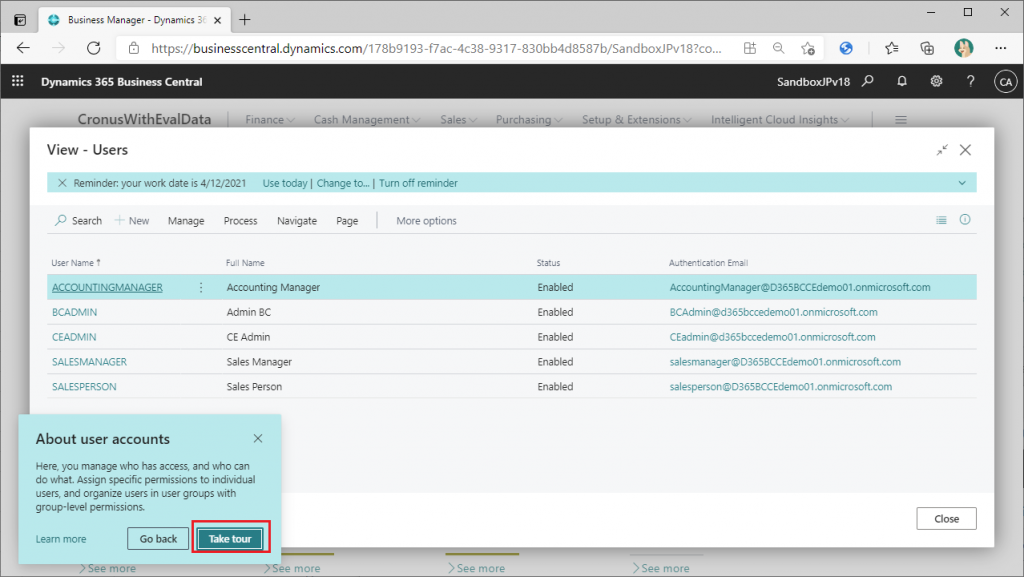
This time, the wizard does not start and the user list page is displayed. In this new checklist feature, there seems to be two types: Step 1 and Step 2, where Wizarad starts, and Step 3, where it transitions to the list screen. A guided tour about the user ID is displayed in the lower left corner of the page.” Click the “Take Tour” button to proceed with the tour.
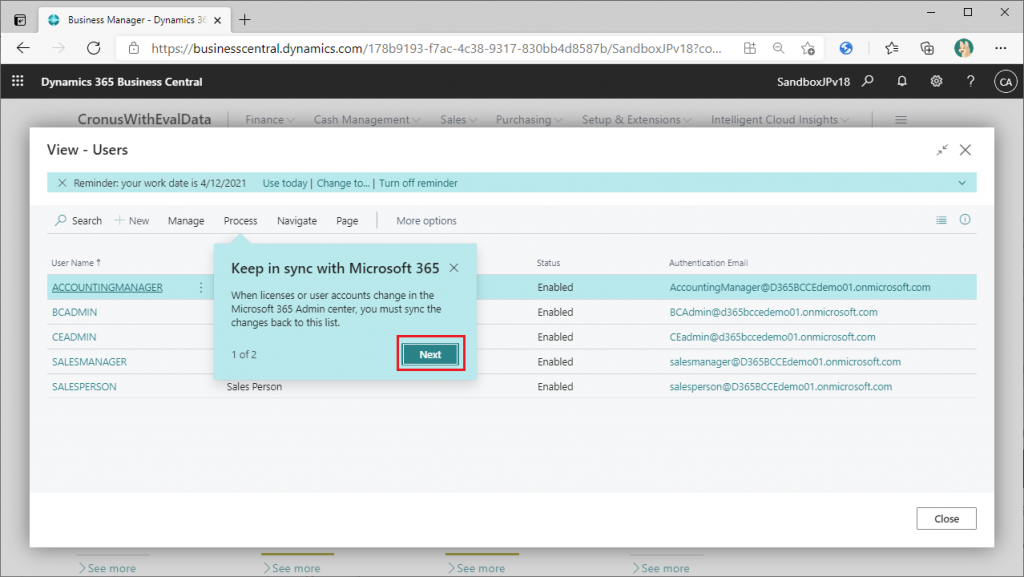
You will see a description of the process of synchronizing the M365 license with the BC user. This is an explanation of what you have done in Step 2. The “Process” tab allows you to synchronize M365 licenses and BC users. Click “Next”.
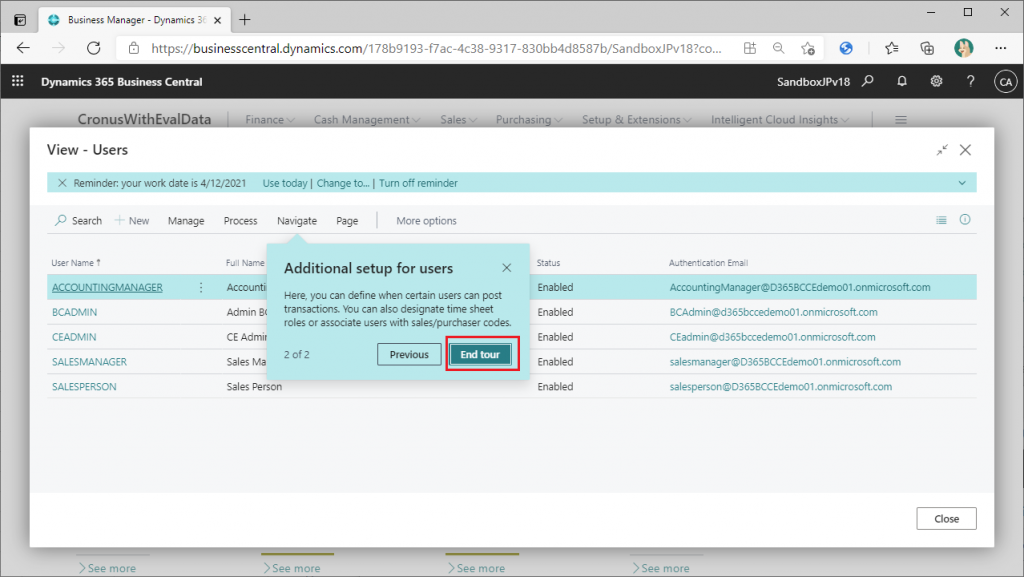
The description says that you can configure the role of the timesheet process from the “Navigate” tab. Click on “End tour”. I’m wondering if this simple tour feature is implemented by the checklist feature, or if it is a feature added to the user list screen. I’m sure we can find the answer by going directly to the user list screen, but for now we’ll leave it pending and move on.
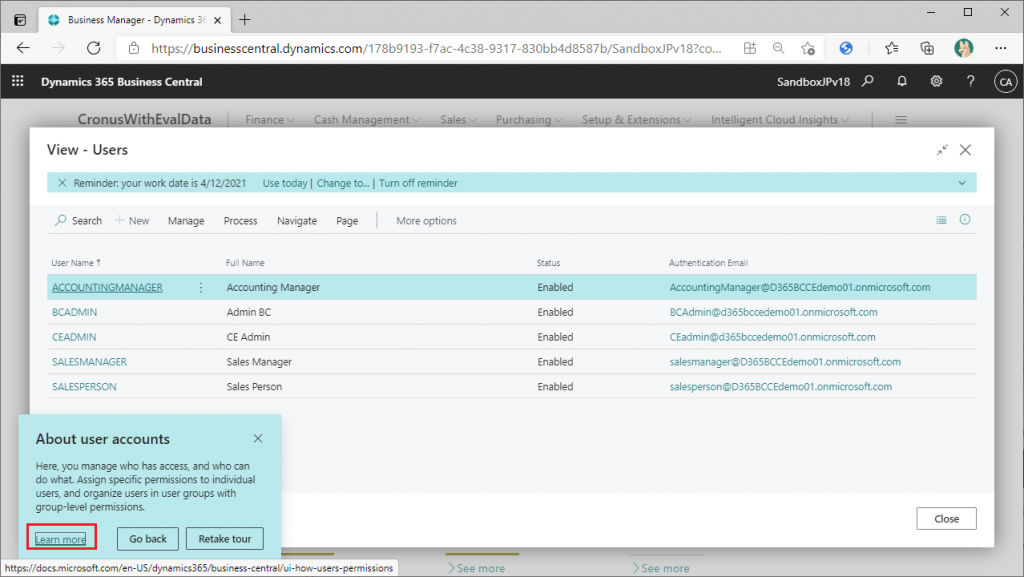
After clicking “End tour”, the instructions will continue… The message is the same as when you start the tour. Click on “Learn more,” which you did not click on earlier.
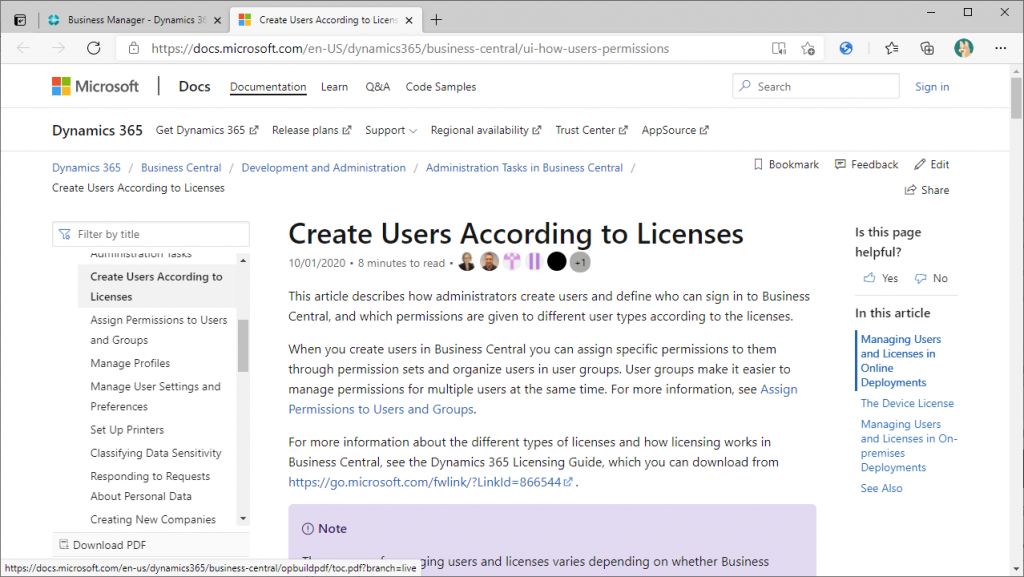
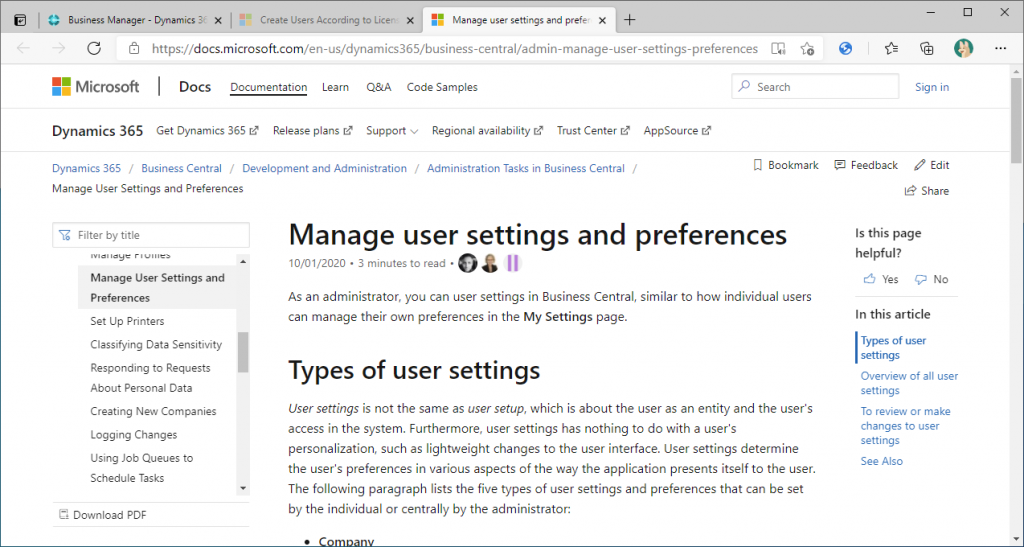
A Docs document will be shown, explaining the process of creating a BC user based on the license assigned to the user in the M365 administration page, which was performed in Step 2.
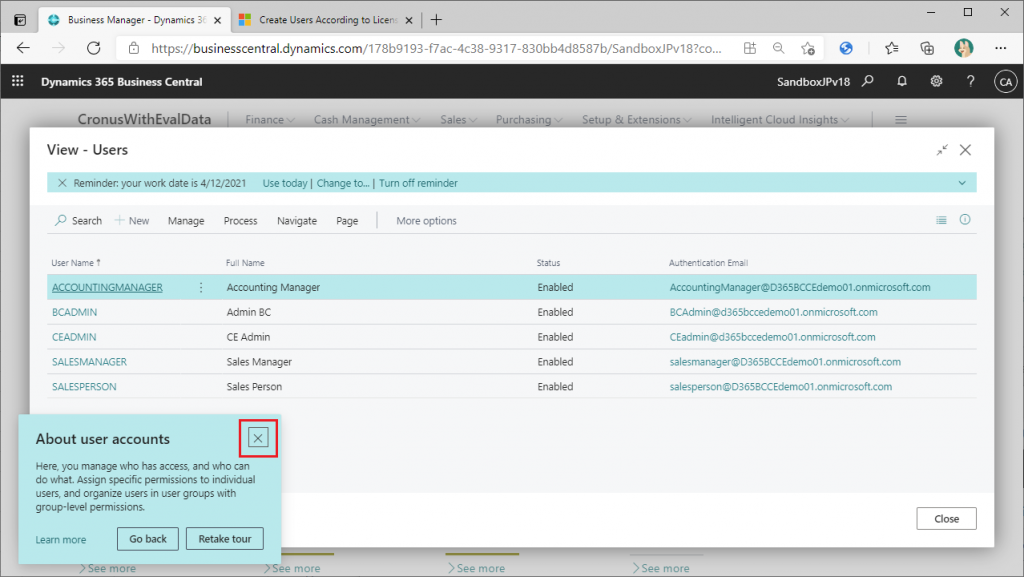
Return to BC and close the tour description.
The explanation is still continuing. I think the explanation is a bit too much. It seems that you can start a simple tour by clicking on the page title. We’ll check later to see if the same specification applies to the other List pages. Click on the “Got it” button to proceed.
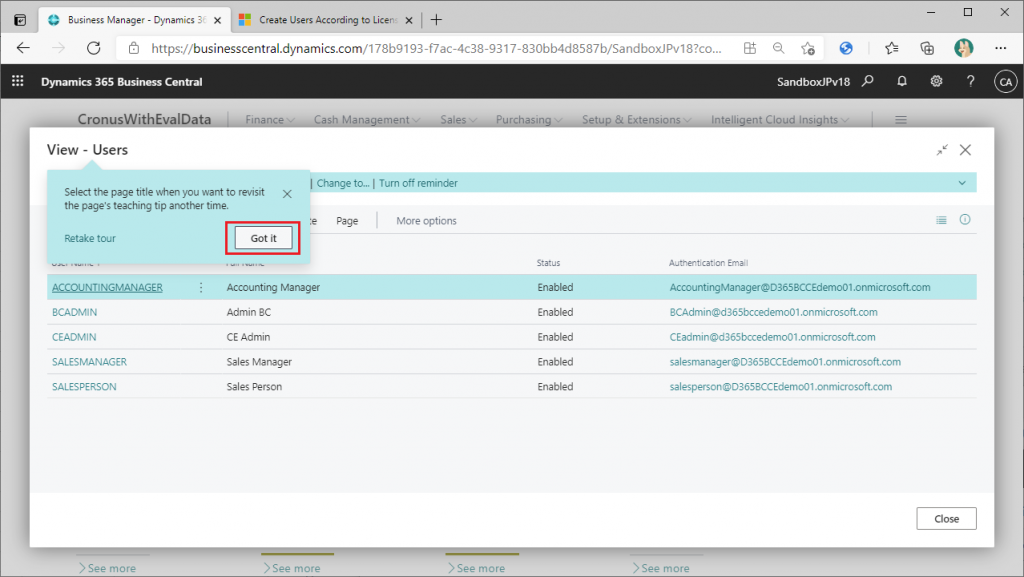
Finally, the explanation was complete and we were back to the checklist screen.
____________________
4. User settings
‾‾‾‾‾‾‾‾‾‾‾‾‾‾‾‾‾‾‾‾
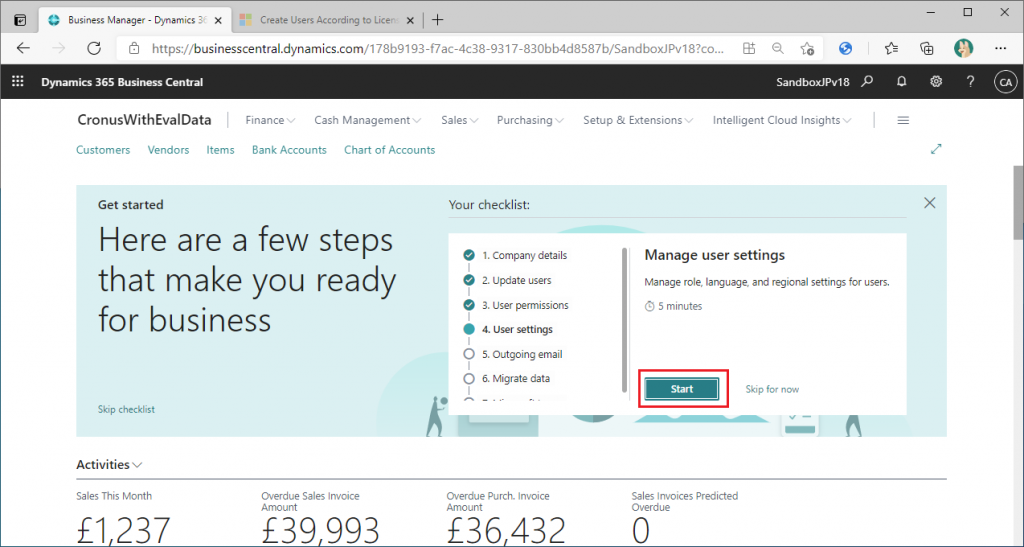
Click the Start button on the checklist screen to start Step 4. (See image above)
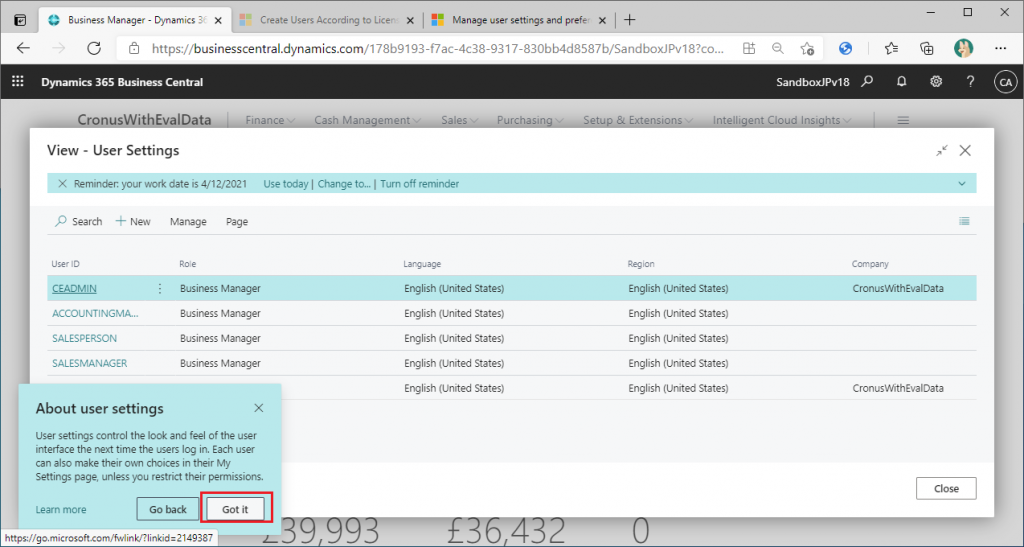
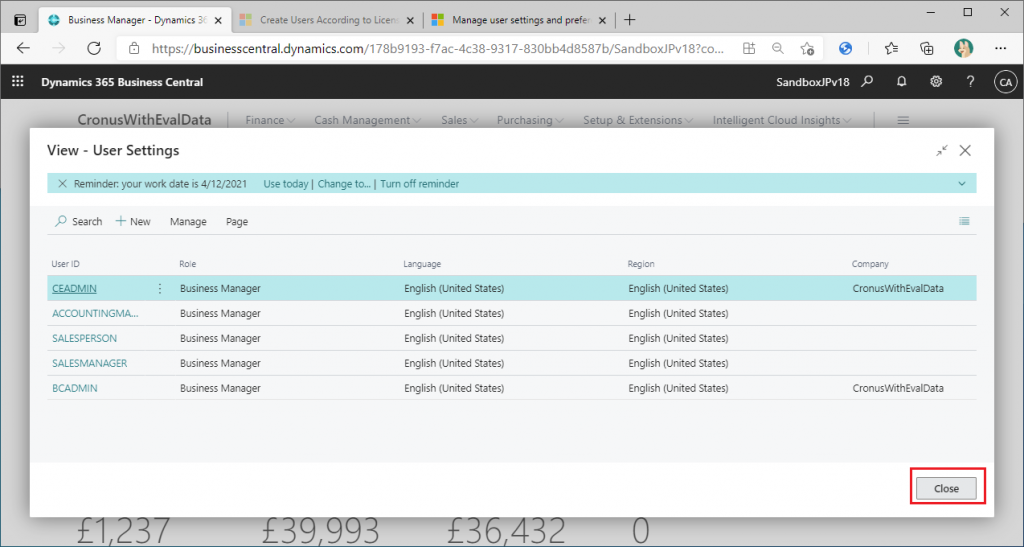
Now the User Settings list page is shown. On this page, you can specify the default company, default language, and other settings for each user.
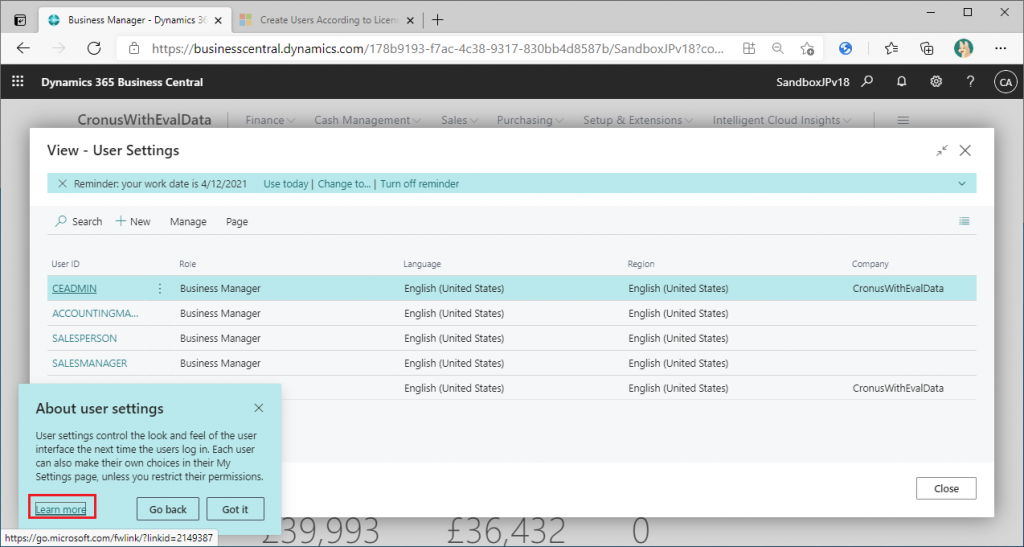
Click “Learn more” on the page above to open the Docs document, which behaves in the same way as Step 3.
When you have finished reading the instructions on User settings, click the “Got it” button.
Change the settings as necessary. This time, I will go ahead without changing anything.
Return to the checklist page. Check the “Mark as completed” checkbox if the settings are completed. This seems to be a common requirement for pages that transition to the list screen, because in the case of the wizard, the completion is explicit, but in the case of the list, it is not explicit whether the changes are completed or not. I guess that’s why they make you put a check mark like this.
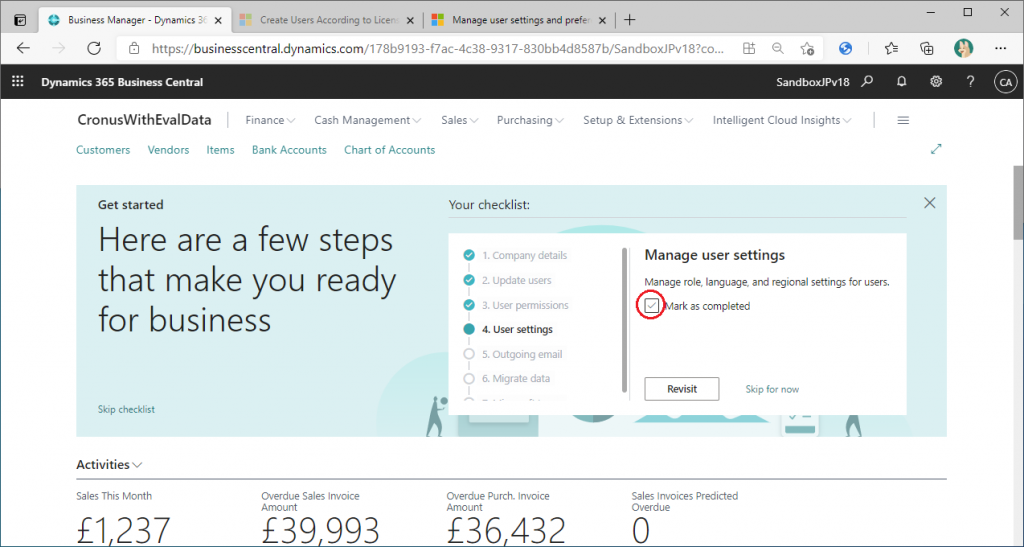
Step 4 is completed when the check mark is turned on.
____________________
5. Outgoing email
‾‾‾‾‾‾‾‾‾‾‾‾‾‾‾‾‾‾‾‾
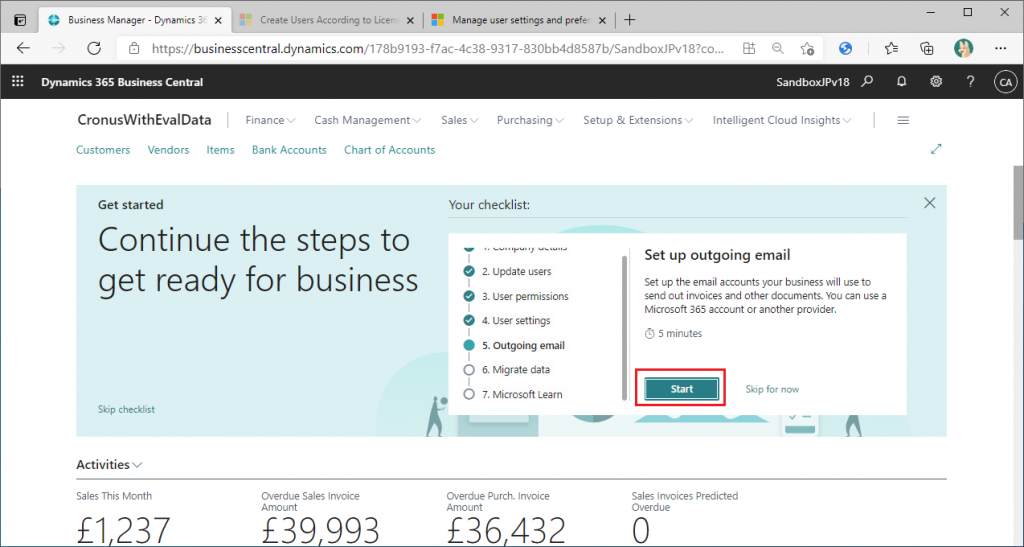
Click the Start button on the checklist page to start Step 5. (See the image above.)
“Set Up Email” wizard will be started. This is a wizard that can also be started from the Assisted Setup page.
Set Up Email is a feature that has been enhanced in 2020 Release Wave 2. See the following blog post for more details.
https://www.d3654.be/d365bc-enhanced-email-current-user-en/
https://www.d3654.be/d365bc-enhanced-email-m365-user-en/
https://www.d3654.be/d365bc-enhanced-email-compose-send-email-en/
The procedure is exactly the same as when you start from Assisted Setup, so I’ll skip the detailed explanation and show you the settings and the button you clicked.


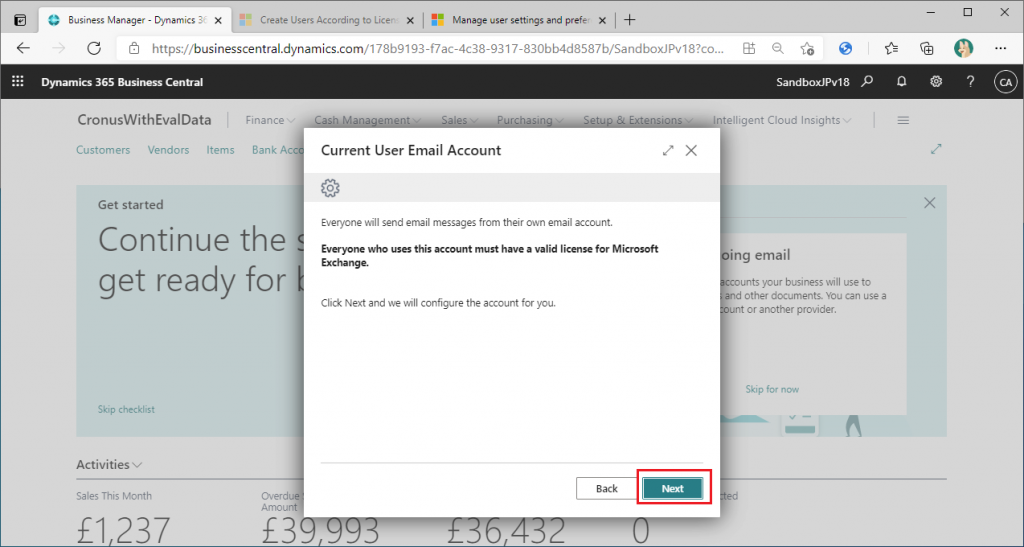
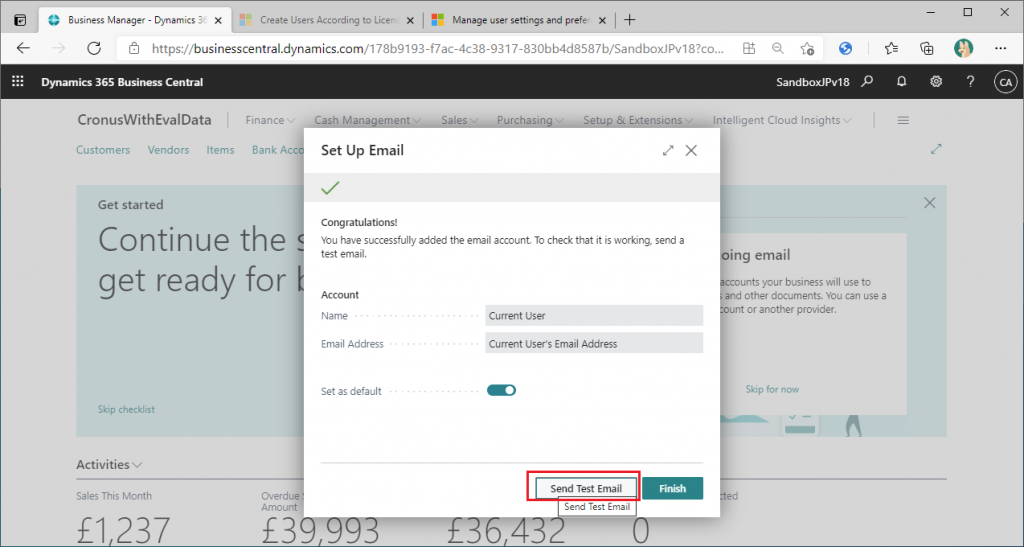
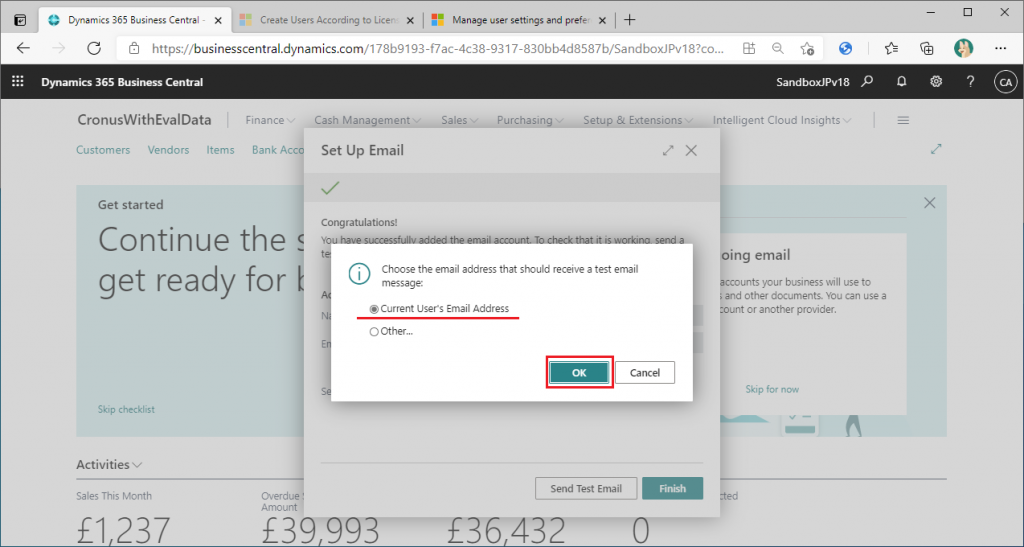
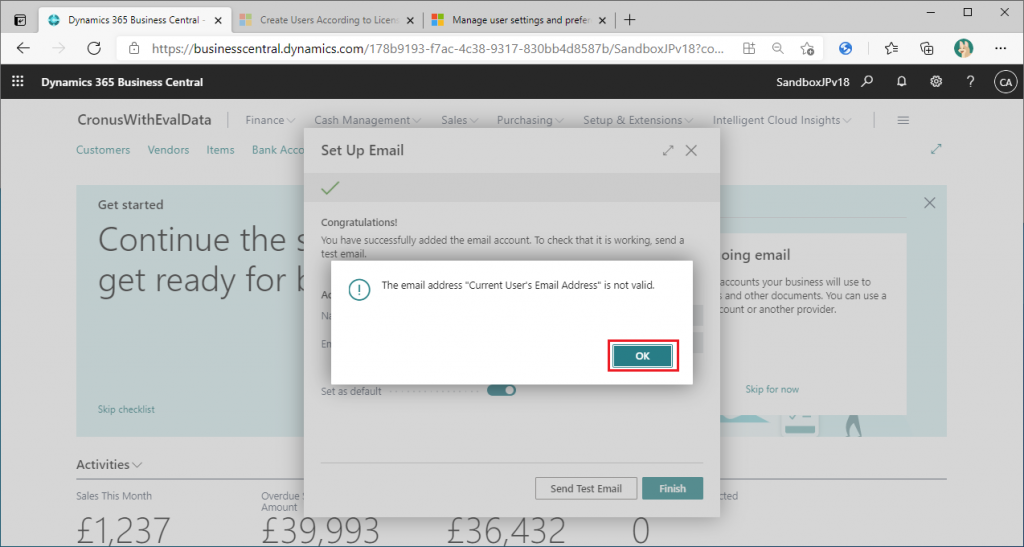
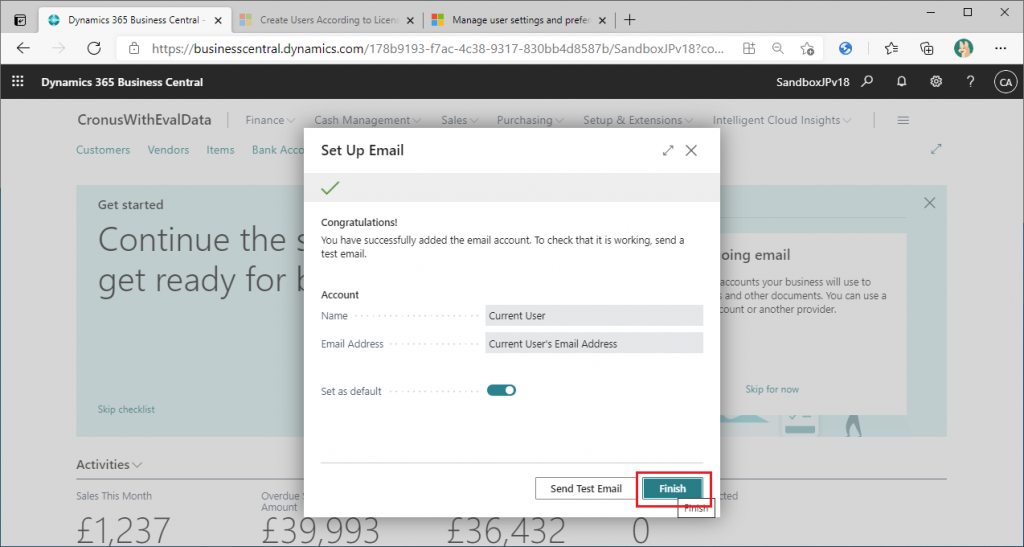
You have completed the configuration to send email as Current User.” Click “Finish” to continue.

____________________
6. Migrate data
‾‾‾‾‾‾‾‾‾‾‾‾‾‾‾‾‾‾‾‾
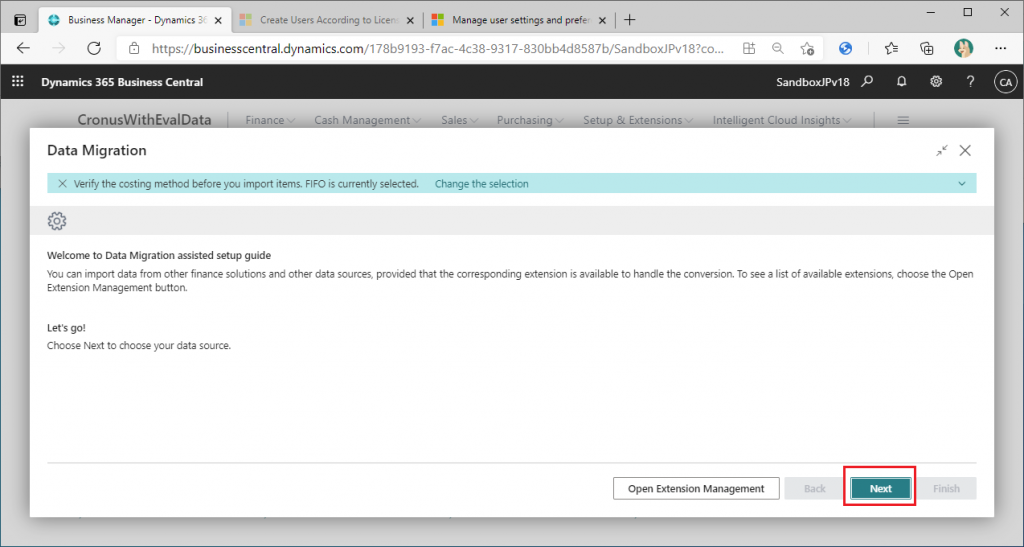
Click the Start button on the checklist page to start Step 6. (See image above)
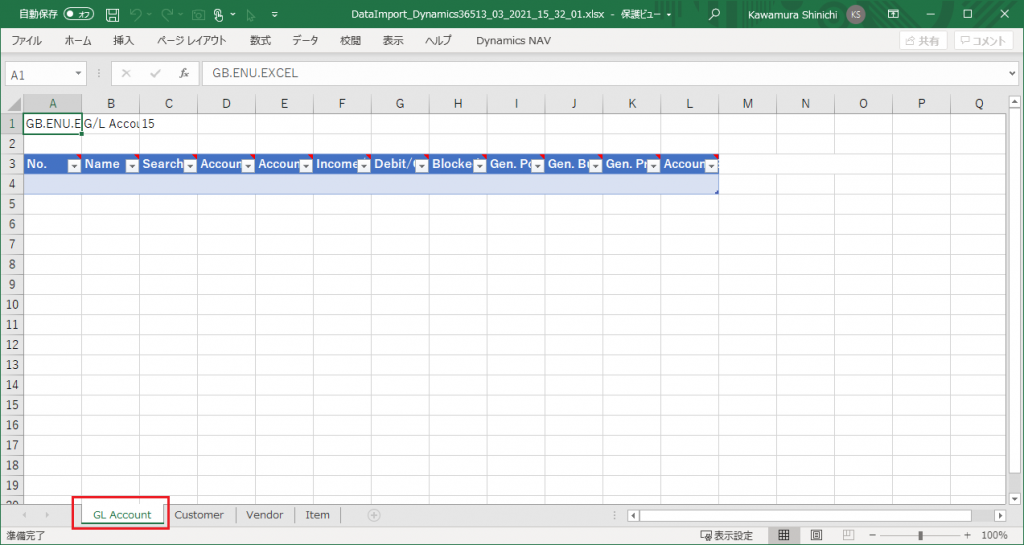
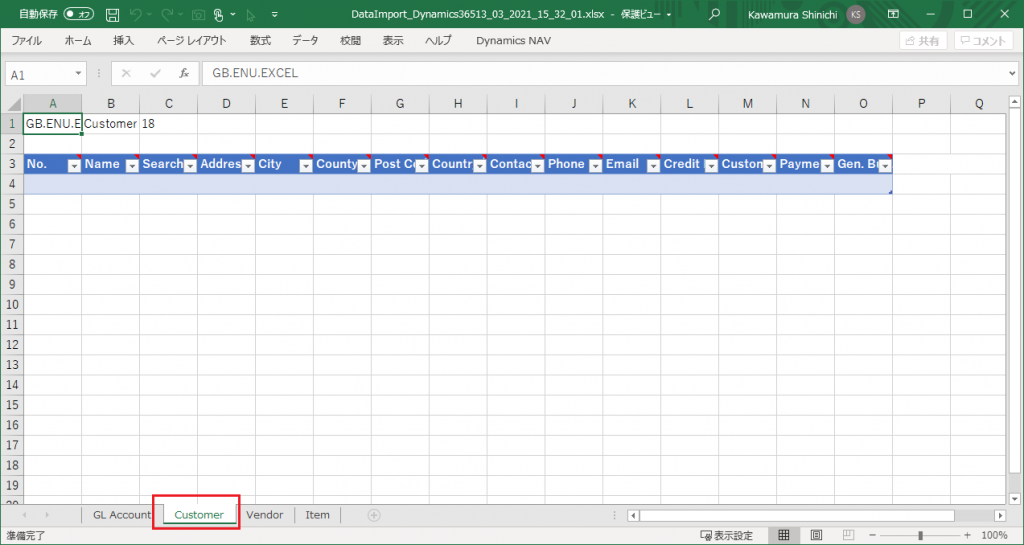
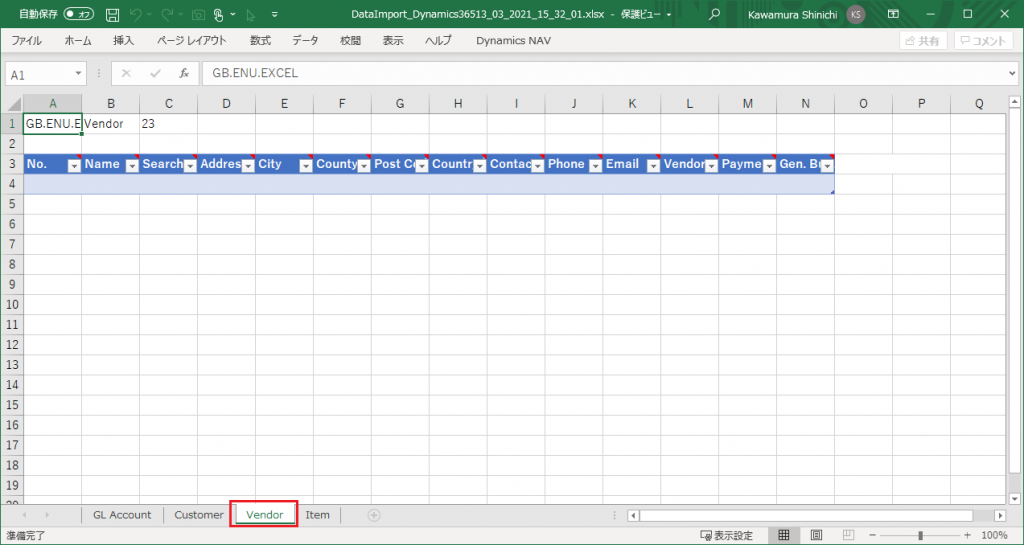
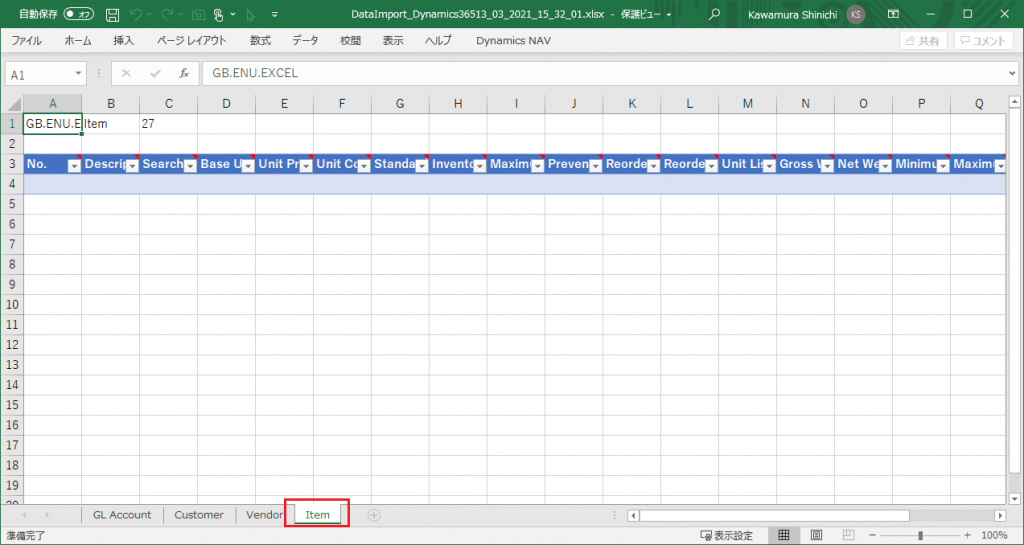
“Data Migration” wizard will start. This is a wizard that can also be started from the Assisted Setup screen. The procedure is exactly the same as when you start it from Assisted Setup, so I will skip the detailed explanation and show you the configuration values and the button you clicked.
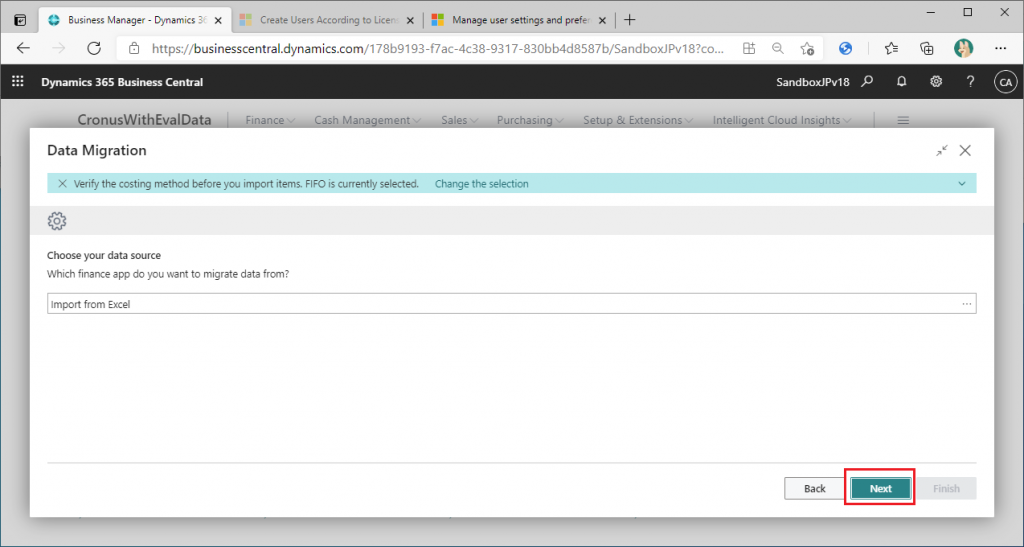
You can download Template Excle, write master data, and import it for easy master initialization.
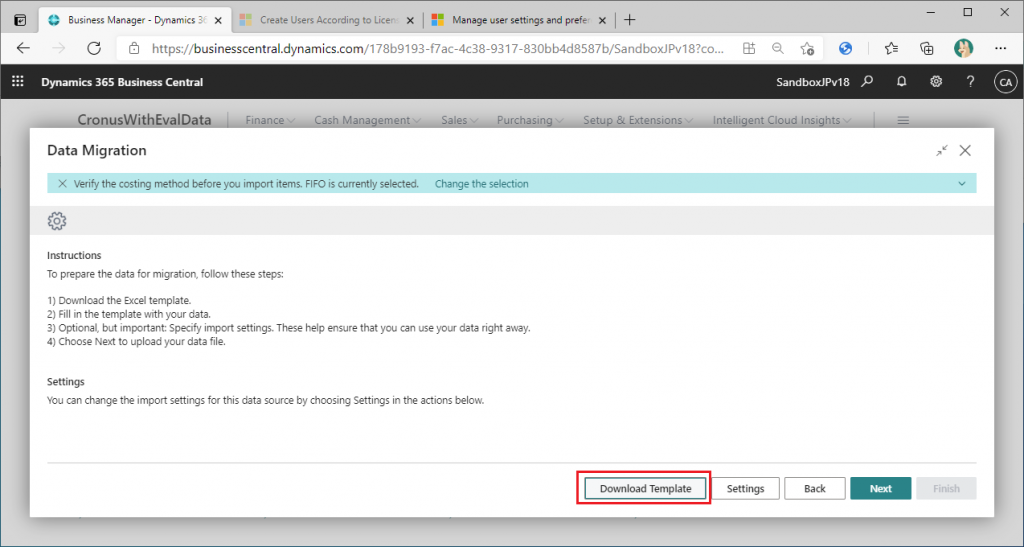

The template supports the import of four masters: accounts, customers, suppliers, and items. As a side note, NAV, the previous name of BC, had a similar function, but the ability to import the four masters was separate. As the version has increased, the functions have been integrated and evolved in this way.
The procedure becomes longer when the master data is imported. Since this is not an important point for this checklist feature, I will suspend the import at an appropriate point.
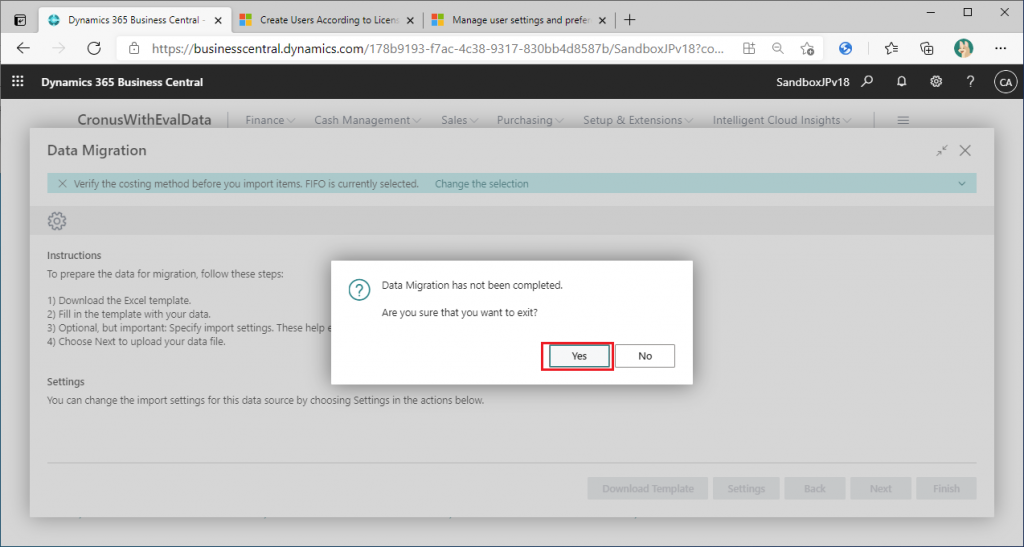
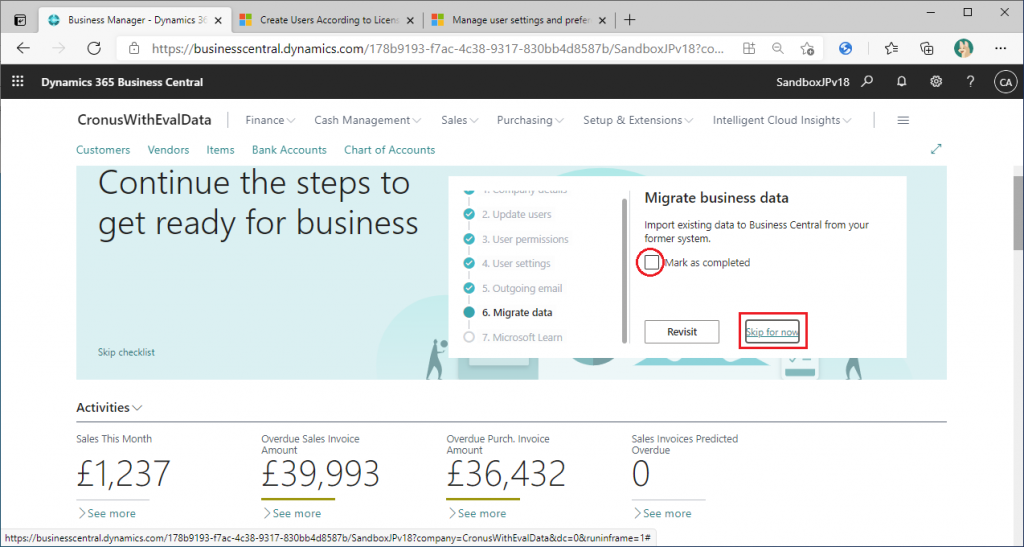
You are now back to the checklist page. If the process is not completed, you can continue with “Mark as completed” turned off. It seems to be a specification that “Mark as completed” is displayed when the wizard is suspended not only in the step of the type that displays the list page, but also in the step of the type that starts the wizard. This makes sense. Anyway, let’s move on. Click “Skip for step”.
____________________
7. Microsoft Learn
‾‾‾‾‾‾‾‾‾‾‾‾‾‾‾‾‾‾‾‾
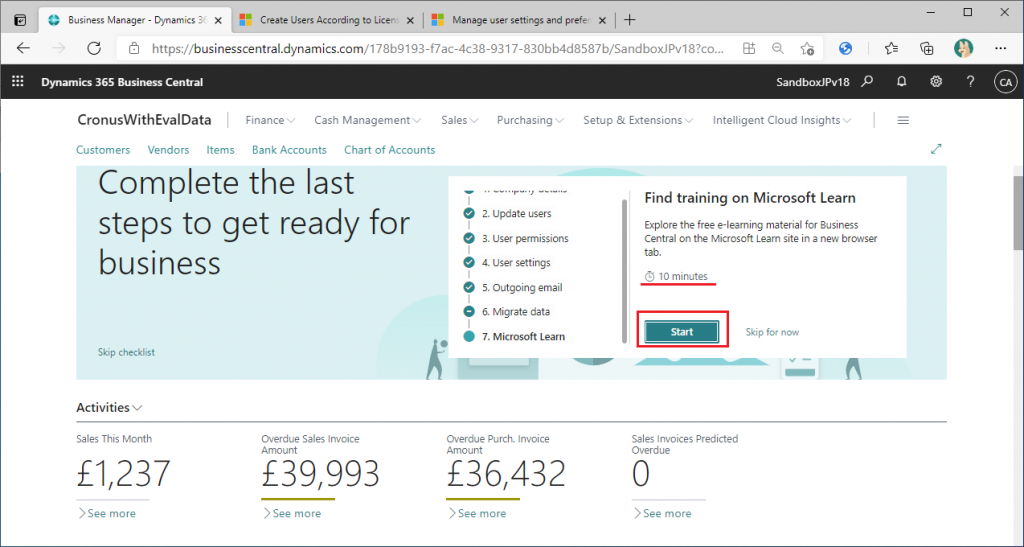
Click the Start button on the checklist page to start Step 6. Look at the red underline on the page above. It says that Step 7 will take 10 minutes.
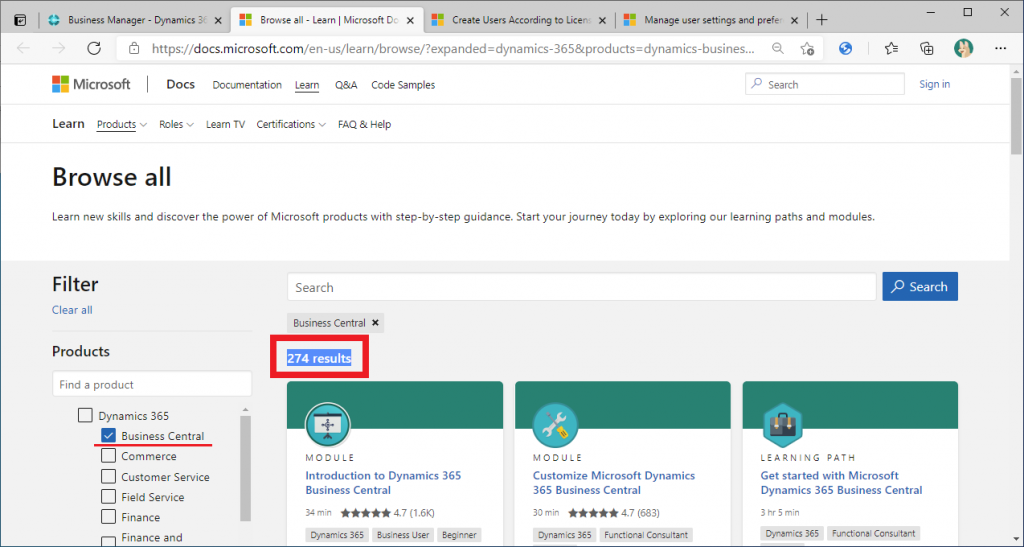
Now, when you click the “Start” button, the Microsoft Learn page will be displayed. In the menu on the left side, the Business Central checkbox is turned on, and the BC content is shown on the right side as an extract. There are 274 contents in total, which is a bit difficult to complete in 10 minutes… And I think it’s better to go to the Microsoft Learn content from this site below.
Dynamics 365 Business Central – Microsoft Learn | Microsoft Docs
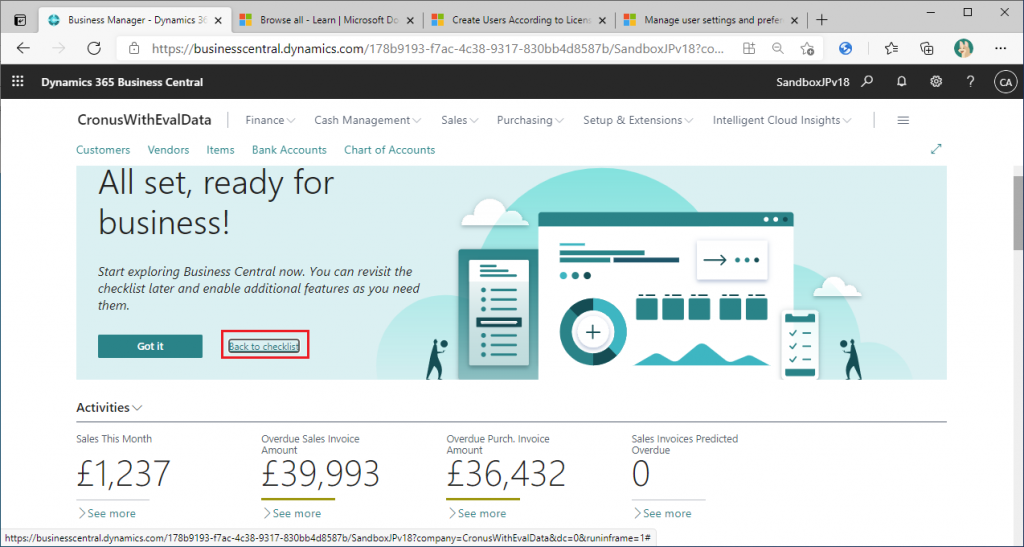
You have now completed all seven steps of the checklist. If you click on “Back to checklist” after completion,
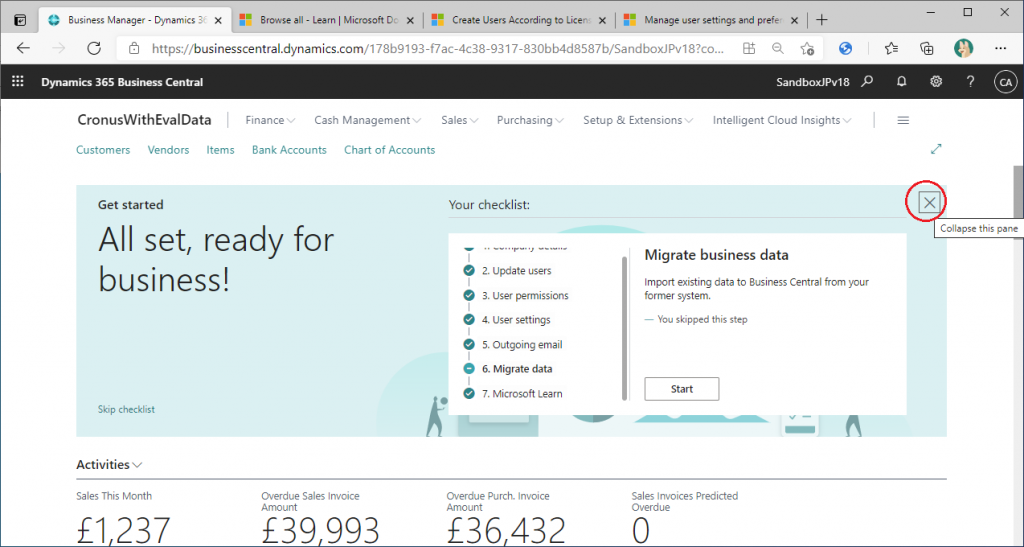
The checklist will be displayed again. Step 6, which was suspended, can be executed again from here. You can also close it by clicking the X in the upper right corner.
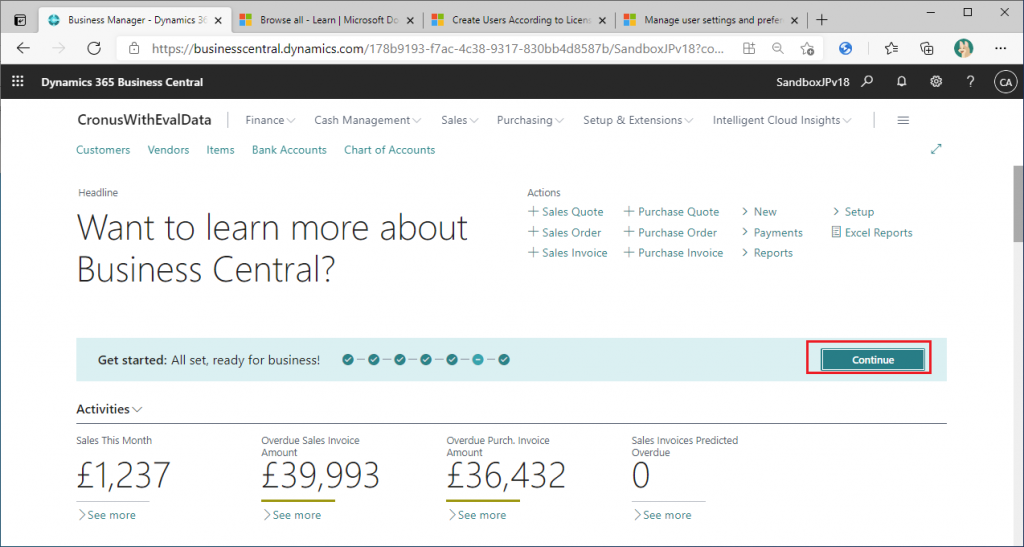
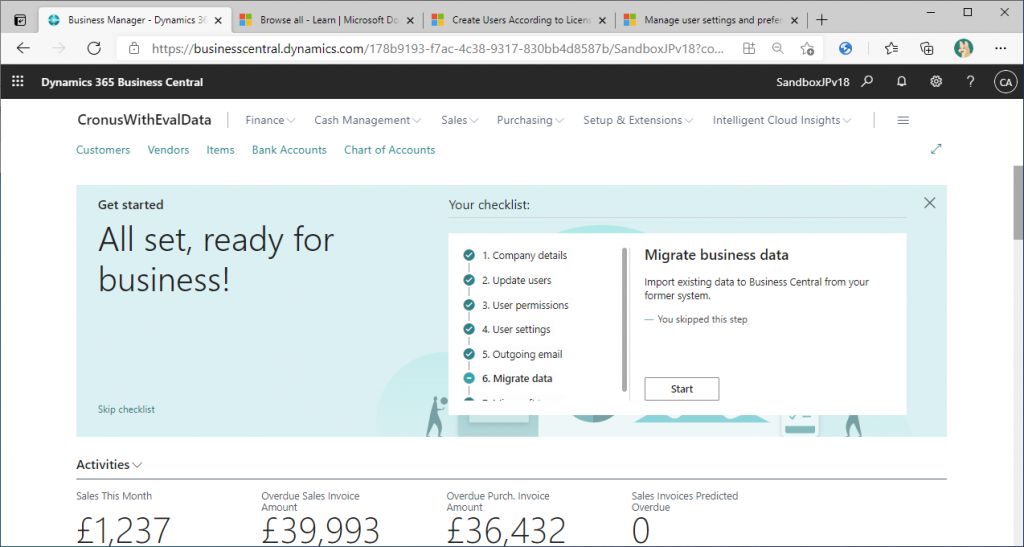
Then, it will be folded into a compact size like this. Clicking “Continue” from here will open the
The checklist will appear again.
That is all for the explanation. There are a few things that need to be improved, but I think it is a useful feature for novice function consultants and end user of customer who are working on their own settings.
In this article, I followed the steps according to the default settings, but in the next article, I would like to delve into how to change the default settings.