
Continuing from the previous article, I will introduce the enhanced email feature as a new feature of D365BC’s 2020 Release Wave2. This time we will be setting up M365 users. The procedure itself is almost the same, but unlike Current User, you will get a test mail sending error when setting up a user other than yourself.
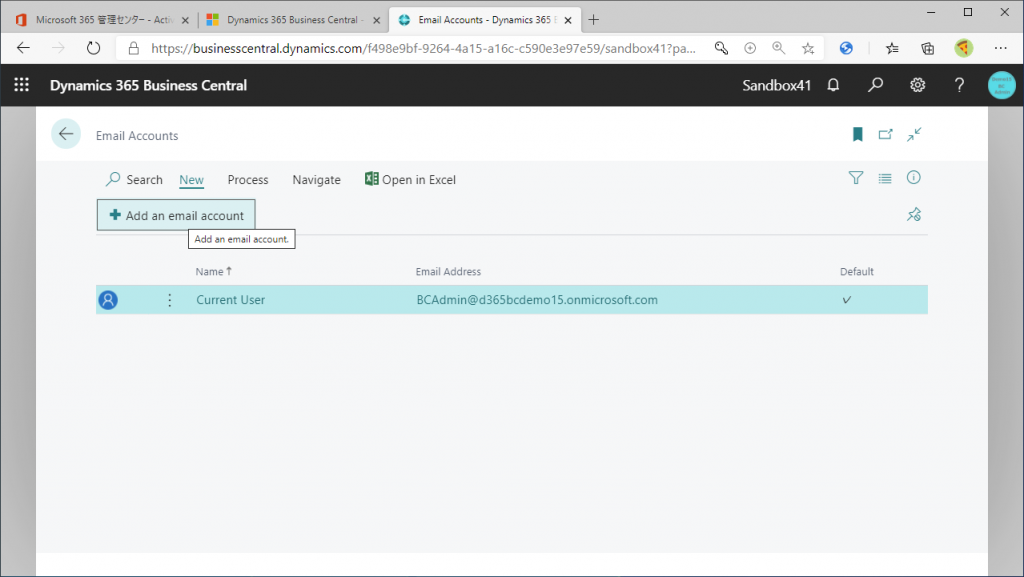
Click on the “+Add an email account” button on the Email Account feature list screen as you did for the Current User setting.
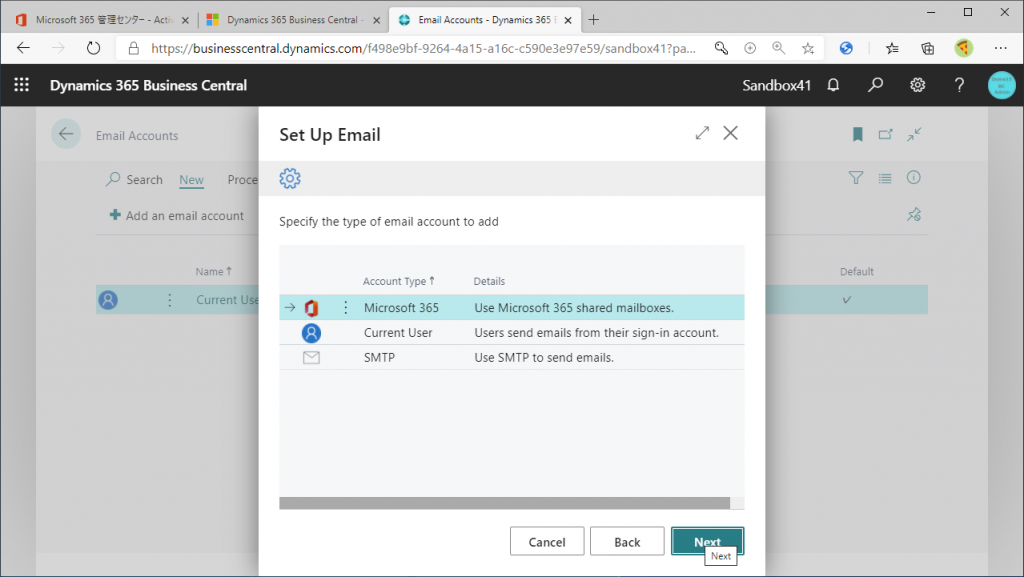
The part where the Wizard starts is the same, click on Next button.

Select your e-mail account type. Now select M365 account type.
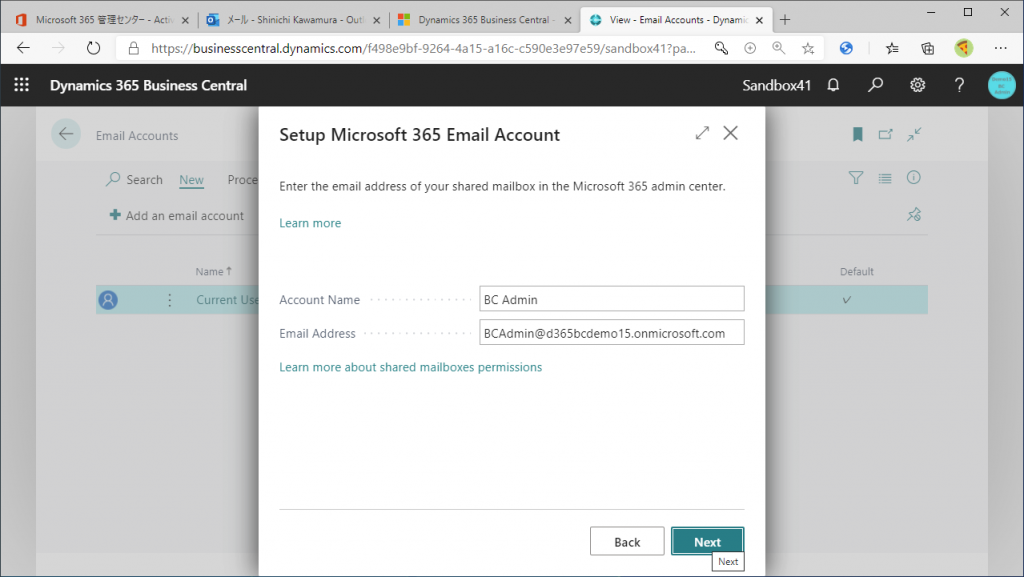
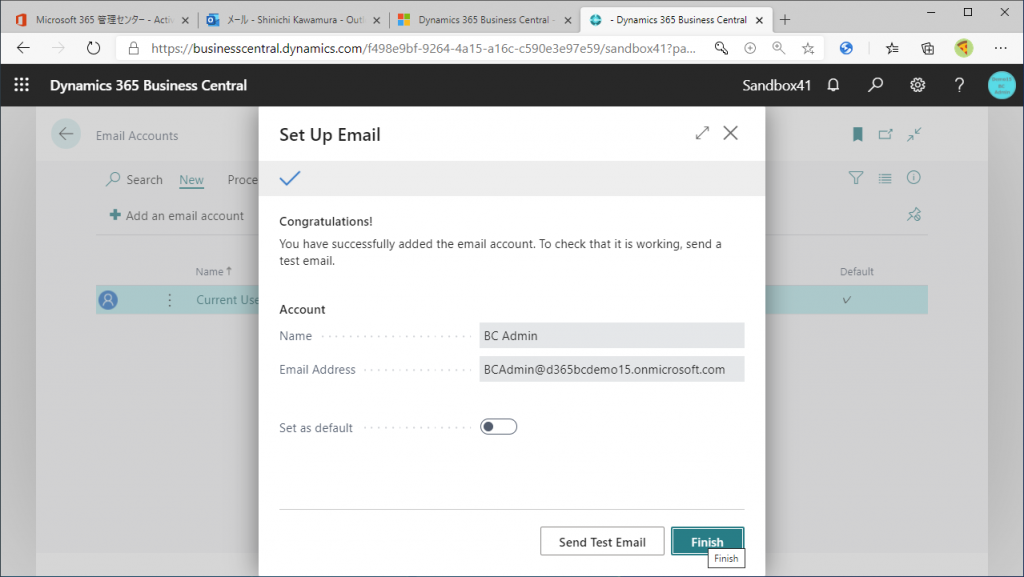
First, let’s set yourself as the sender of the M365 user, specify the Account Name and Email Address, and click on Next button.
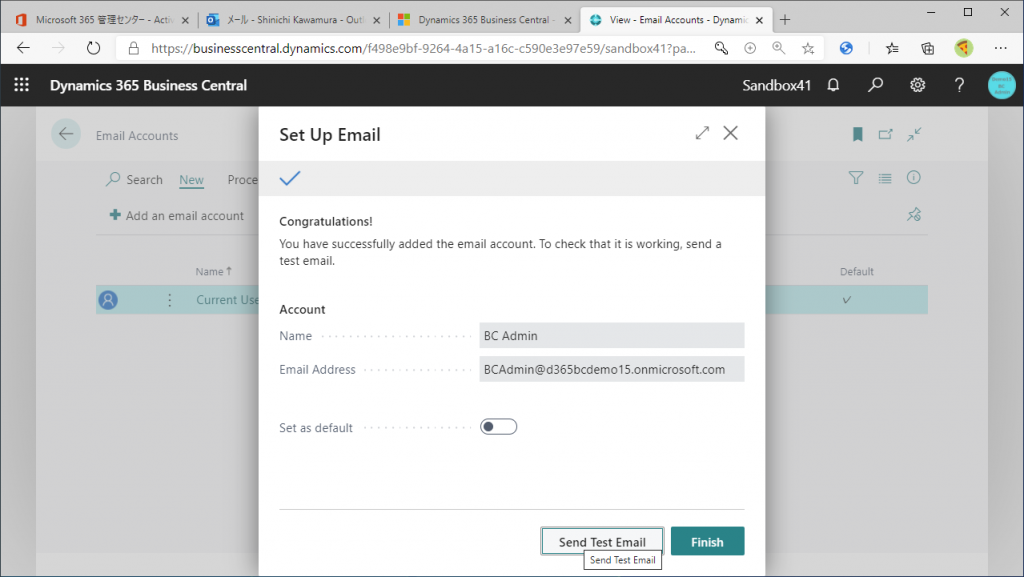
Now let’s send a test email. Click on “Send Test Email” button.
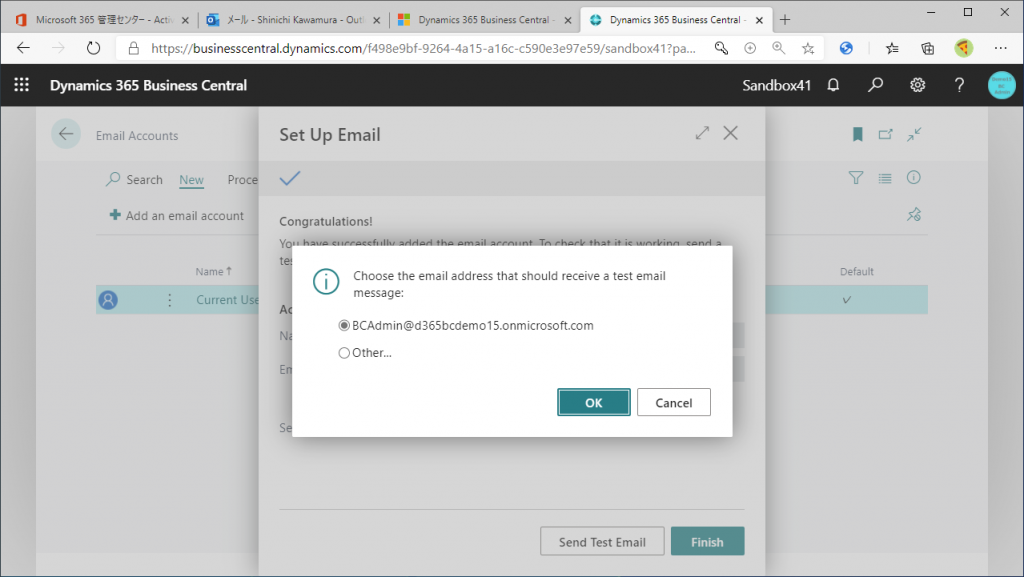
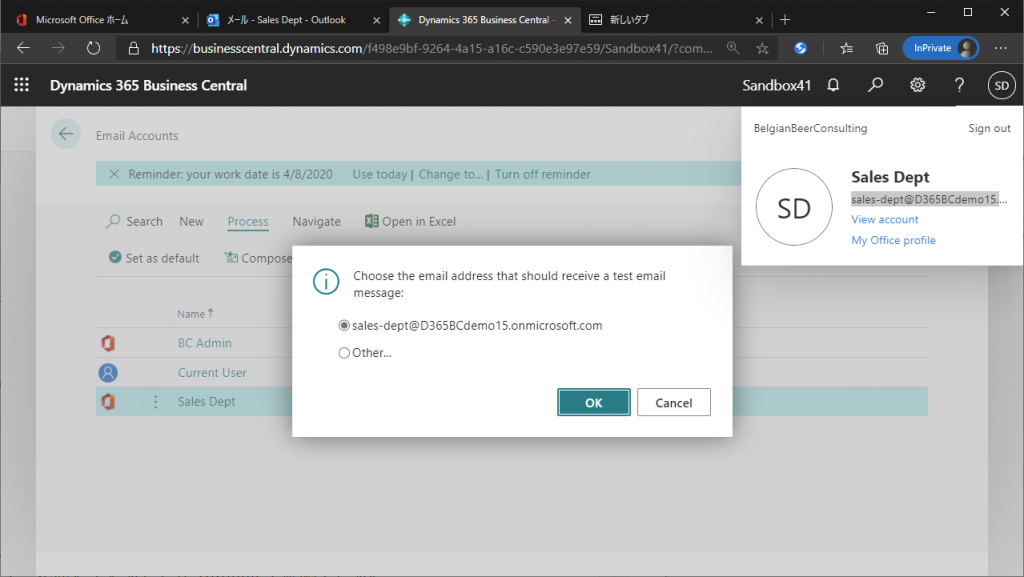
Specify the destination address for the test email. Select the radio button above because it is easier to confirm if you send it to yourself. Then click OK.
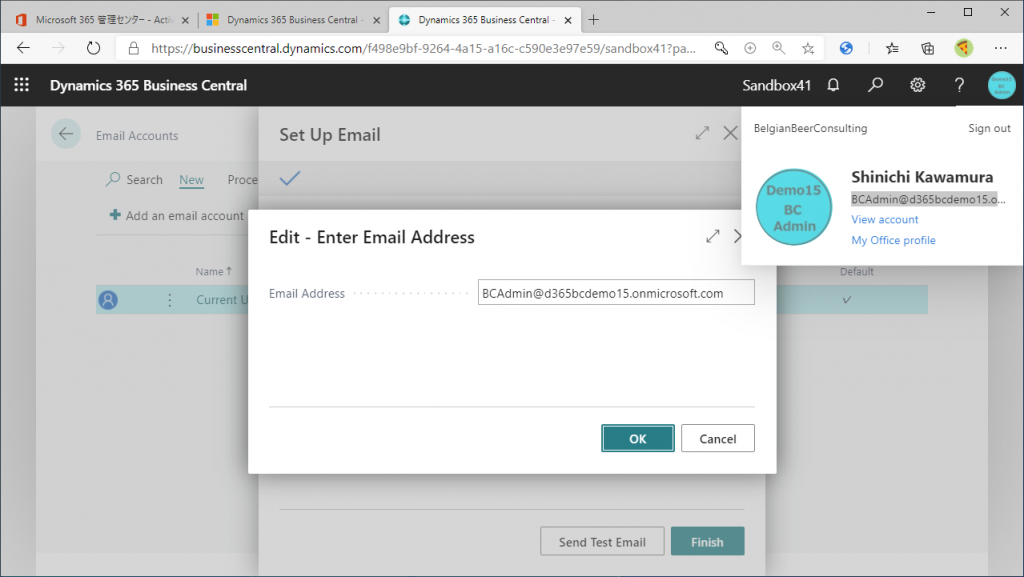
Click on OK button, again.
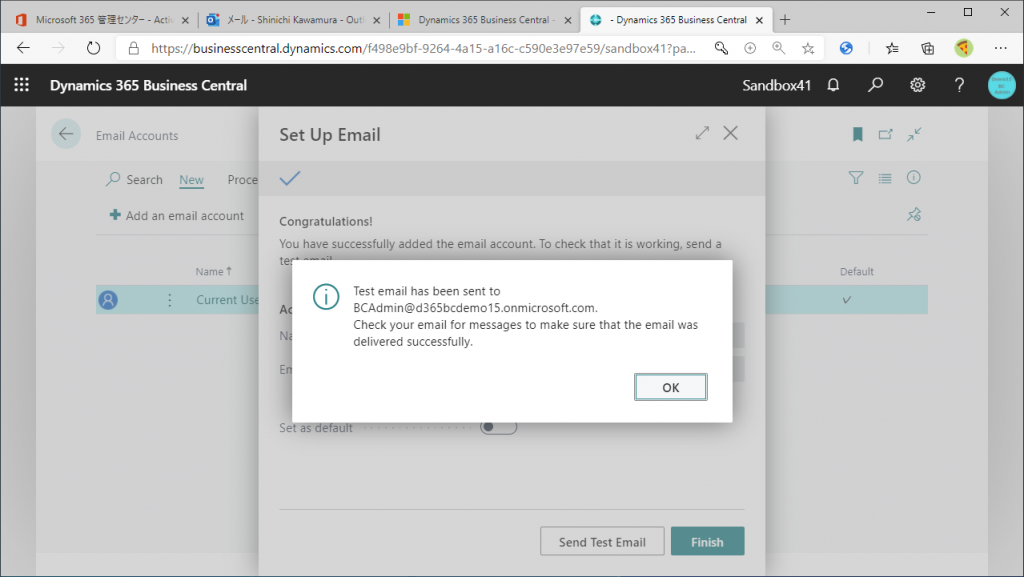
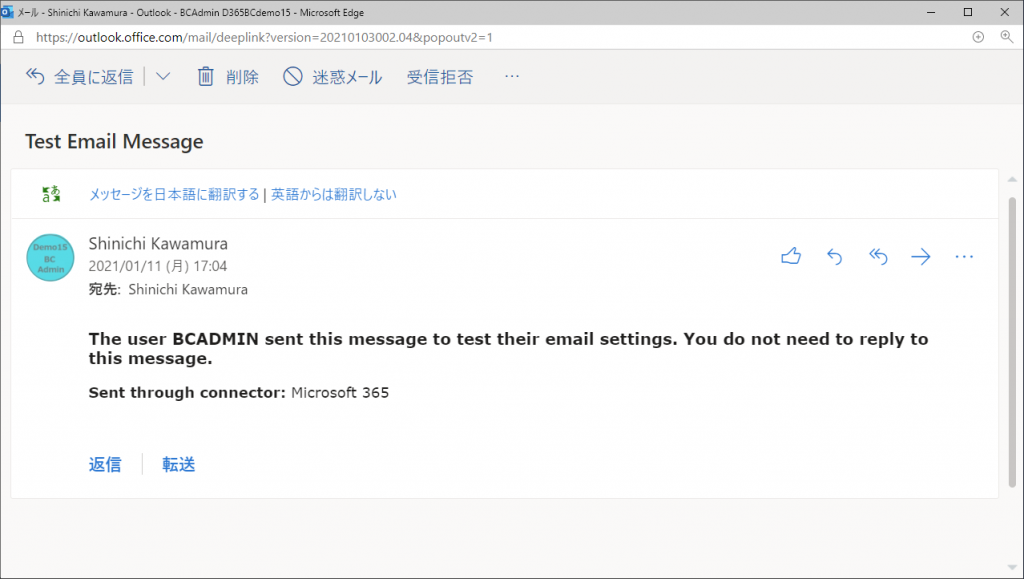
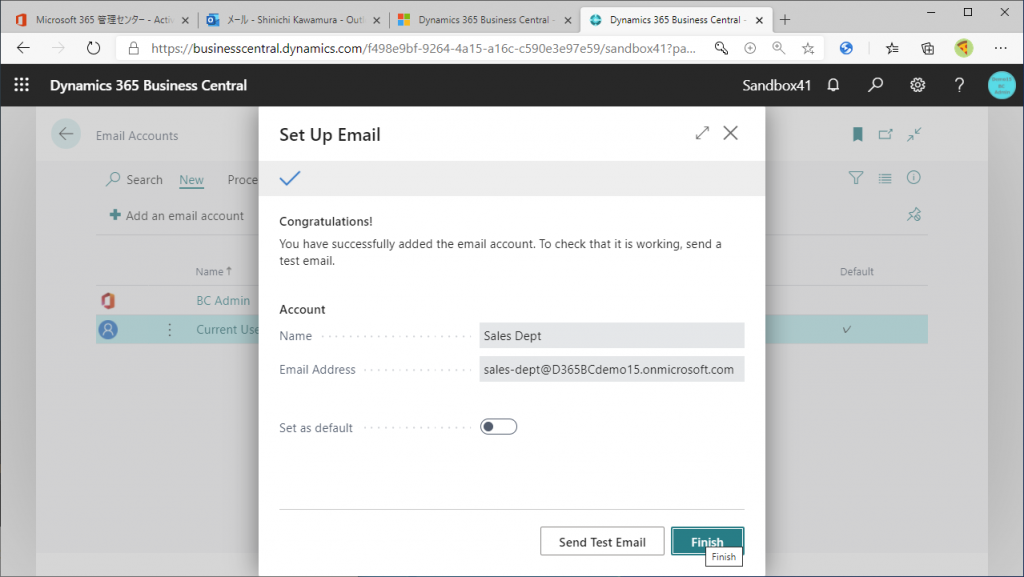
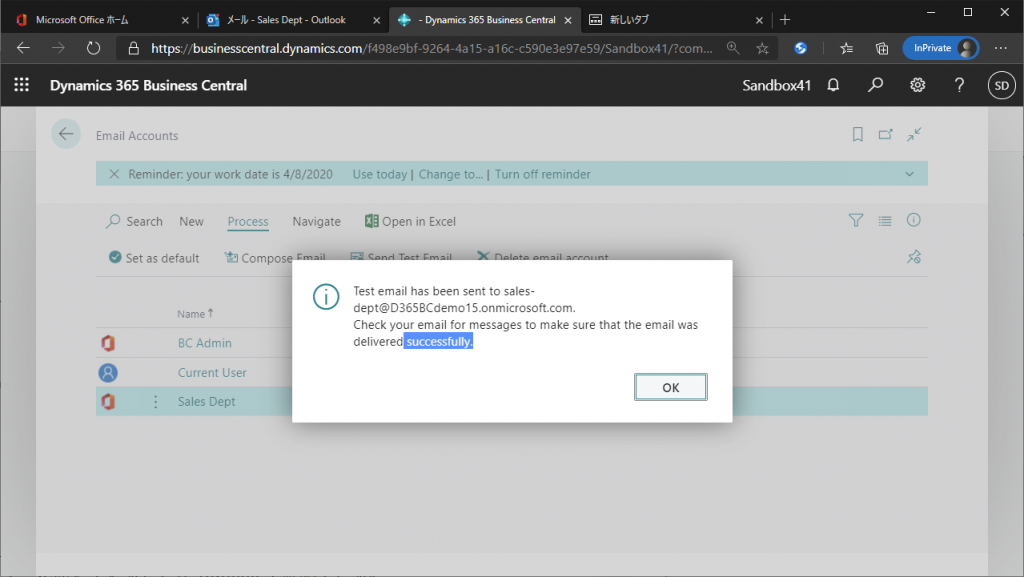
I got a message that the test message was sent without any problems.
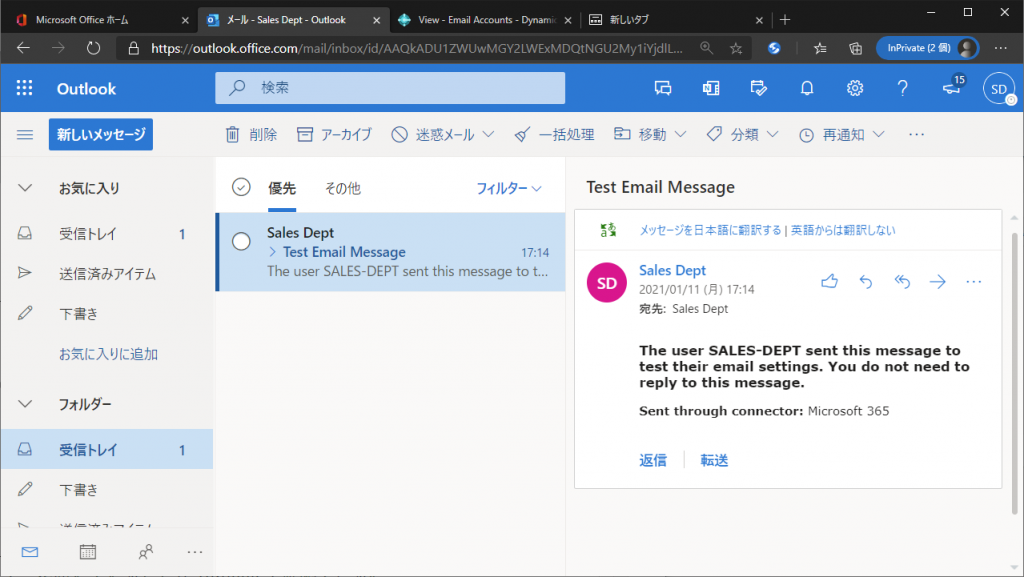
When I start the Outlook service of M365, I see that it has indeed arrived successfully!
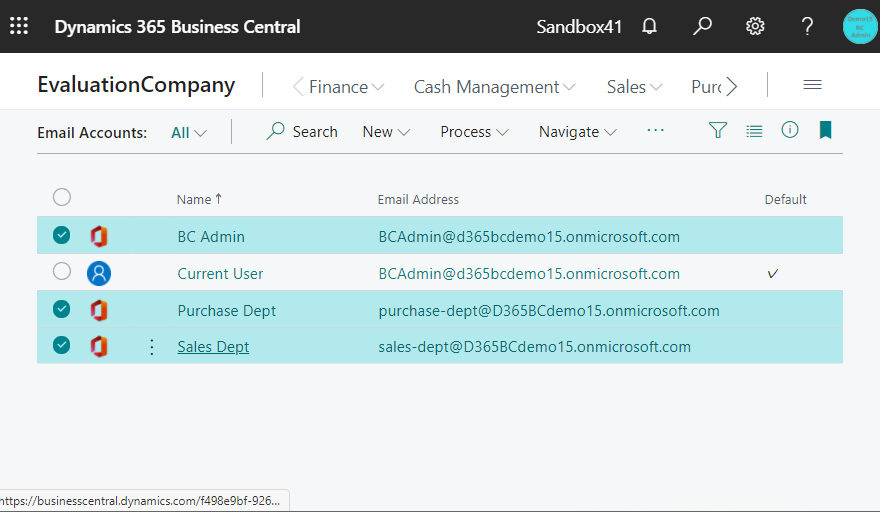
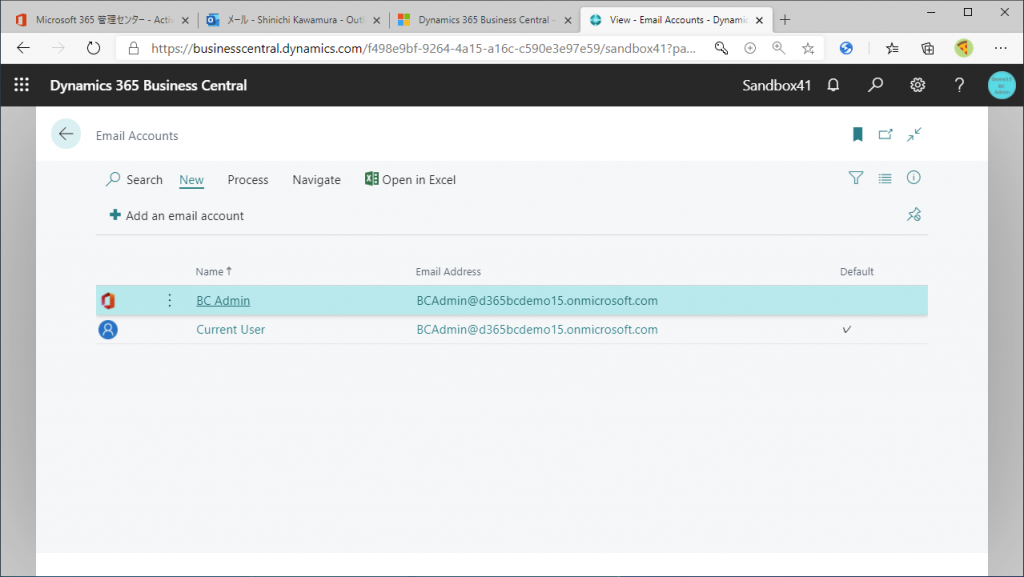
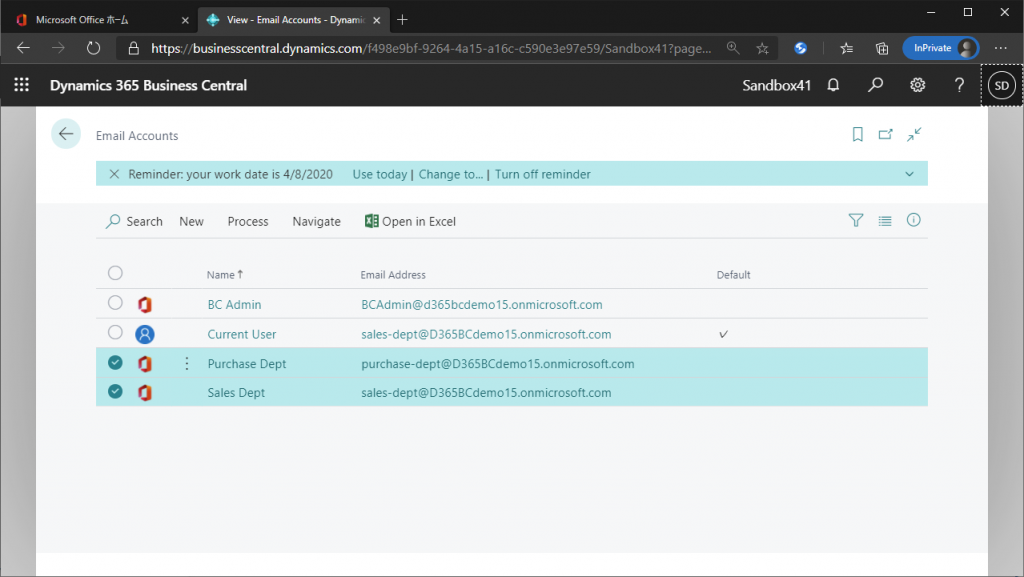
The advantage of setting up an M365 user type account is that you can have multiple senders. For example, you can use the sales department as the sender of a sales quotation and the purchasing department as the sender of a purchase order.
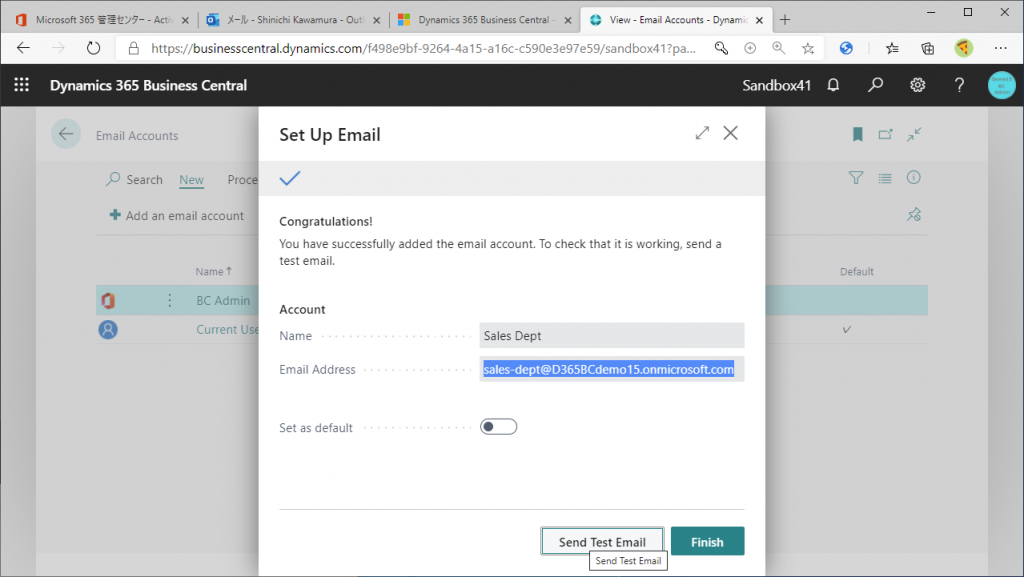
Let’s add an email address for the sales department. The procedure is the same.
Set up the account for the sales department that you have created in Azure AD. Then click on “Send Test Email”. This is the point where the problem occurs.
Sending a test email fails. It tells me to check the Outbox of the email.

For now, you can click on “Finish” button to complete the setup.
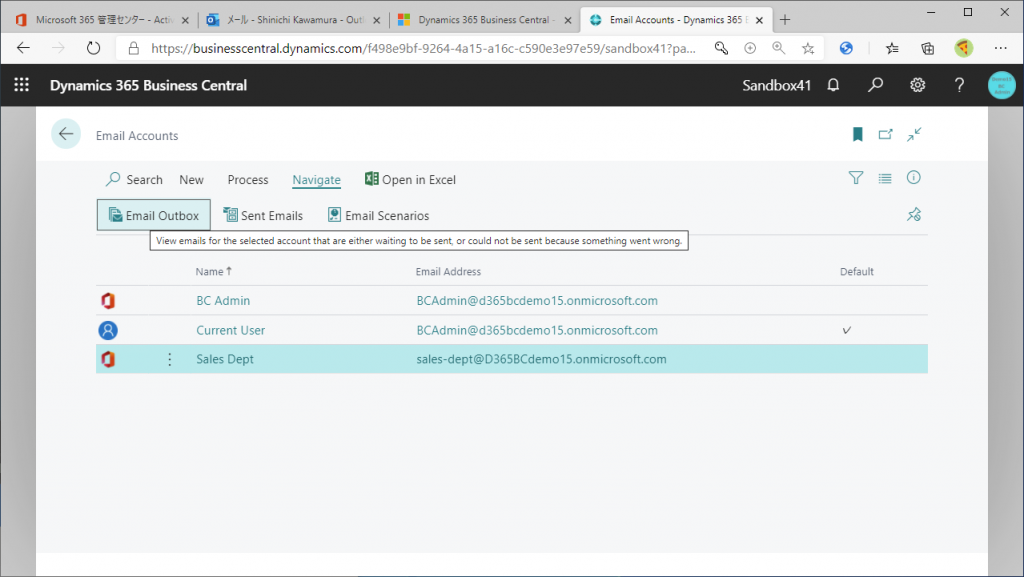
In the Navigate tab, there is an Outbox for your email, check it.
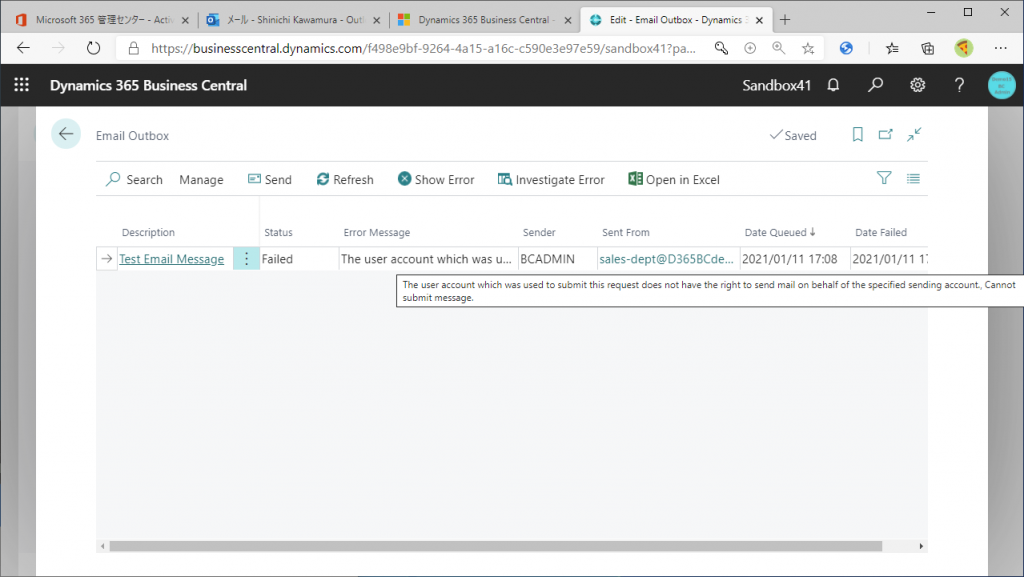
It seems that you do not have permission to send mail. As I will show later, this is simply a test mail sending issue, and the configuration itself is completed without any problems.
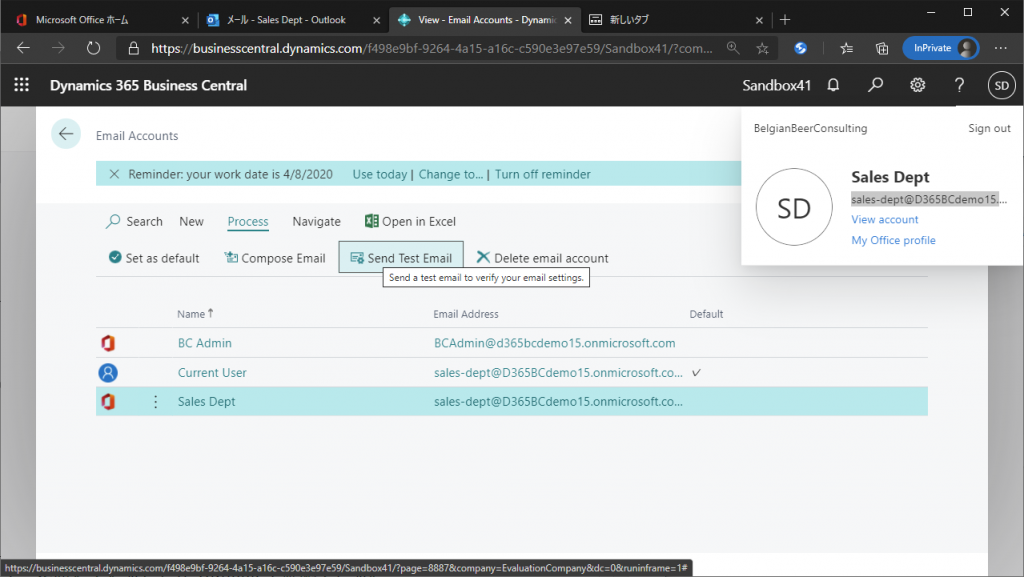
On the other screen, sign in to BC with the account for the sales department and go to the Email Account screen. (It is recommended that you sign in using InPrivate in Edge or secret mode in Chrome.) Then, send a test email.
It will be sent to you (the account for the sales department).
Then the email was sent without any problem.
In the meantime, start the Outlook service and check it. You will see that a test email has been sent to you.
Now, let’s look at the Current User row while signed in with the account for the sales department. You will figure out what “Current User” means.

Let’s create an account for the purchasing department as well. You can see that you can create multiple Email Accounts in your M365 type account.
In the next article, I will finally try to edit and send an email.
2件のコメント