
I would like to introduce you to the new features of D365BC’s 2020 Release Wave2, which include enhanced email feature.
Summary
– Security has been enhanced.
– You can have multiple senders. For example, One is a sales account and another is purchasing account.
– Logged-in users can be senders.
– The expressiveness of e-mail has been improved. You can edit the body text in rich text and attach documents.
– The sending history of e-mails are logged and can be checked on the BC.
By the way, the conventional SMTP format is scheduled to be unavailable from the fall of 2021, so it is better to switch to the new system as soon as possible.
In this article, I will explain how to set up the login user as the sender. As a prerequisite, you need to have the license and permissions to send emails yourself. In this case, I assigned a Teams free version license and enabled Exchange.
Detailed
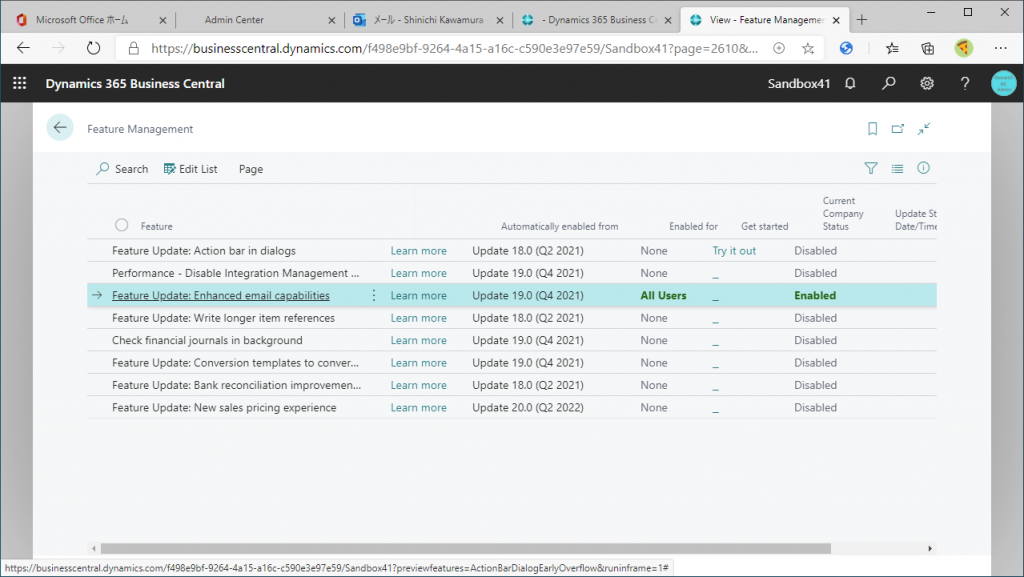
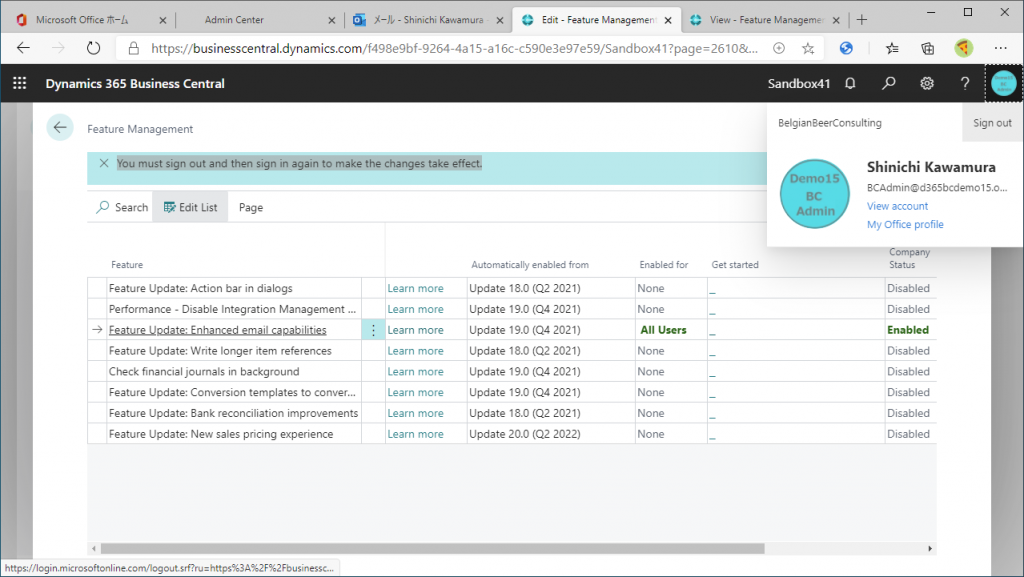
First, you need to enable the feature. From the tell me what icon, do a keyword search for ‘Feature Management’ to view Feature Management list page, and in the ‘Feature Update Enhanced email capabilities‘ row, set ‘Enabled for’ column’s value to ‘All Users’. (The following screen is in inquiry mode, but you can tap on Edit List button to switch to edit mode and modify to All Users.
You will need to sign in again.
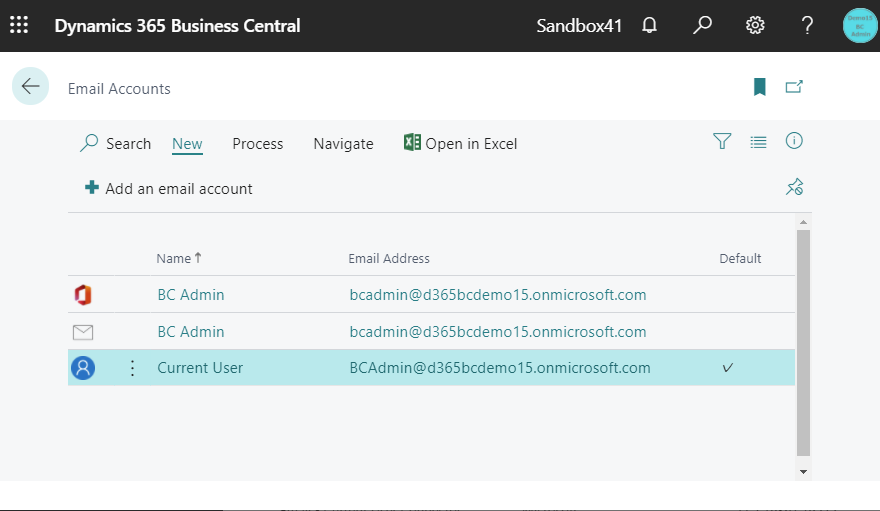
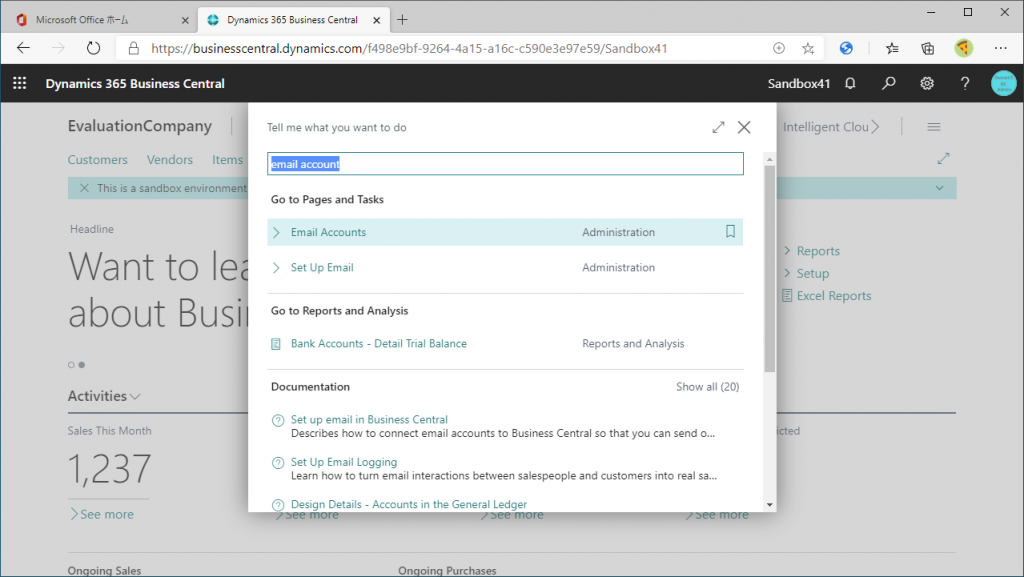
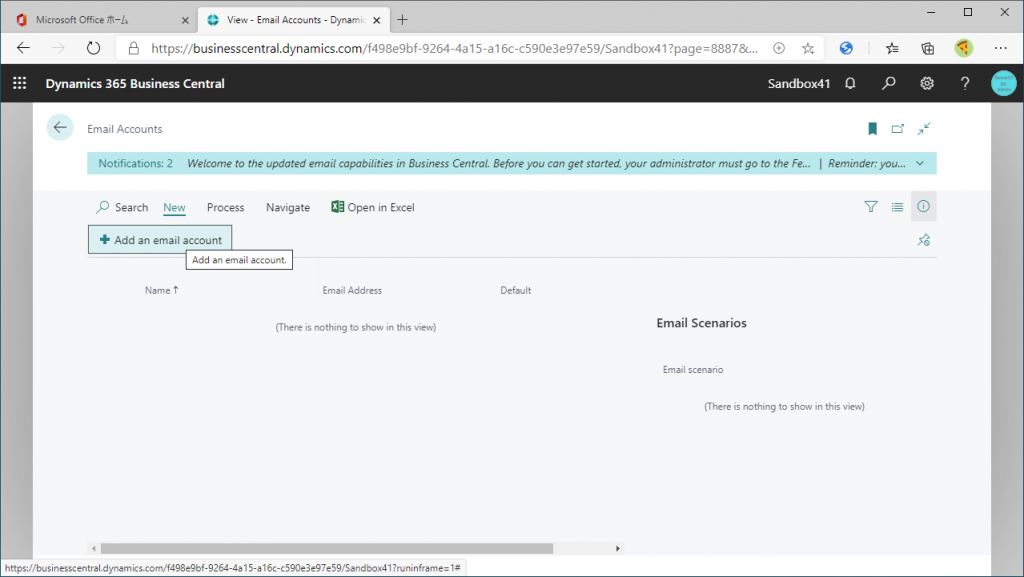
After you sign in again, use the tell me what icon to search for the keyword ‘Email Account’ to access the feature.
In this screen, you can add an account and configure it. Initially, there are no lines as shown below; click the “+Add an email account” button from the New tab.
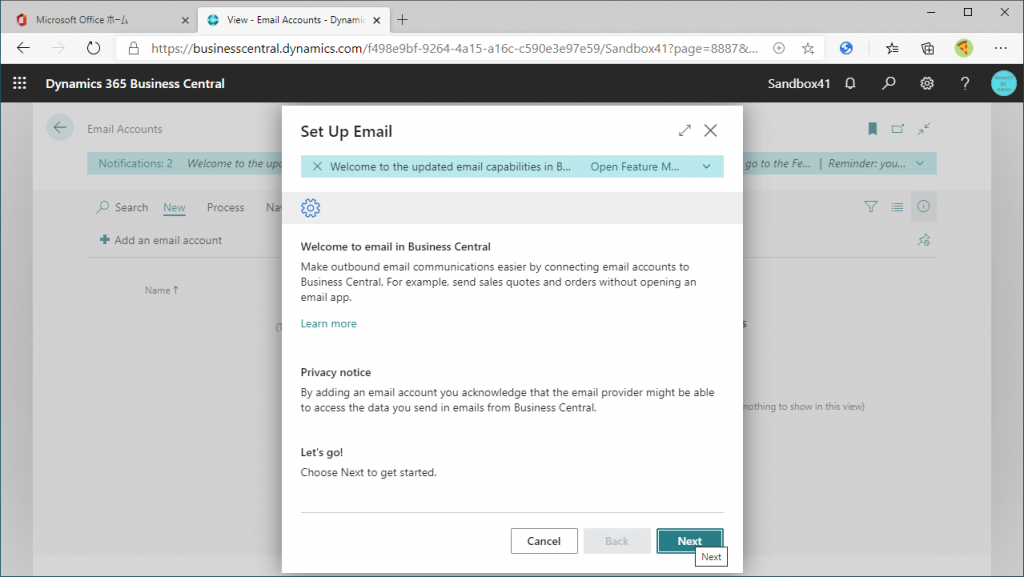
Setup account for email wizard will start. Click “Next”.
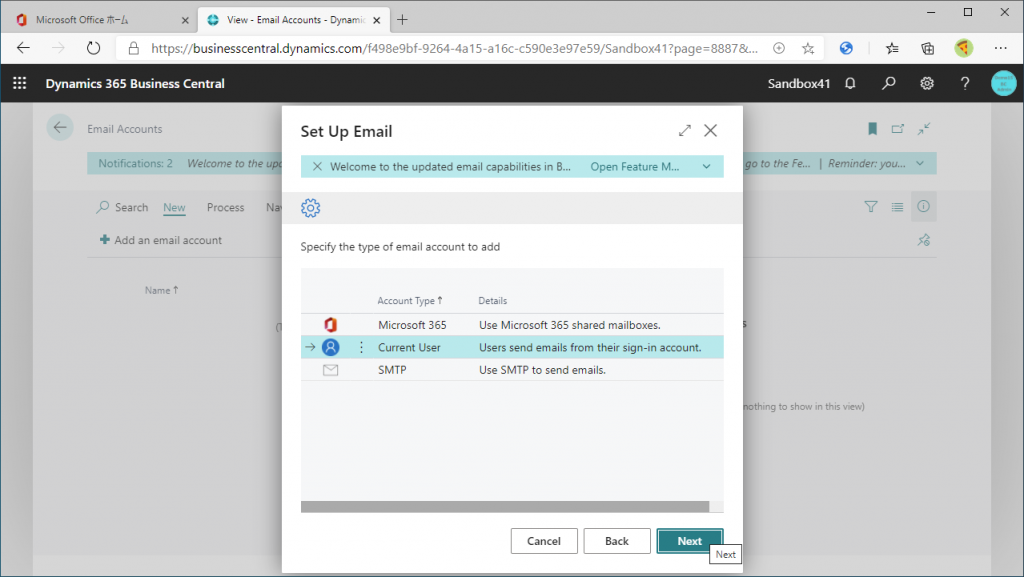
Select the type of account you want to add. The bottom one, “SMTP” is the traditional format. The top one, Microsoft 365, is the format used when you want to use multiple fixed users as the sender (ex. for sales and for purchasing). This time, select Current User in the middle and click Next.
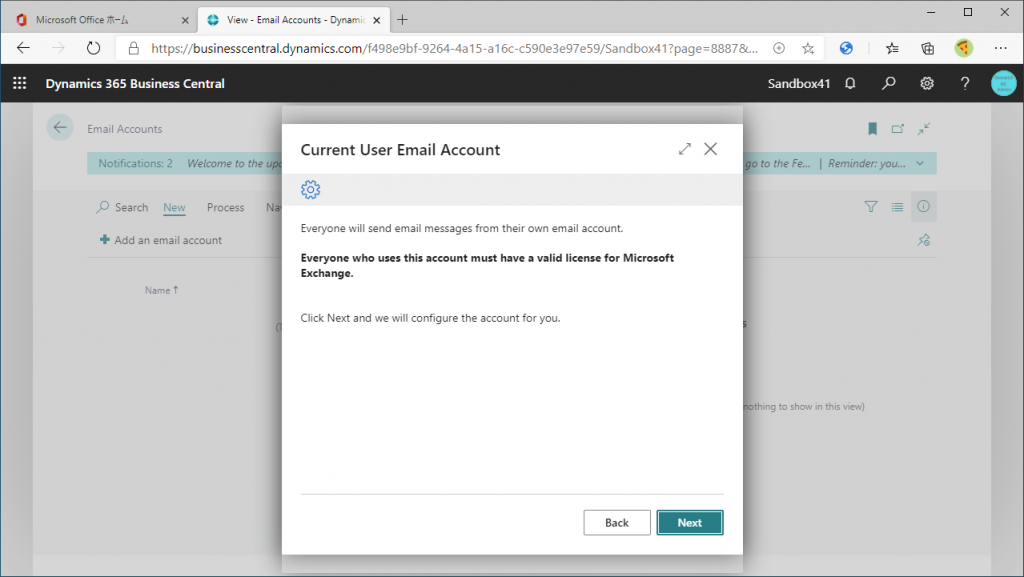
Click on the “Next” button.
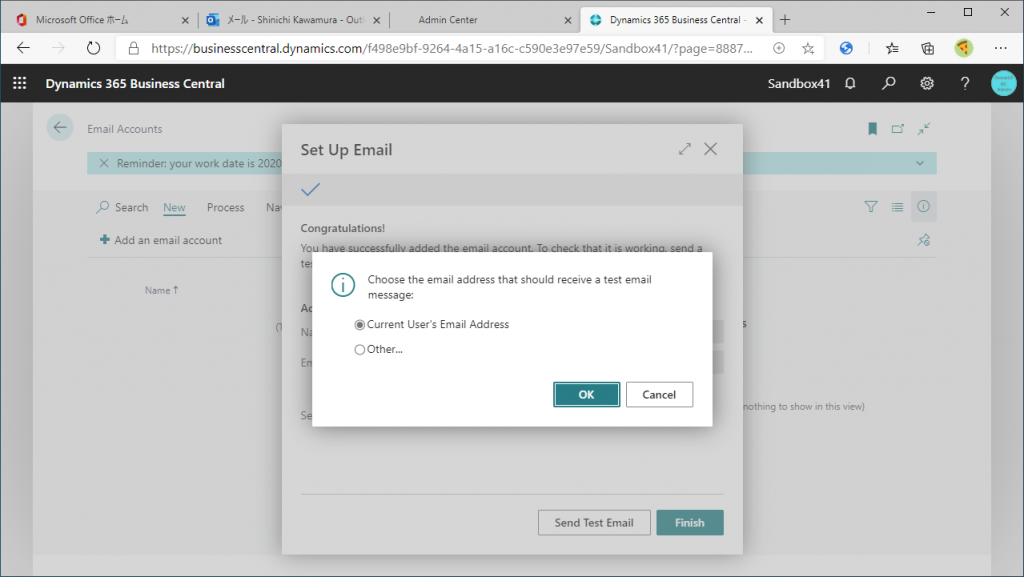
Click on ”Send Test Email” to send a test email.

Select the radio button ”Current User’s Email Address” and click on OK button.
I got a message that my email address is invalid.
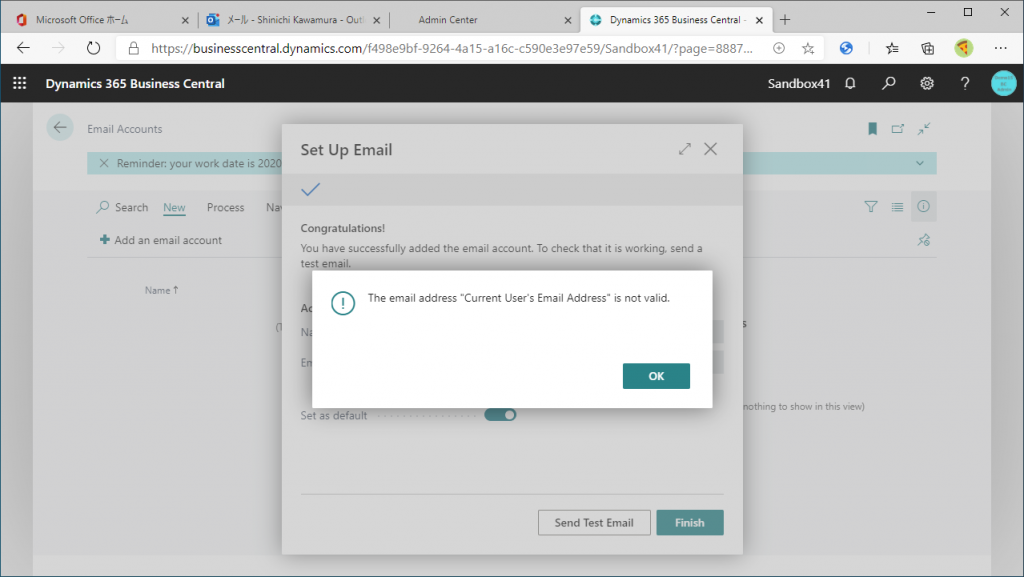
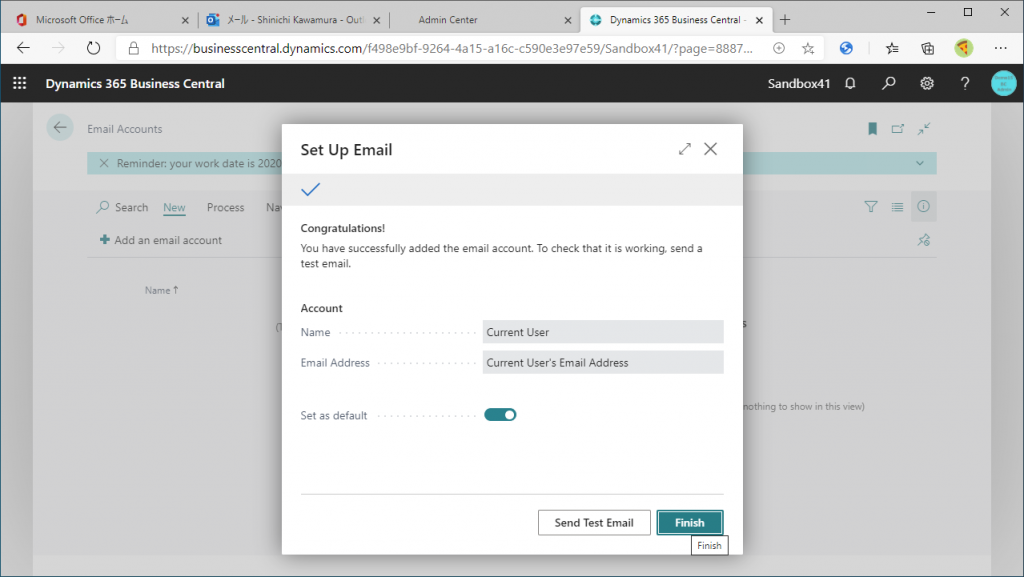
But actually, you can proceed without worrying about this. Click Finish.
The account line seems to have been added. Let’s send a test email again, from the Process tab, click Send Test Email.
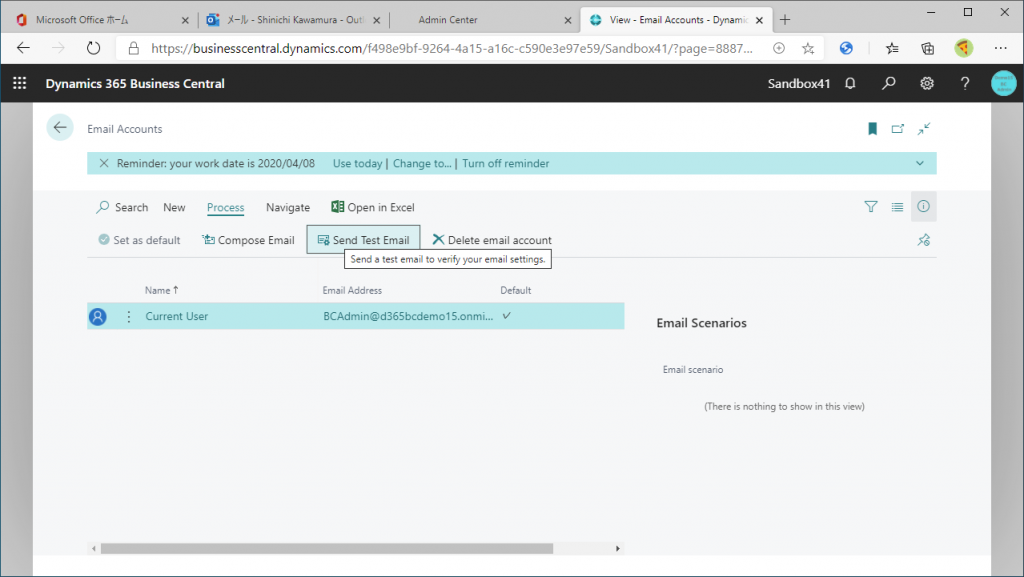
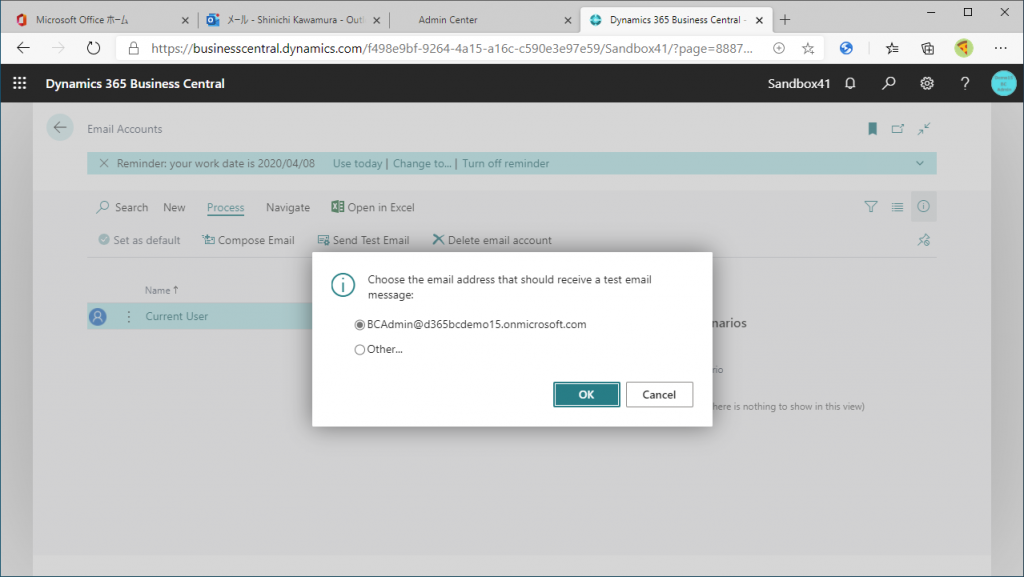
Your own user ID will be displayed, select it and click on OK.
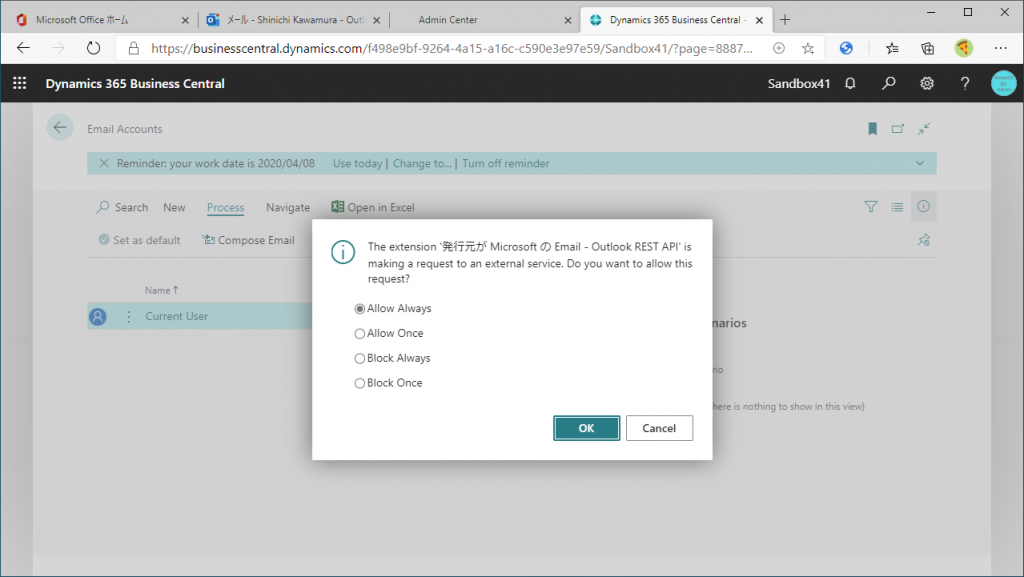
Then you will see the following message. This seems to be the cause of the error I just saw. Select Allow Always and click OK.
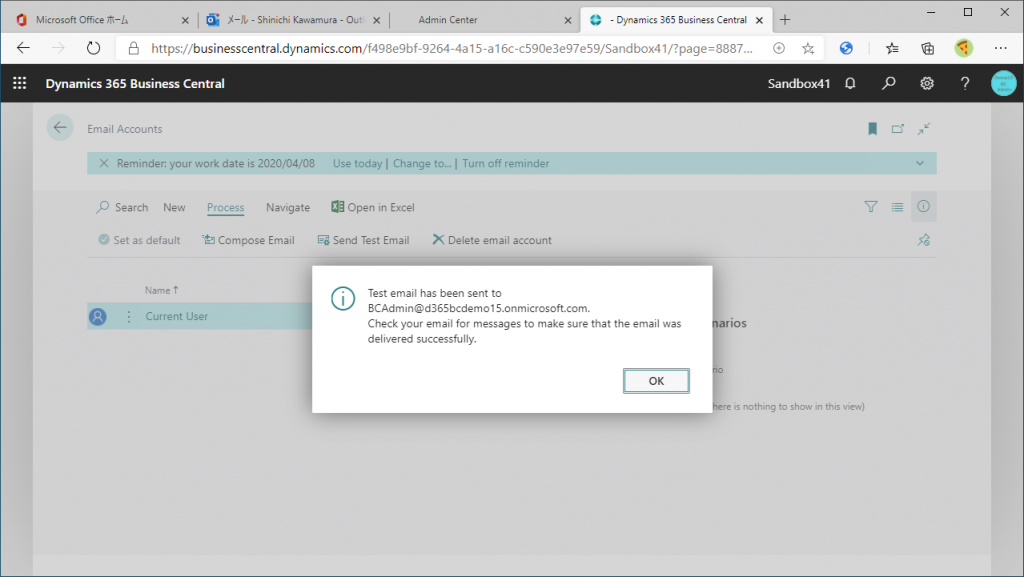
The test email has been sent successfully.
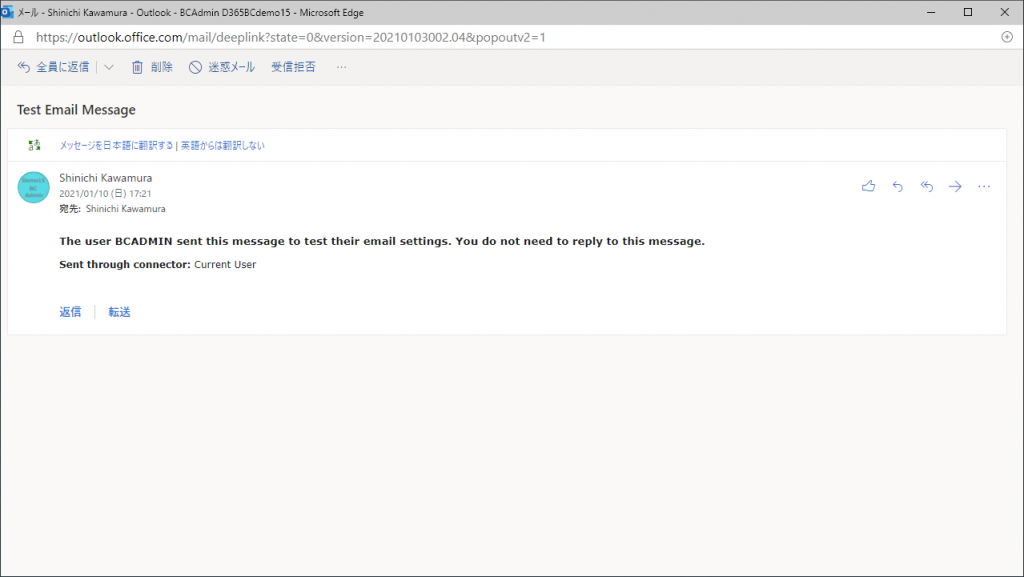
I can saw that it had arrived successfully on my outlook. (This is a test email from myself to myself.)
Sending with Current User is easy to set up, while sending with Microsoft 365 requires specifying the account, so the wizard scenario is a bit longer.
Next blog post, I will configure M365 type account.
3件のコメント