
In my last blog post, I introduced that you can now easily send emails from the card page of a master with an email address. In this blog, I would like to introduce you to the new feature to send a formatted message using a template.
This is a new feature added in the 2021 Release Wave2 of Dynamics 365 Business Central.
Send mail from entities using Word templates as body or attachment | Microsoft Docs
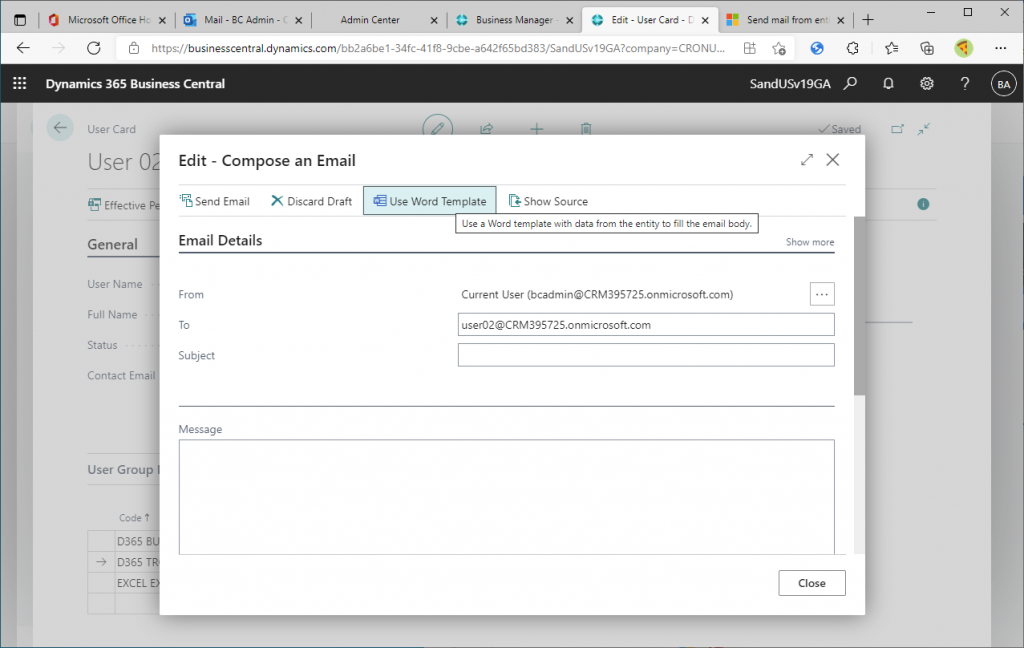
There is a Use Word Template button on the page where you are editing the message, so let’s click it.
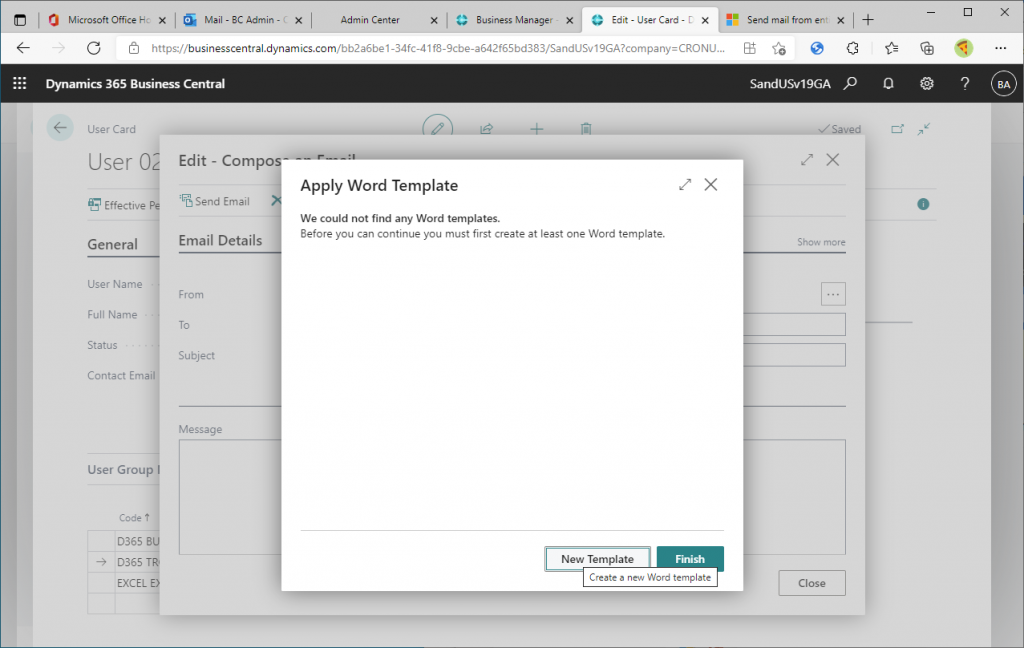
A message will appear saying that the template cannot be found. Click on the New Template button.
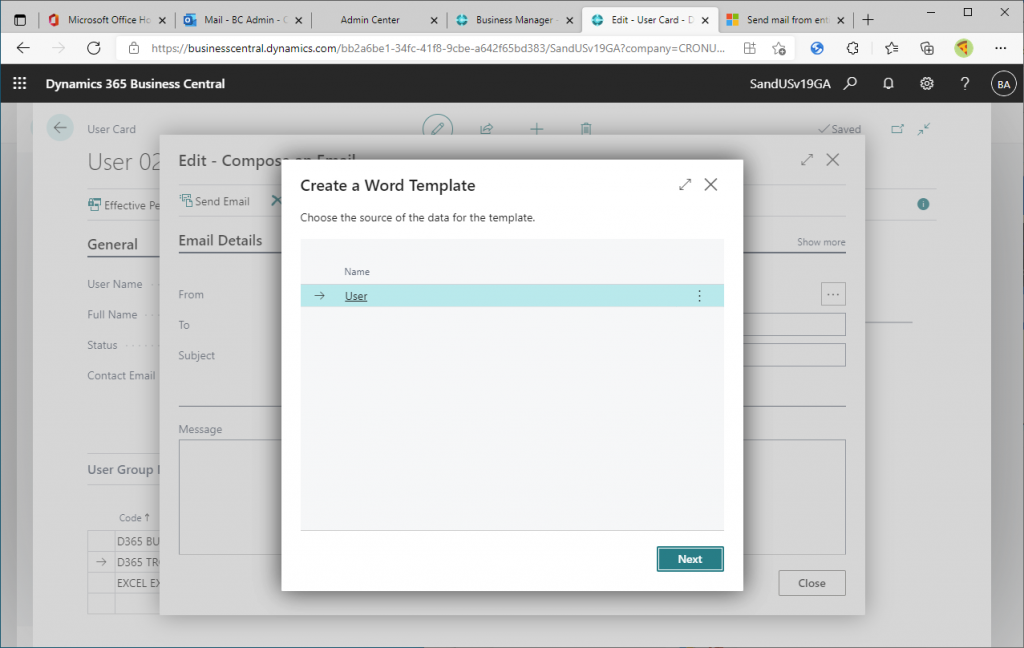
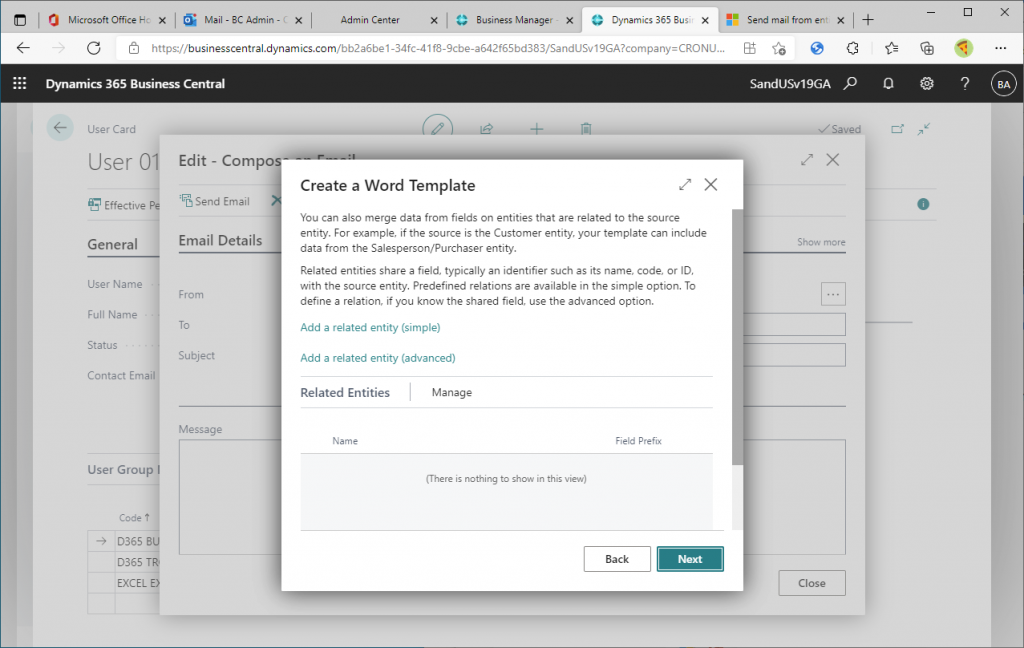
You can register a template for each type of master. In our example, we are trying to register a template from the user master, so it is displayed as User. Click Next to proceed here.
There are instructions on how to create a template. For example, the name of the recipient of an e-mail is obtained from the Customer record, and the name of the person in charge at the end of the e-mail body of is obtained from the Salesperson record associated with the Customer record. Since this is a user master, I will proceed without using the association.
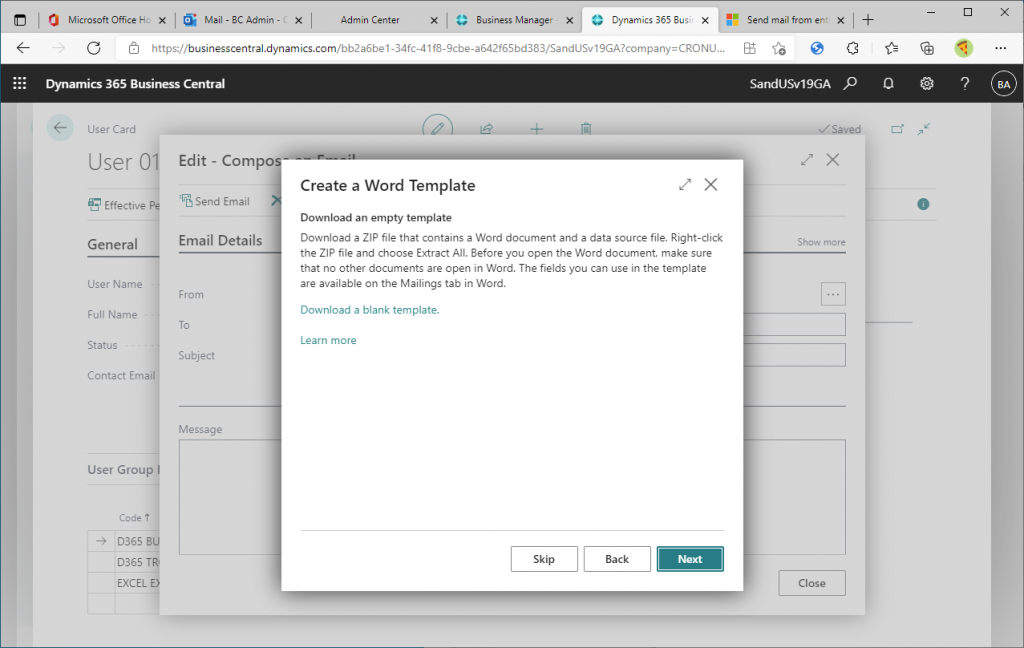
This page explains how to make a template. First, download the template, extract the zip file, and edit the Word file.
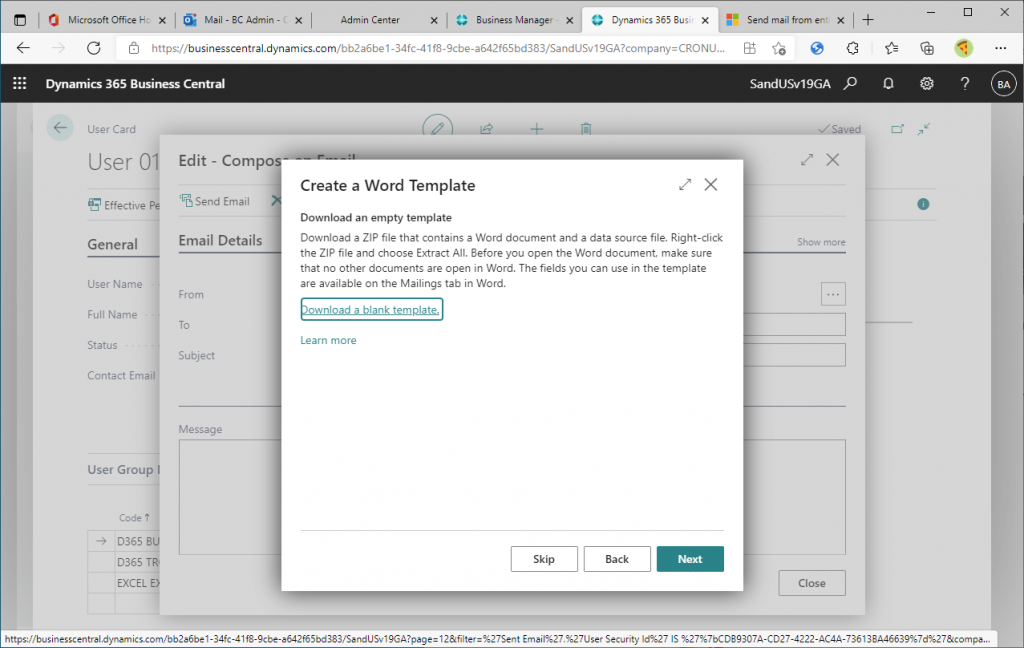
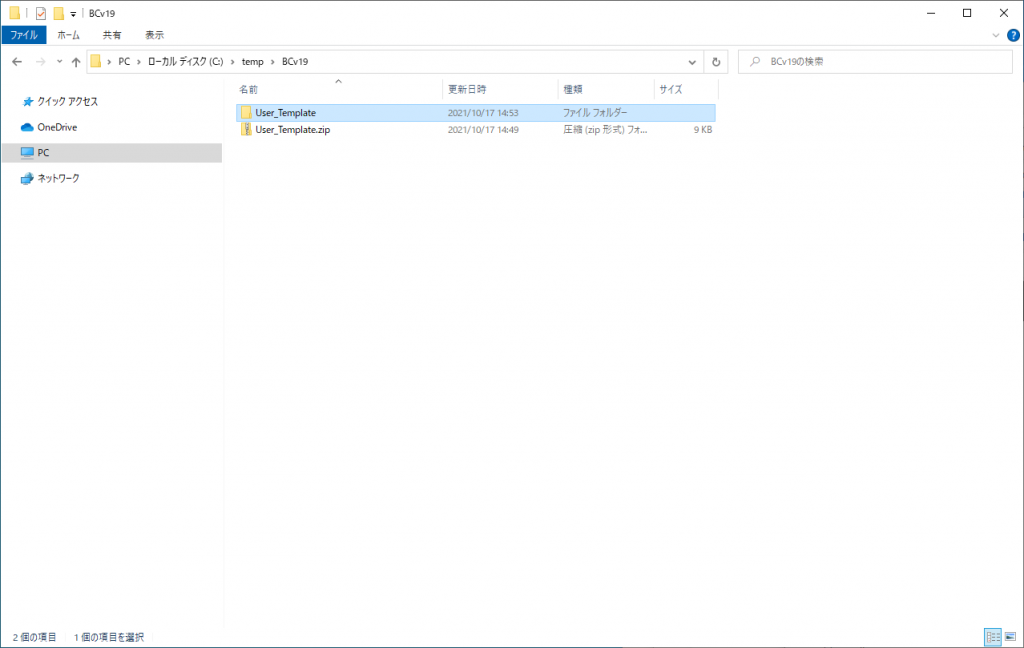
A zip file will be downloaded, move it to an appropriate location and extract it.
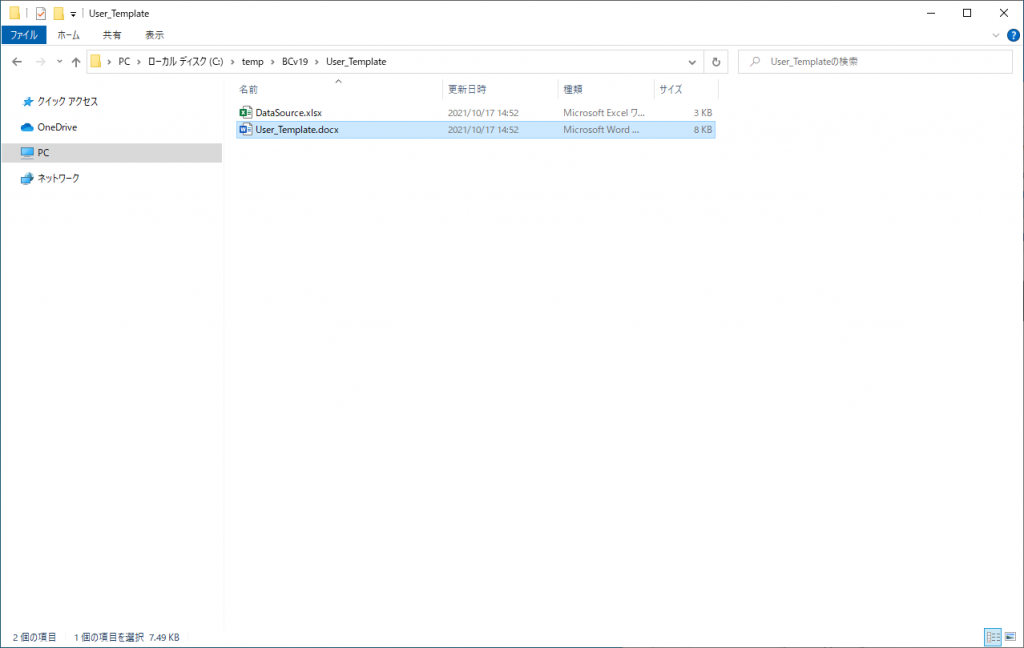
Open the extracted zip file folder and you will find Word and Excel. Open this Word file.
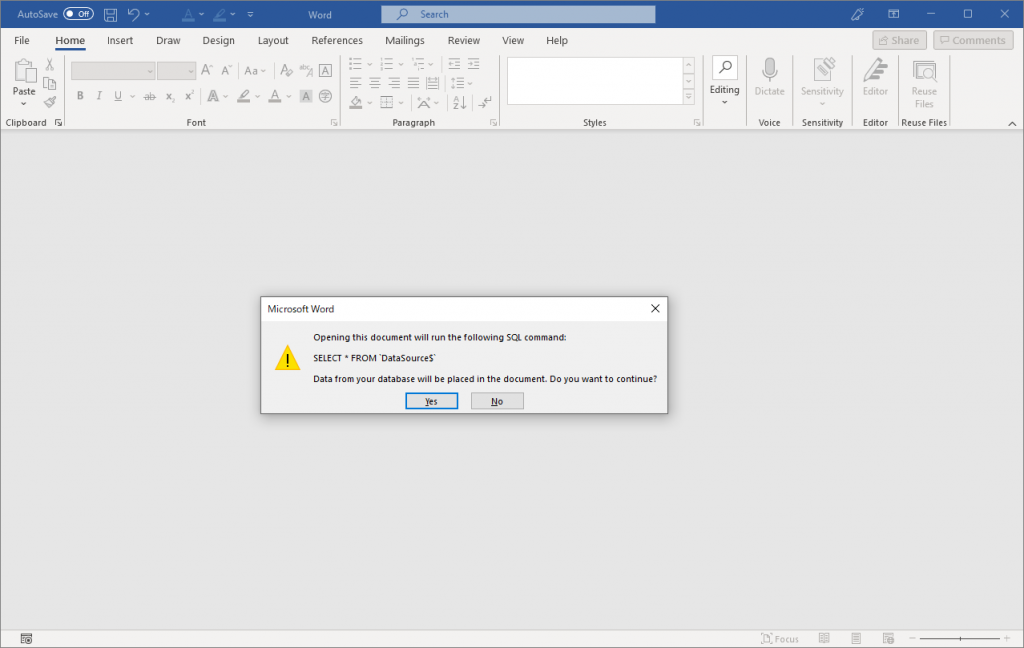
When you open the Word file, you will see the following message: Click Yes to proceed.
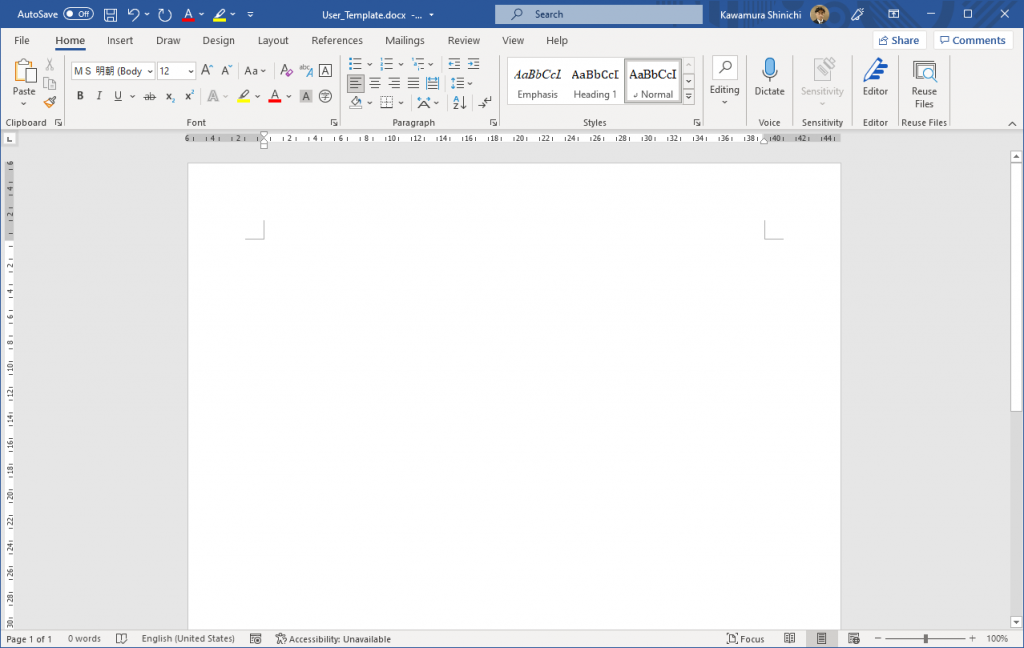
A blank template is now displayed.
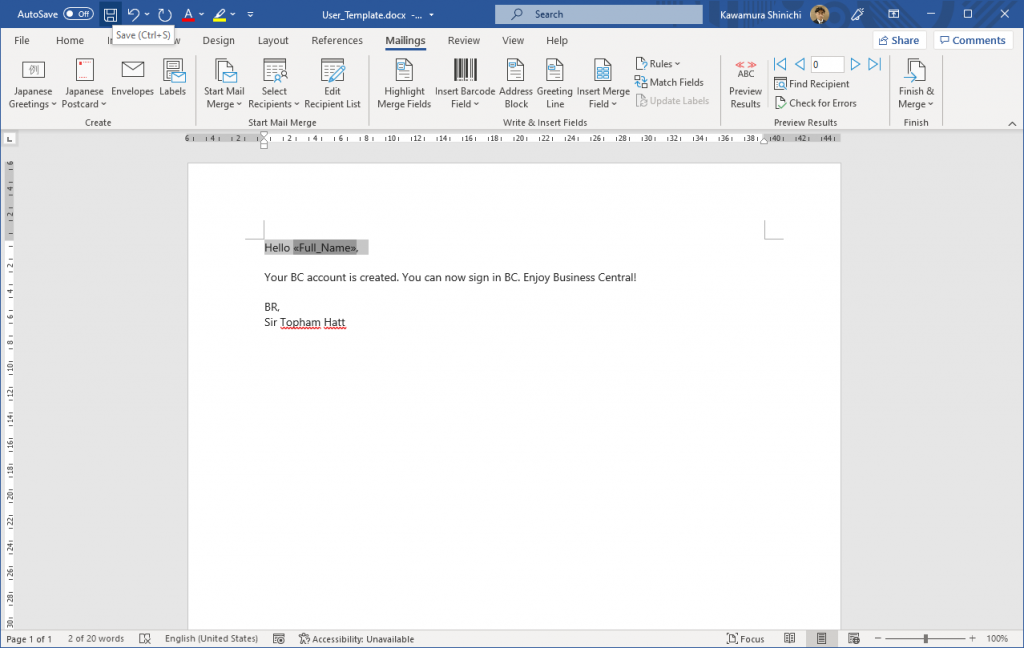
Copy the email sent in the previous article.

Paste it into a Word file. Of these, the name of the recipient needs to be changed according to the contents of the User card.
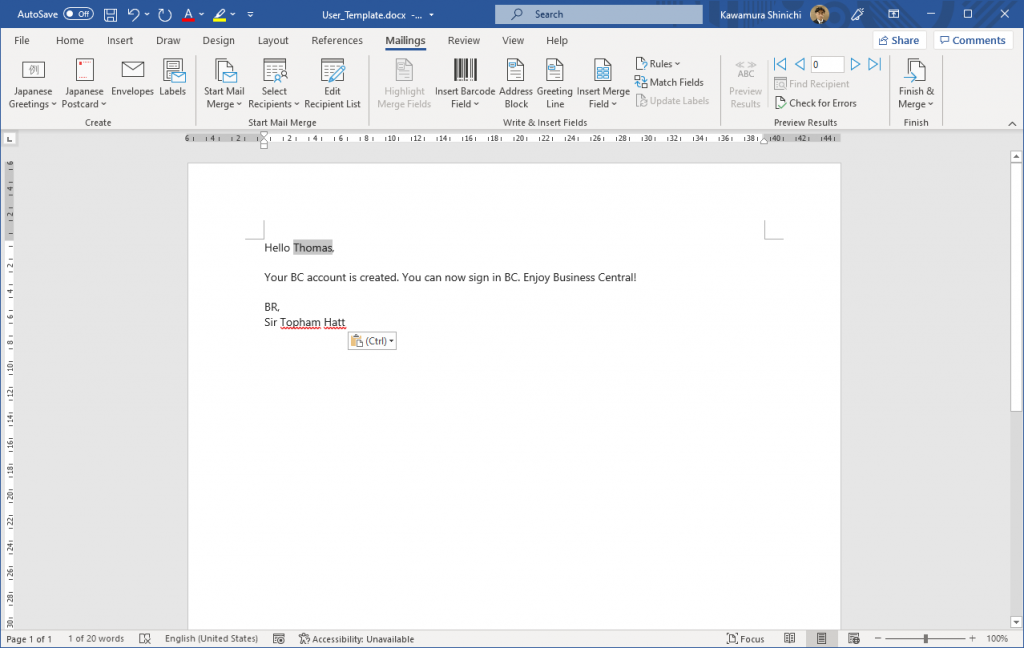
Select the Name in mail body, and then select Insert Merge Fields from the Mailings tab in Word, and select Full_name.
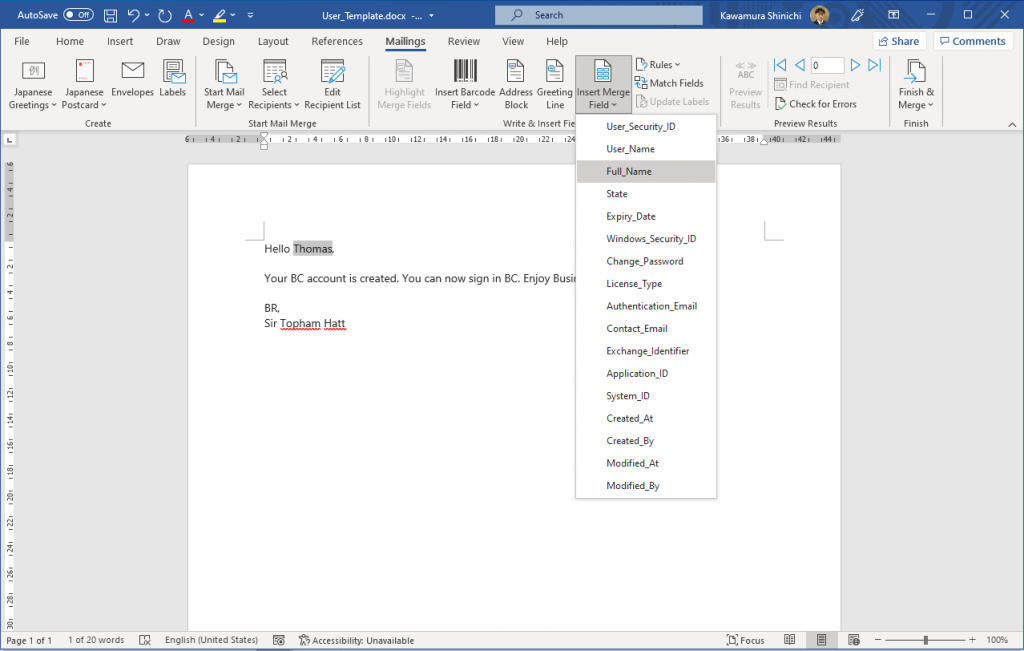
The name is now replaced by a variable called Full Name. Save and close the Word file.
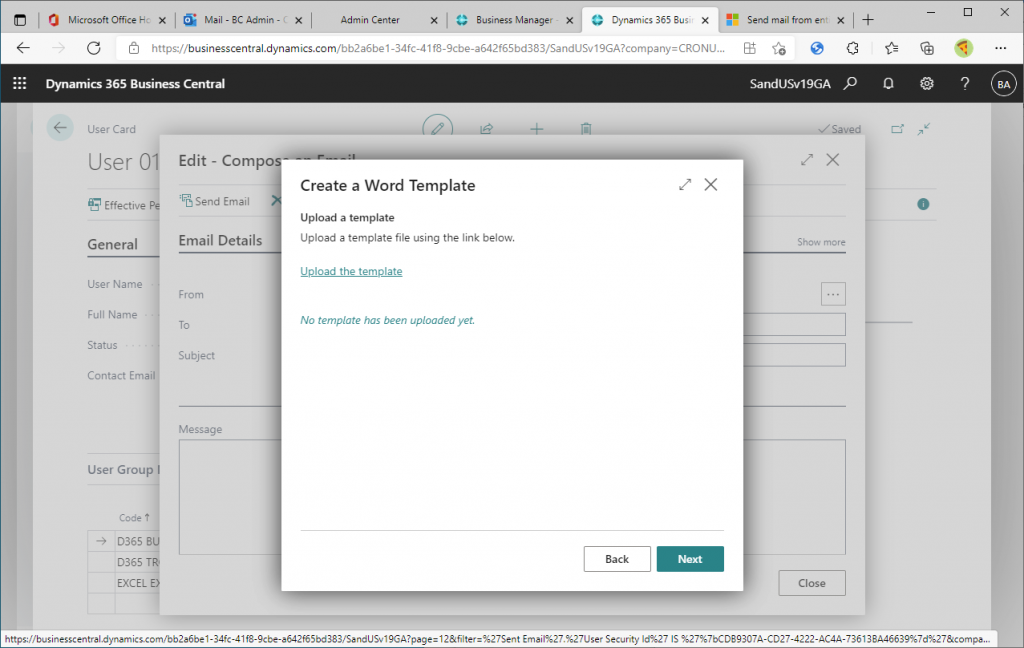
Go back to the BC page. This is the page where you have just downloaded the template.
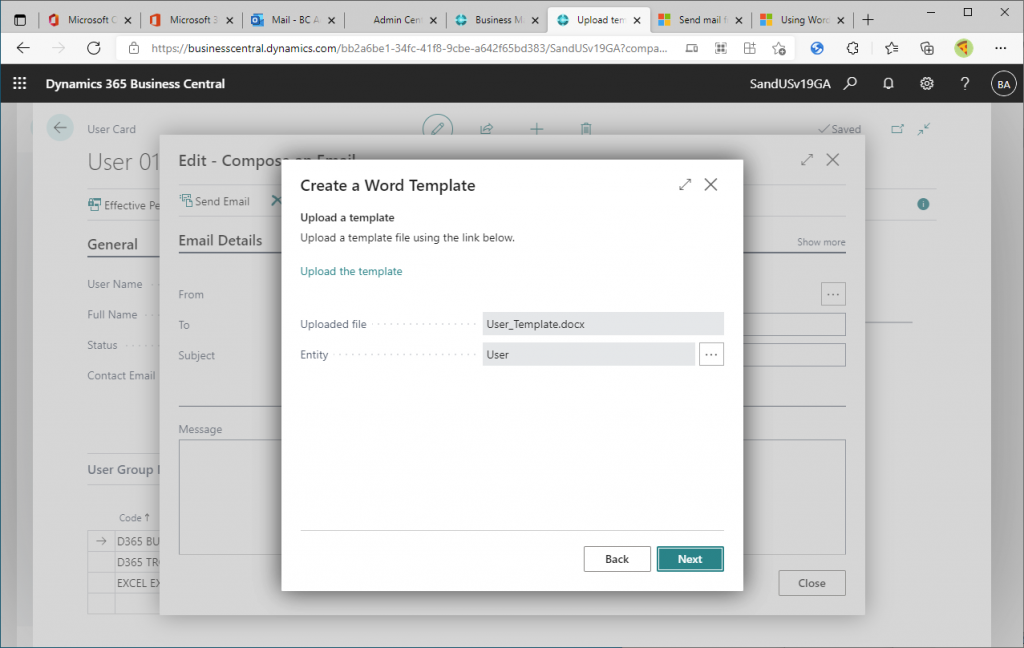
Click on the Upload the Template link.
Click on the “Choose…” button.
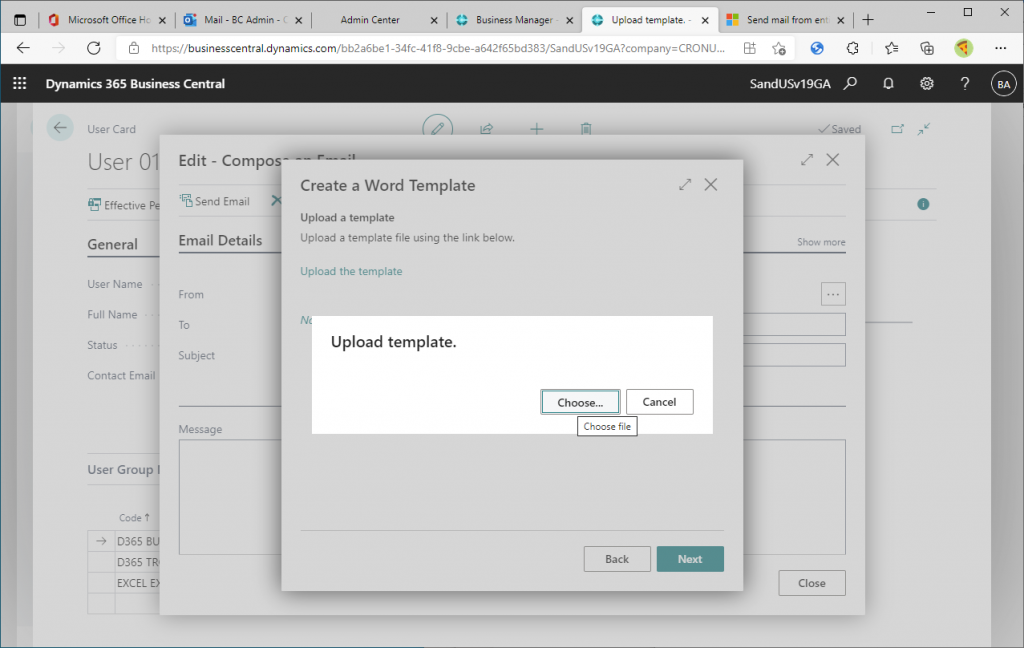
Select a file. Select the Word file you have just edited.
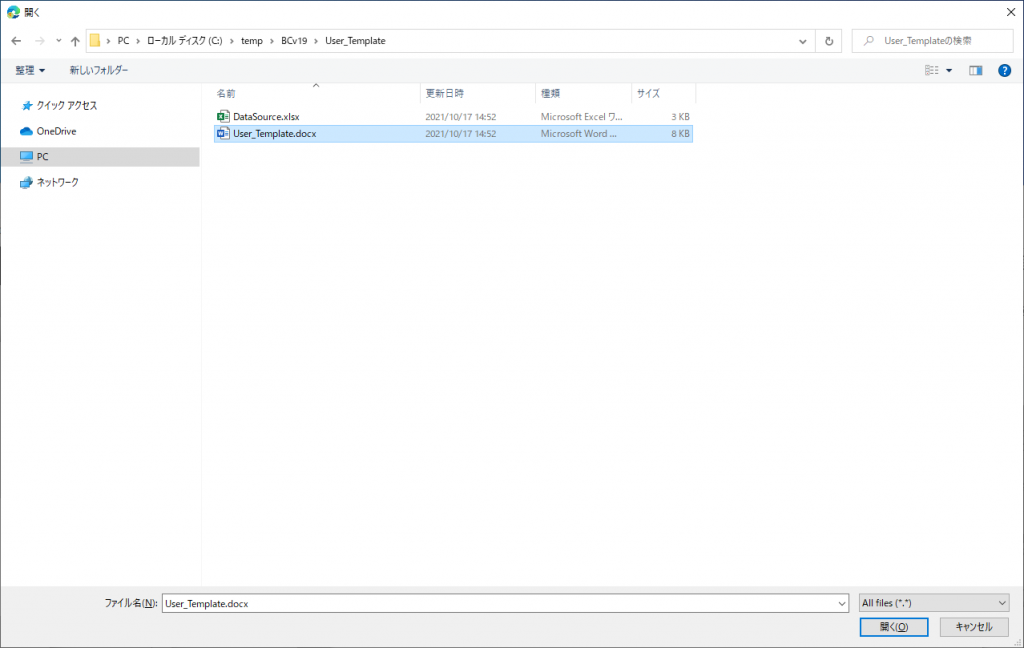
The file has been uploaded, click Next to continue.
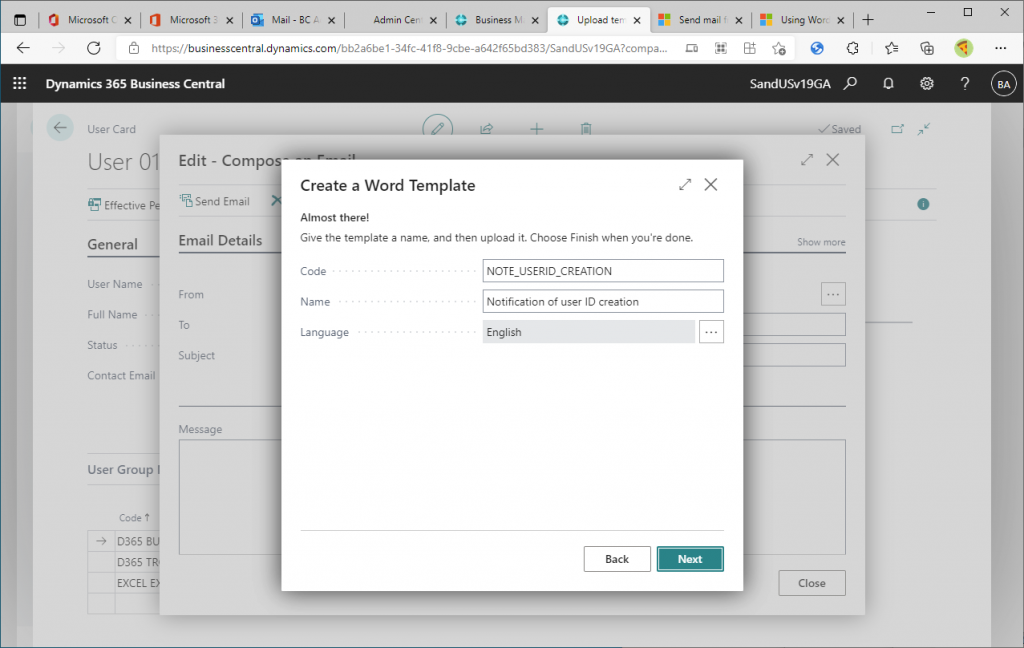
Give a name to the template you have just uploaded. Then proceed with Next.
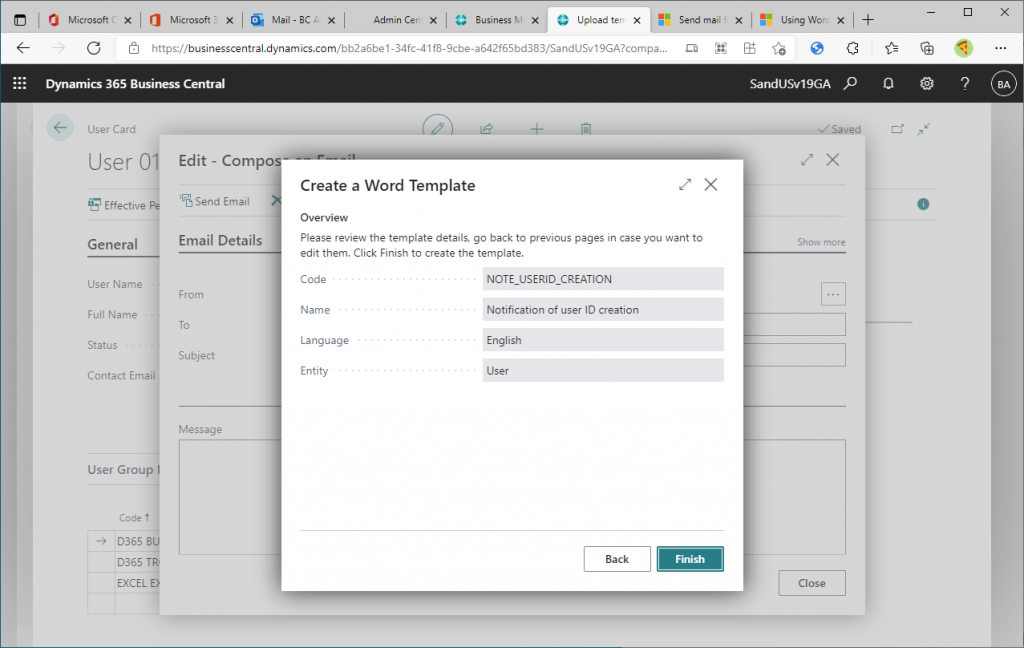
The template is now registered, click Finish.
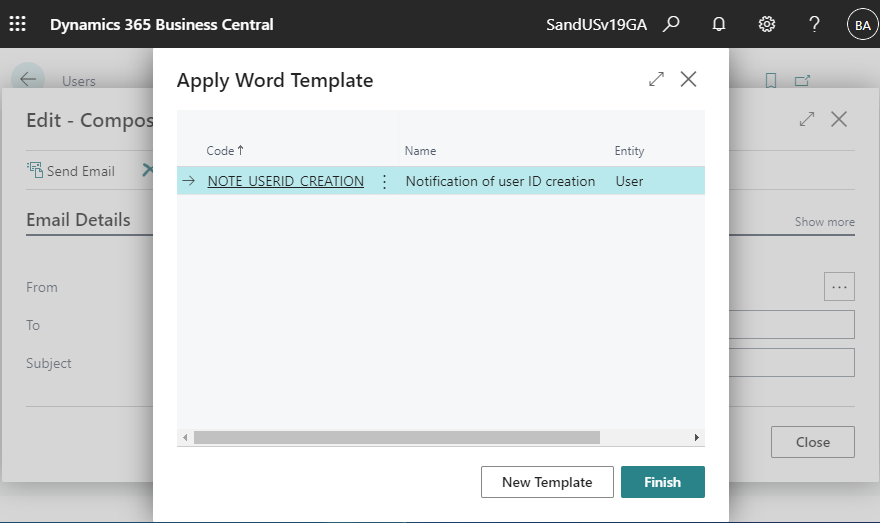
Let’s apply the template. Click the Finish button.
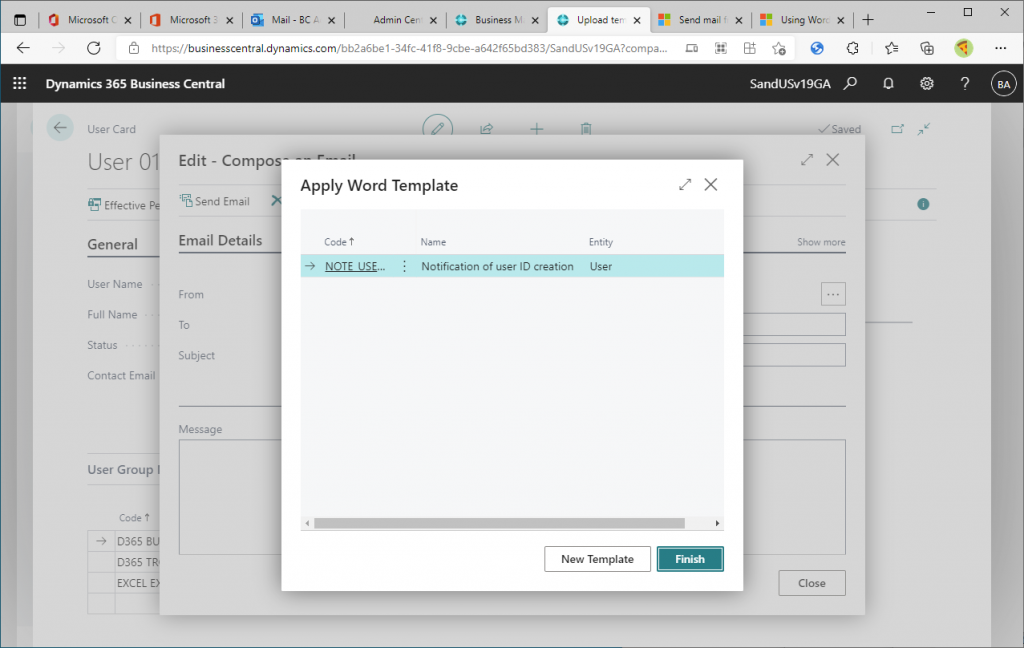
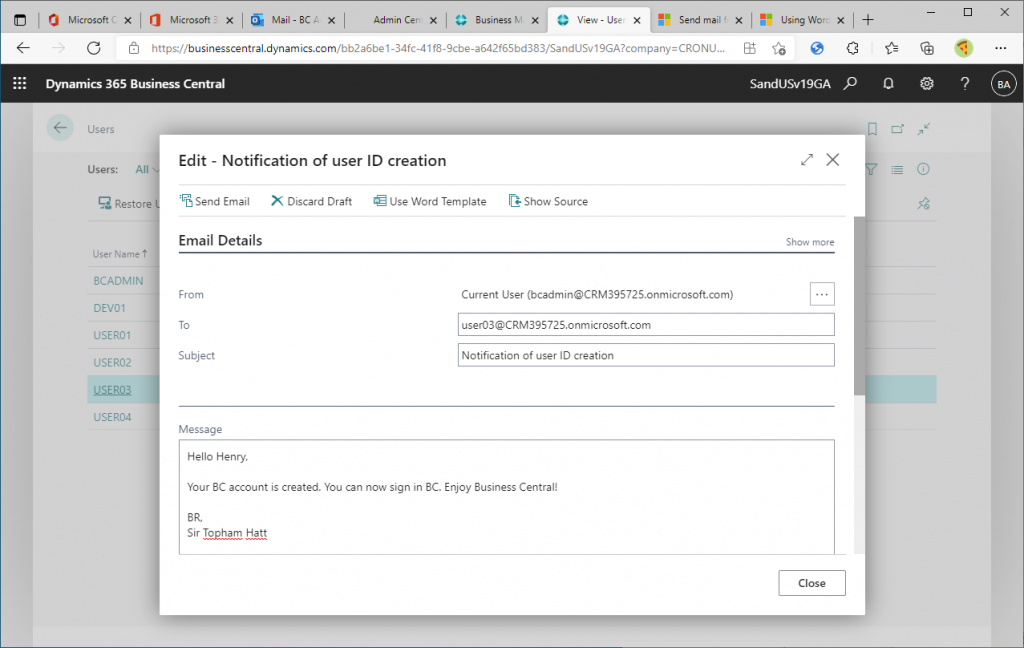
The template is now applied. It’s a little confusing because I registered the template and sent the email at the same time.
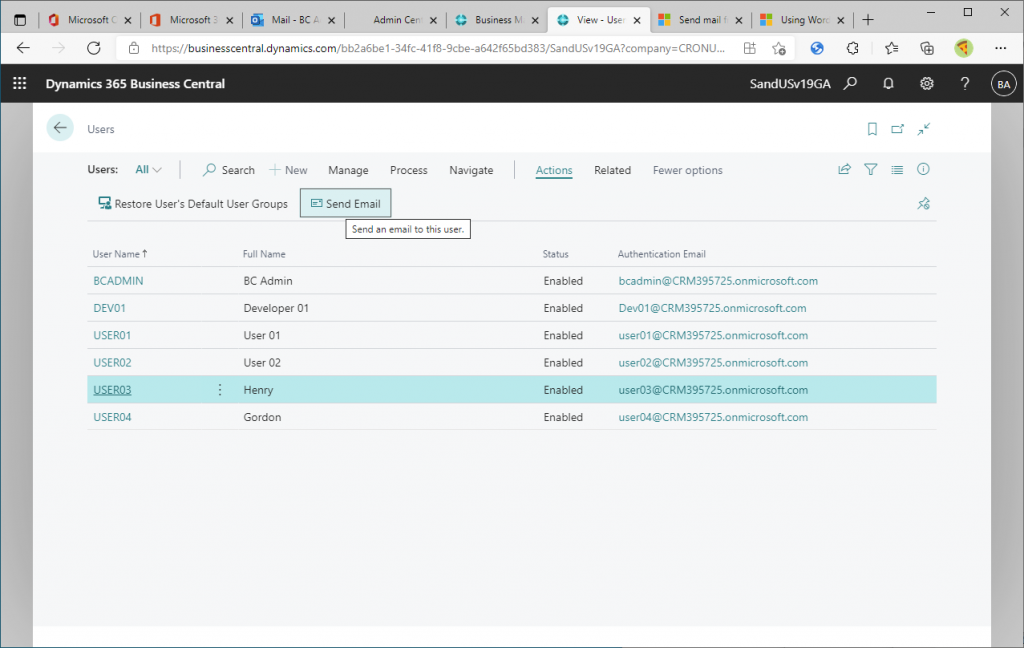
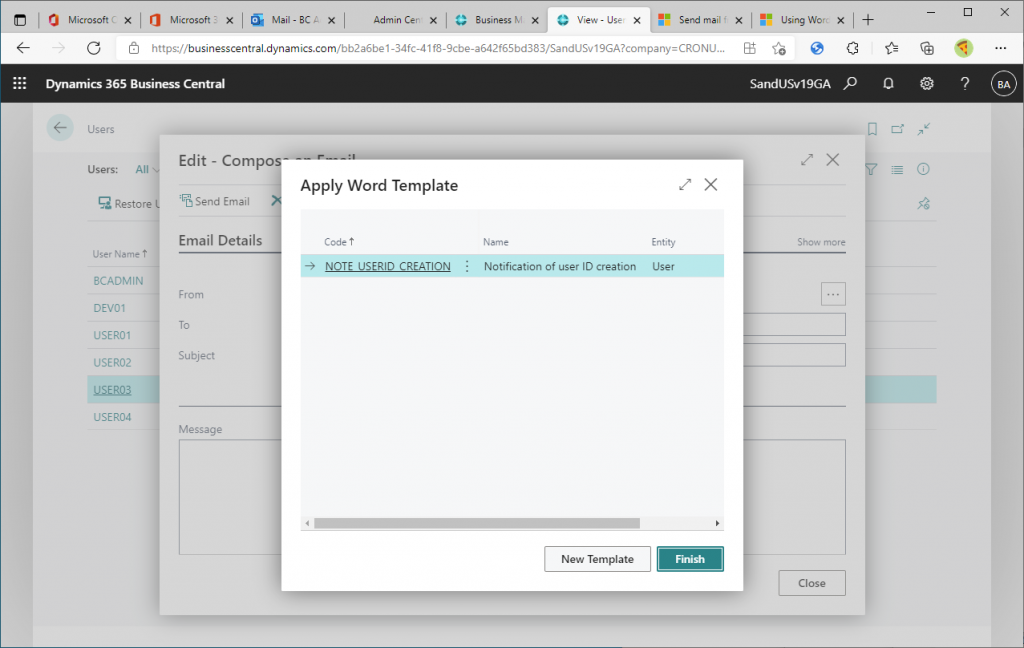
Let’s select any user from the user list again and click the Send Email button.
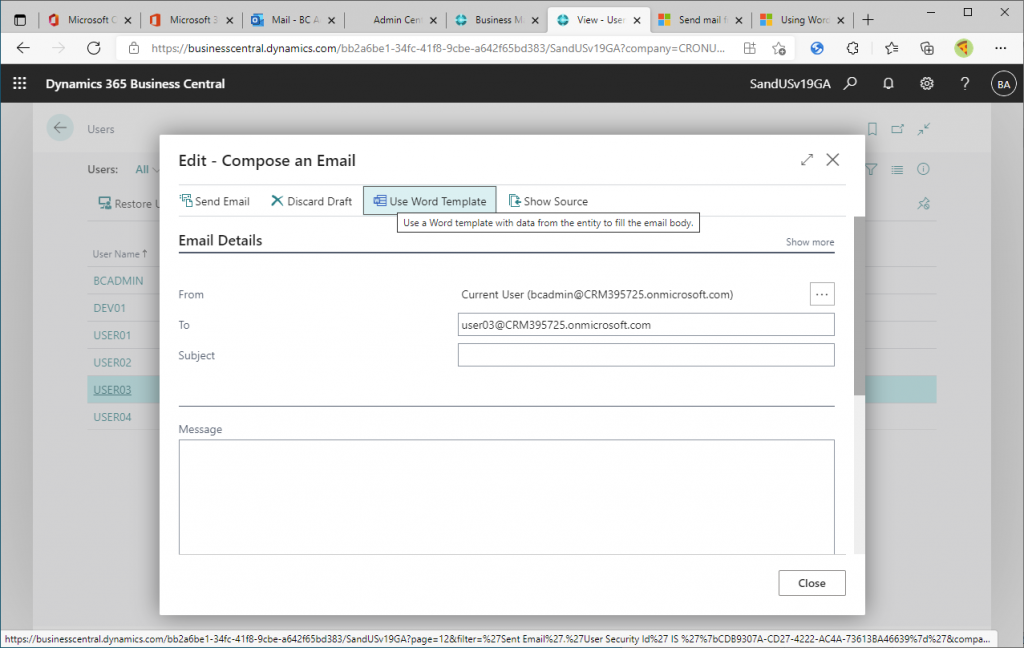
A blank email editing window will appear, and click Use Word Template.
Select the template you have just registered and click the Finish button.
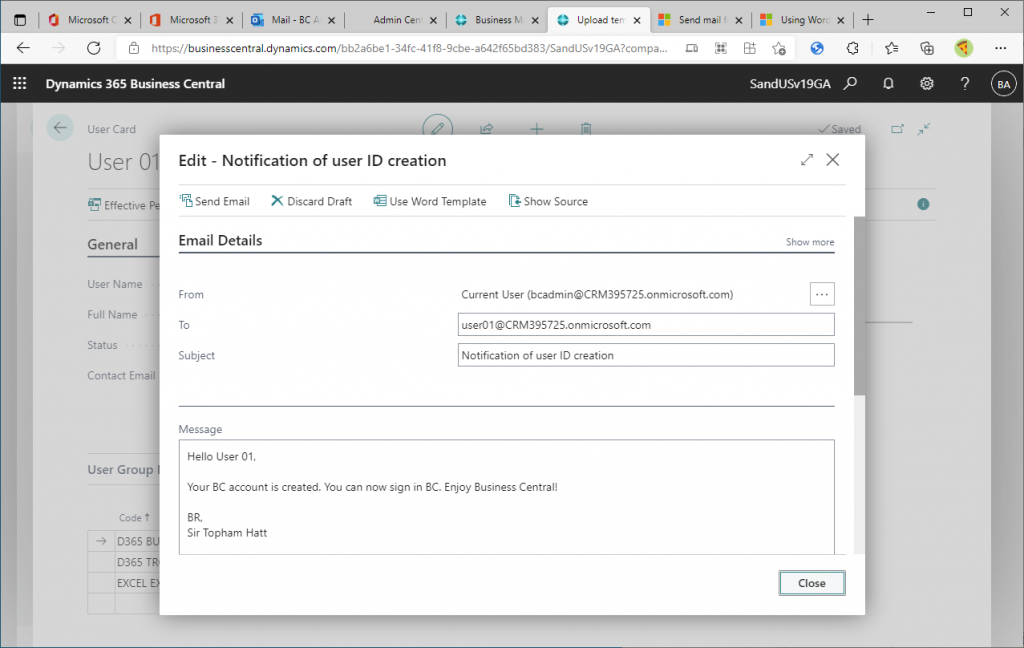
Then the body of the Word template has been inserted. You can see that the full name of the user has been inserted in the body of the email. By the way, the subject line of the email seems to be the name of the template.
In my personal experience, I have not made much use of the email address in BC in previous versions, mainly due to usability issues. The last version and this new version have added a lot of useful functions, and I would like to use them actively. I hope everyone will give it a try.
Thank you for reading.