
Getting started with Power BI is now easier to understand on D365BC’s 2021 Release Wave 1.
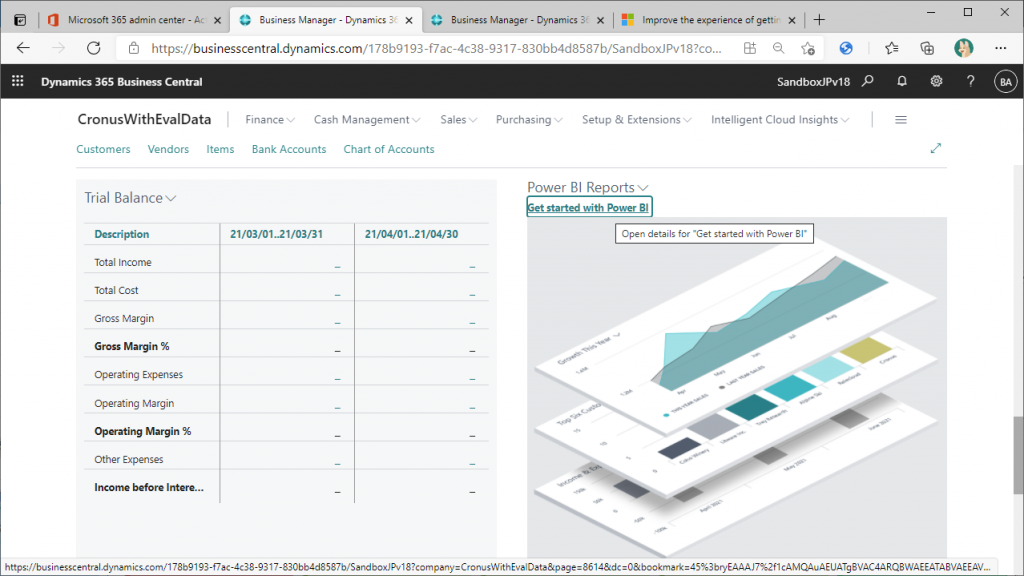
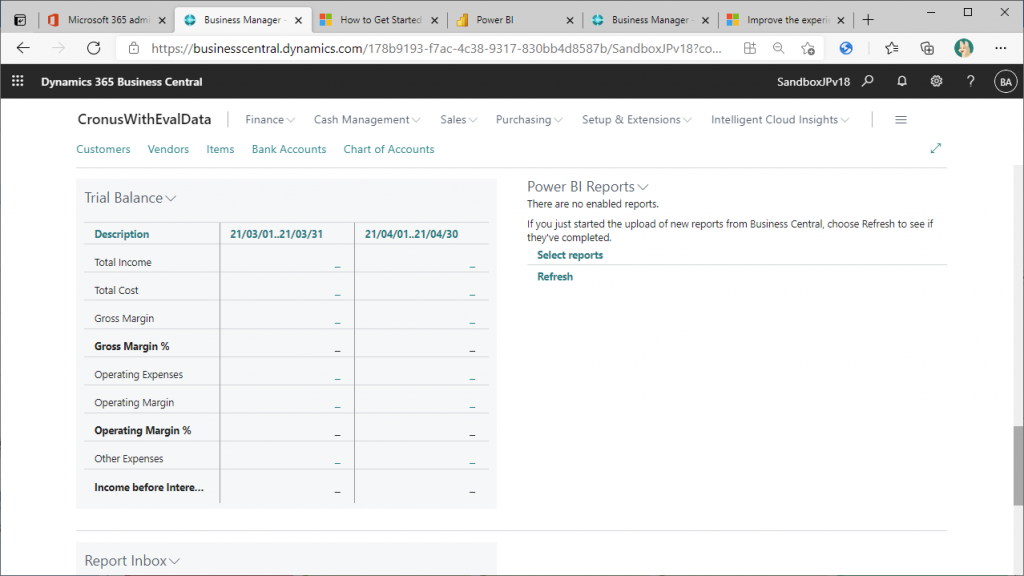
Many role centers have a section for displaying Power BI reports. The following screenshot shows the Business Manager role center. Initially, nothing is displayed. The procedure to display Power BI reports here has been improved.
Click “Get started with Power BI.”
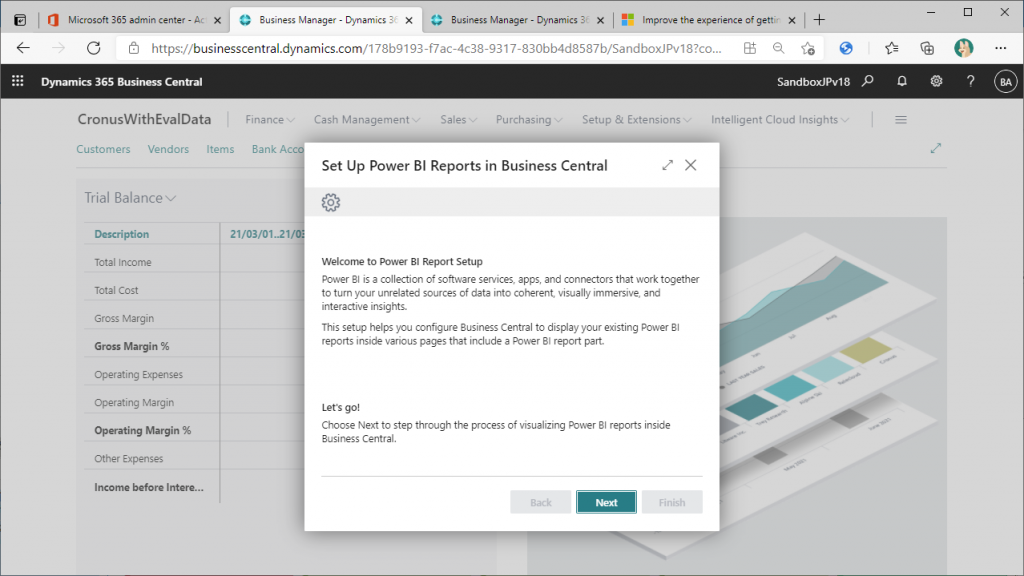
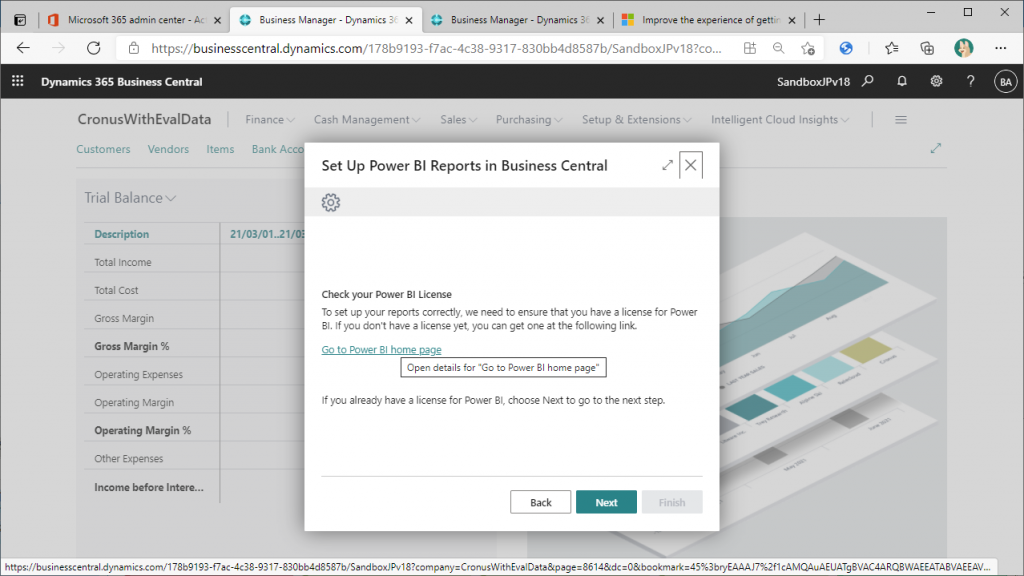
The Wizard page will start up. Read the instructions and click “Next”.
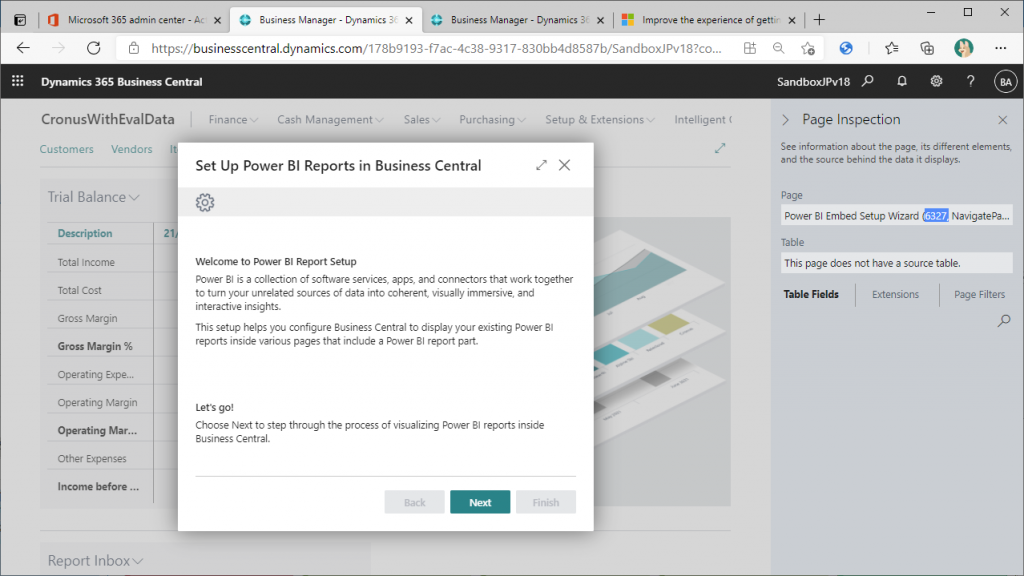
Press Ctrl+Alt+F1 to check the page number in Wizard. The Page number is 6327. This is a new page added in v18. Close the Page Inspection screen with an X and click the “Next” button.
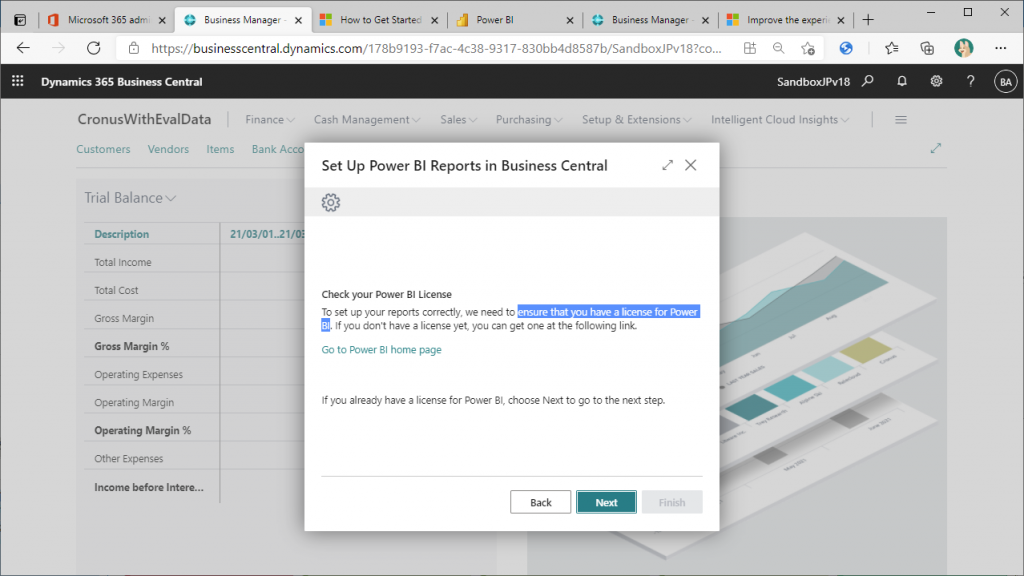
You will be asked if you have a license for Power BI. If you do not, click the “Go to Power BI home page” button. If you do, click the “Next” button. In this case, I don’t have a license for Power BI, so I will click on the link.
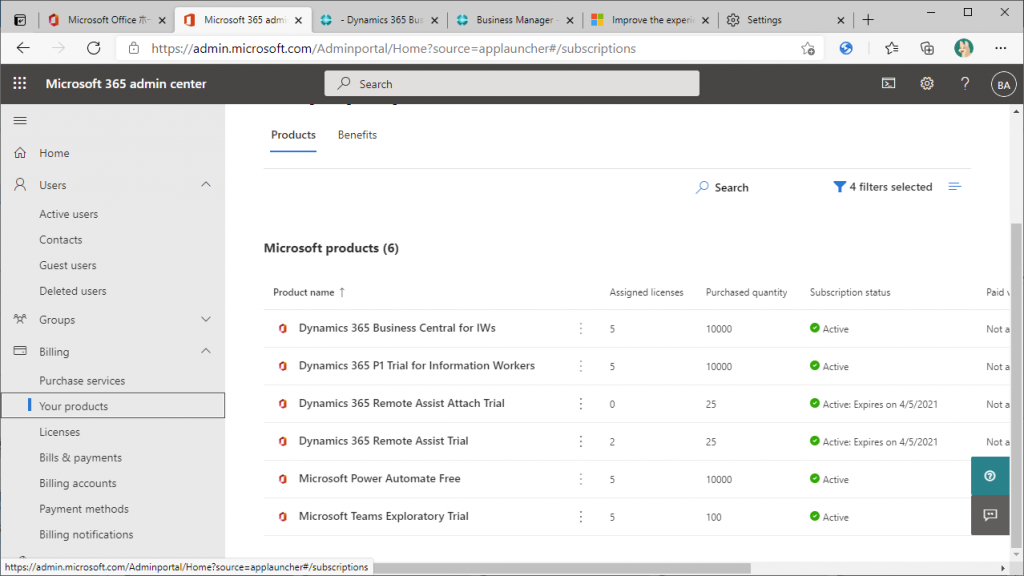
For your information, the license I have for this environment is as follows, and you can see that I do not have a license for Power BI.
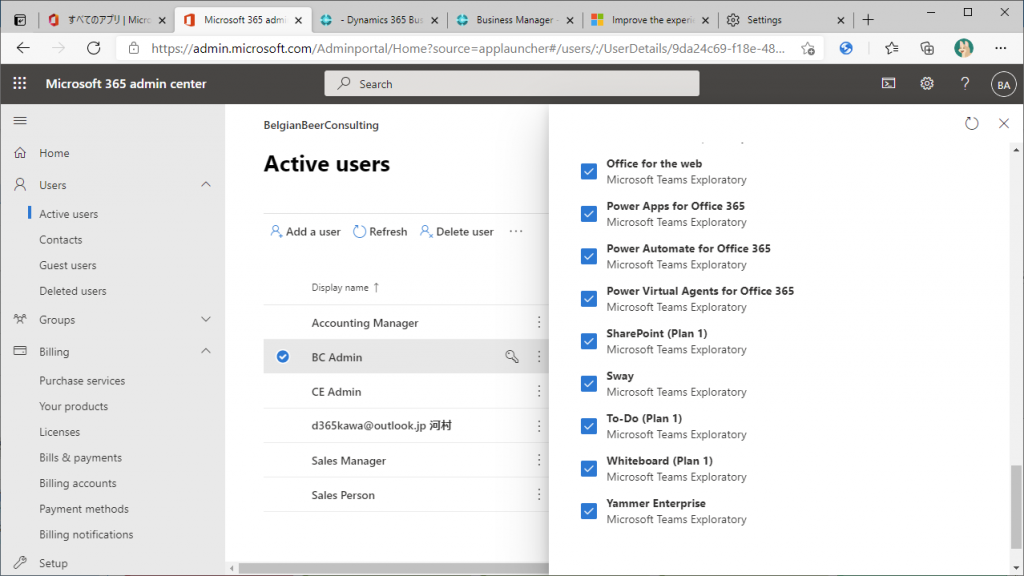
Just in case, let’s also look at the user license.
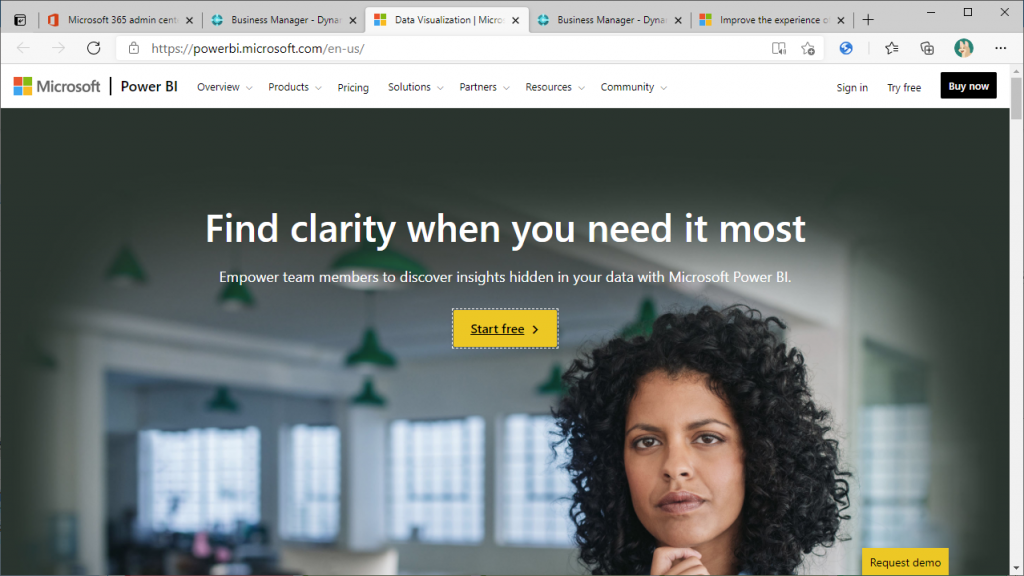
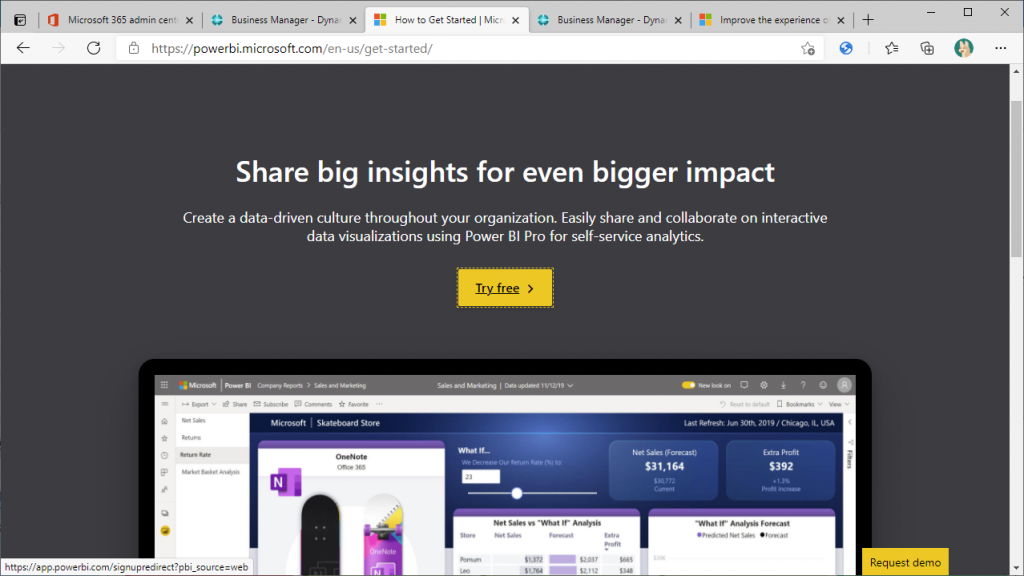
Since I do not have a license for Power BI, I click on the “Go to Power BI home page” button. The following page will be displayed. This is the free trial signup page for Power BI. Click the yellow button “Start Free” in the center.
Click “Try Free.”
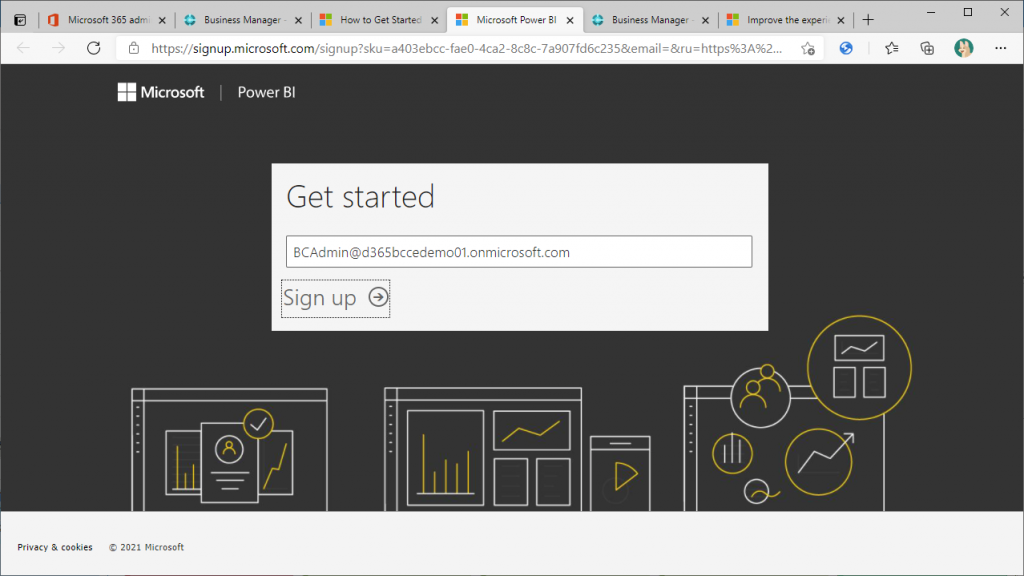
You will be asked to enter your user ID to sign up for the free trial, specify your user ID and click the “Sign up” button.
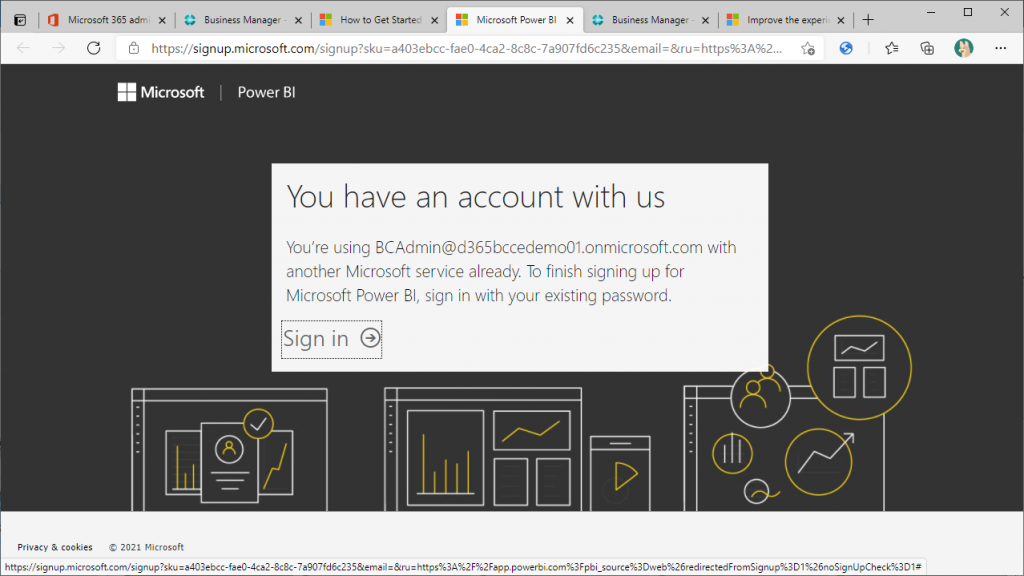
At first glance, it may look like an error, but there is no problem. you will see this message if the user ID exists in Azure AD. Click on “Sign in”.
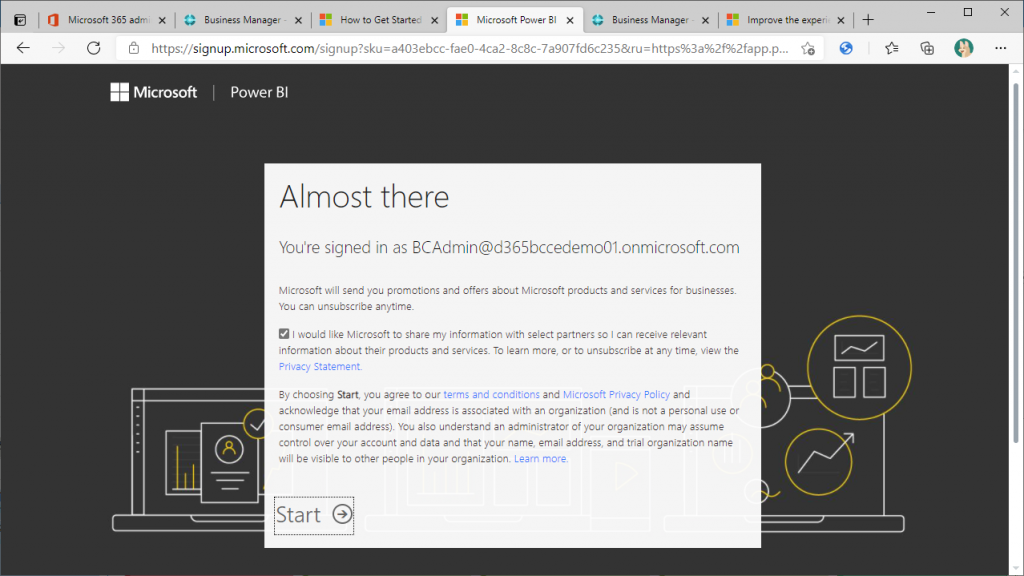
You are being asked if you want to send Power BI related information. It doesn’t matter if the checkbox is ON or OFF. Click “Start” to proceed.
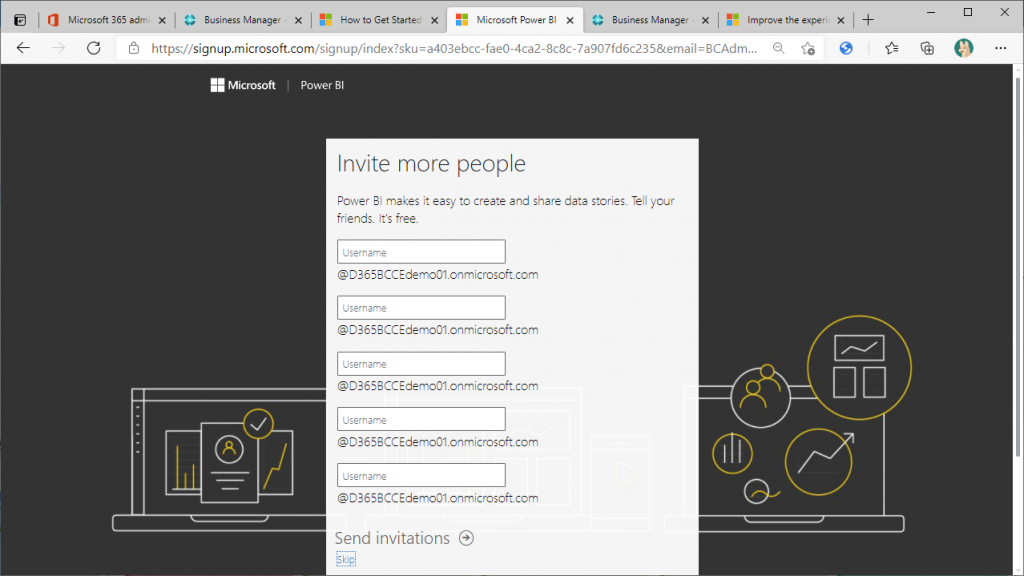
You will be asked if you want to invite other users of the tenant. Since this is not required, click “Skip” at the bottom left of the pop-up to proceed.
The Home page of Power BI is now displayed. You have now signed up for Power BI. If you expand My Workspace from the left side menu, you will see that none of the reports exist.

Back to the BC page. I was still in the process of the Wizard. Now that the sign-up is complete, click on the “Next” button to continue.
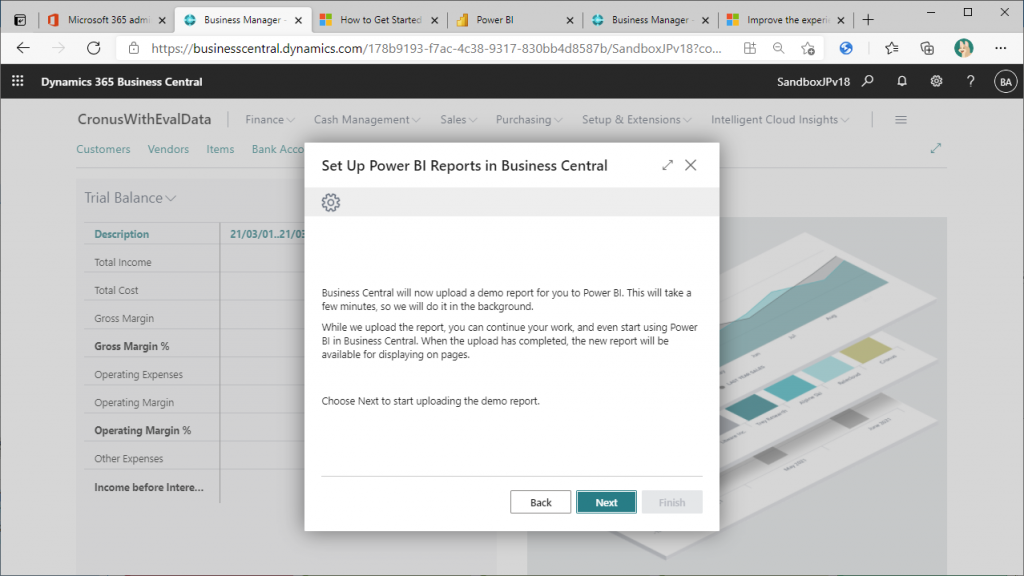
The instructions say to create a Power BI report for Demo.” Click “Next” to continue.
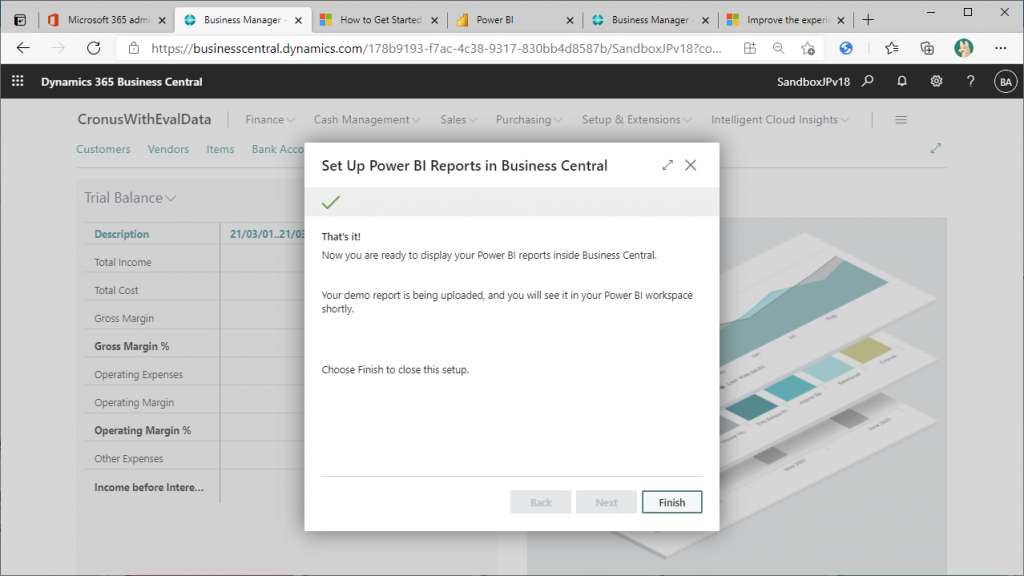
Click on the Finish button and you are done. It says that the Power BI report for the demo has now been created and can be displayed in BC.
Go back to the Roll Center. The Power BI report is not yet visible.
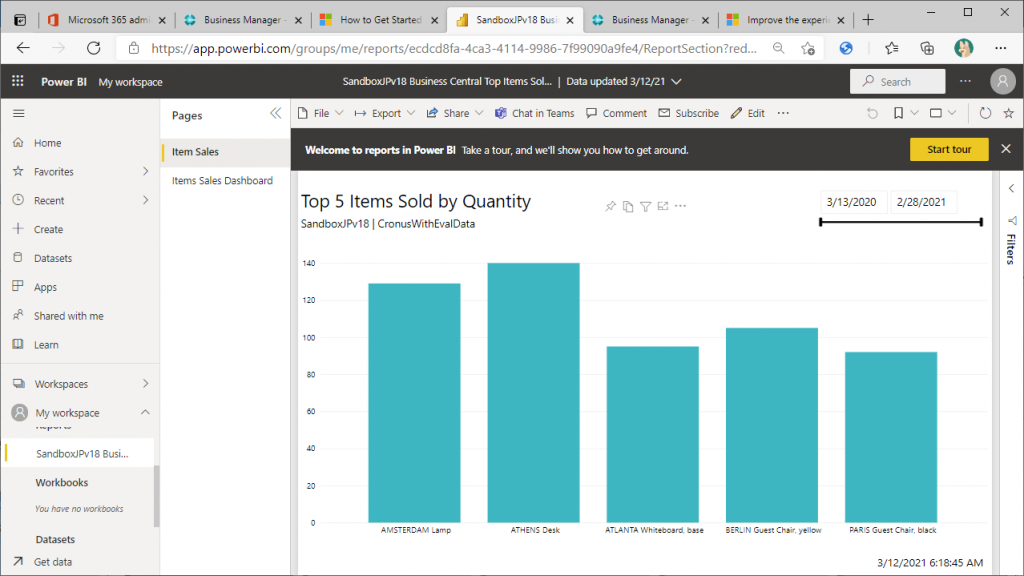
If you expand My Workspace in the left side menu from the Home screen of Power BI, you will see the words “Sandbox…” under Reports. Under Reports. Click on it.

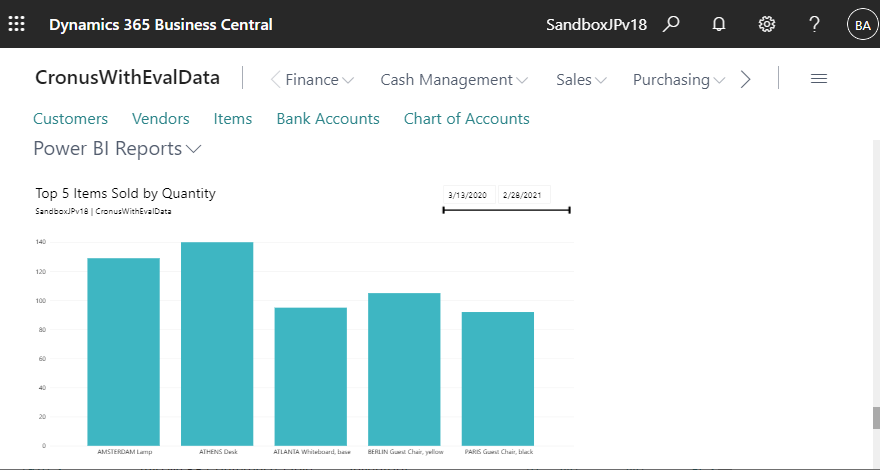
Then you will see the Power BI report. This is the demo report. Add this report to the BC Role Center.
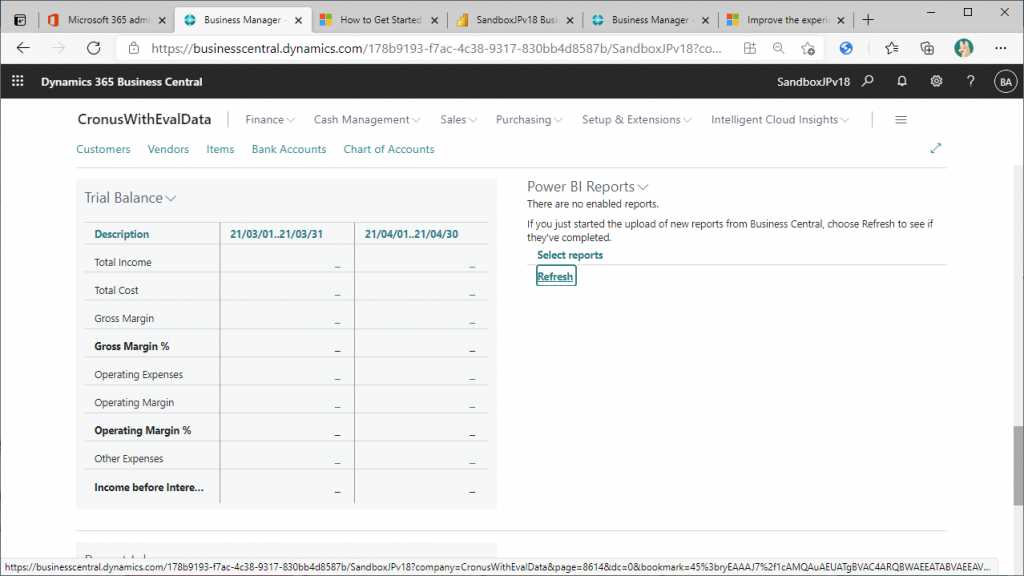
Go back to the BC page. Click “Refresh” in the Power BI section of the Roll Center.
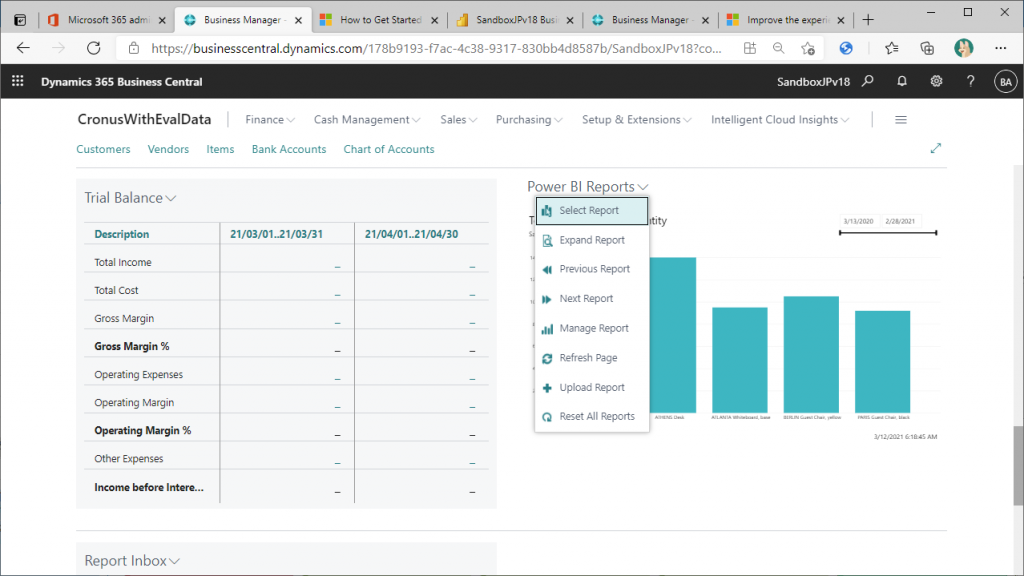
Then the report was displayed. What happens when there are multiple reports? Click on the v icon to the right of “Power BI Reports”.

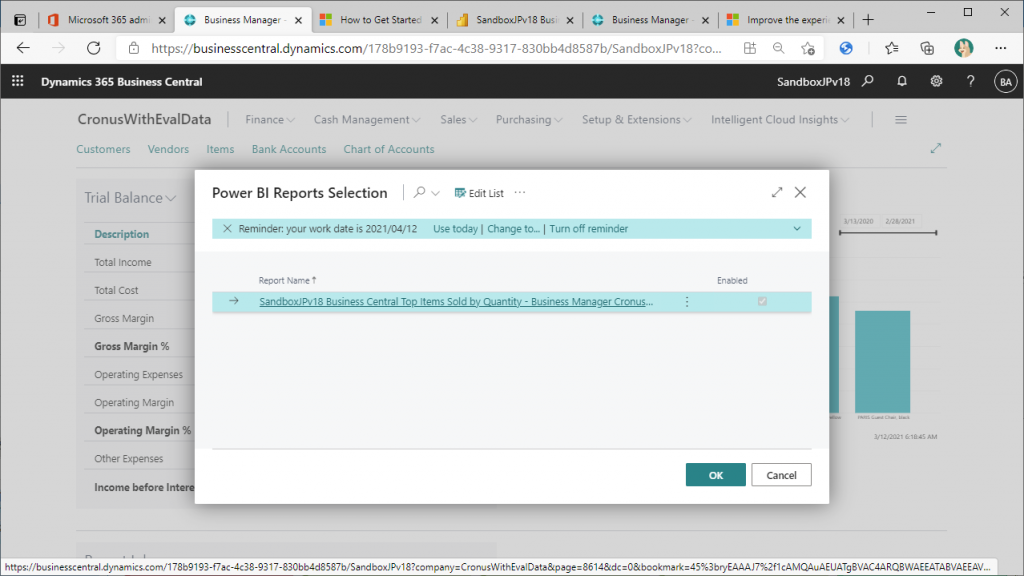
Then the following menu will be displayed. Click “Select Report. (This function was available before v17.) Click “Select Report” to switch the report to be displayed in the role center.
One report is displayed in the Pop-up as shown below. If you have created multiple reports in Power BI, you will see multiple reports here. If you have created more than one report in Power BI, you will see multiple reports here, and you will be able to select the report in the row where you set “Enabled” to On.
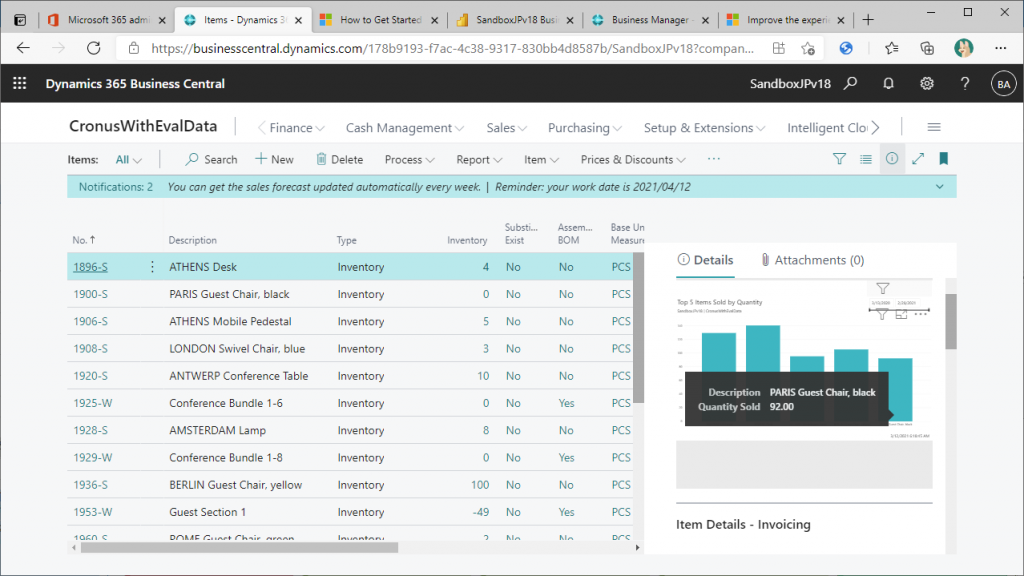
Power BI reports can also be displayed outside of the Roll Center. For example, the following page shows the status of PowerBI in BC in the fact box of the Item List page.
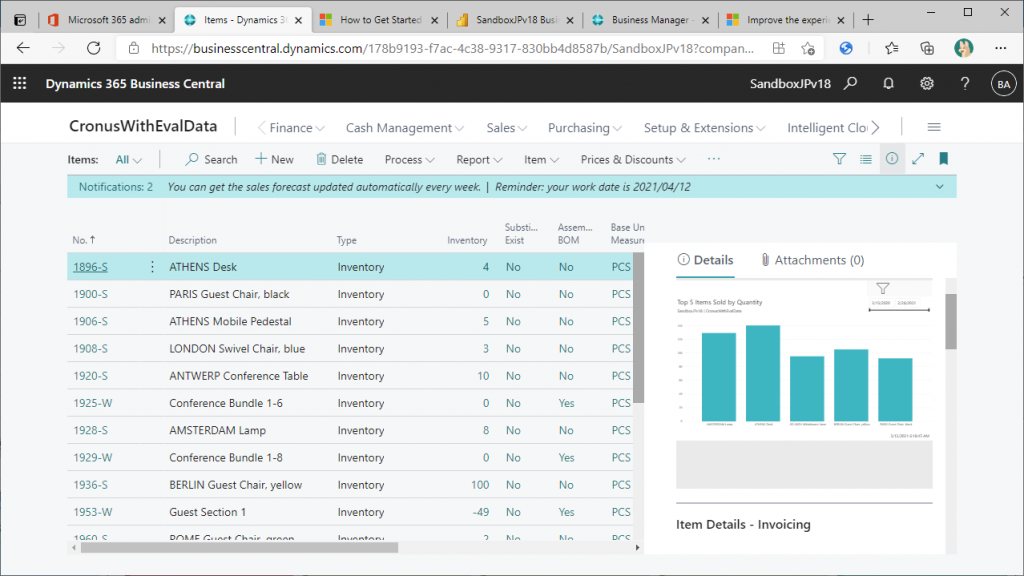
However, in my honest opinion, it is too small to be placed in the fact box of the item list. So, it would be better to mouse over the graph for the information you need, or to display a different report here!
The ability to view Power BI reports is the same as before version 17, but I found the sign-up procedure for those who do not have a Power BI license and the ability to create sample reports in Wizard to be very useful.