

A colleague of mine asked me about a problem with Edit in Excel for physical inventory journals. In the process of investigating the cause of the problem, I looked into the Item Journal and General Journal, and found out that there are some interesting specifications and points to be aware of regarding Edit in Excel for journal entries, so I will explain them in this blog post. Physical inventory journals seems to have some problems, so I will explain it in the next blog article, and this time I will explain the correct behavior of Edit in Excel in the journal page and what to be careful about, taking the item journal as an example.
Table of Contents
1. Precondition
2. Edit the item journal with Edit in Excel
3. Add batches.
4. Remove the filter by batch name
5. Filter by batch name
6. Considerations when using filters in Edit in Excel
7. Filter journal batch template
8. How to safely use Edit in Excel for journal entries
9. Summary
1. Precondition
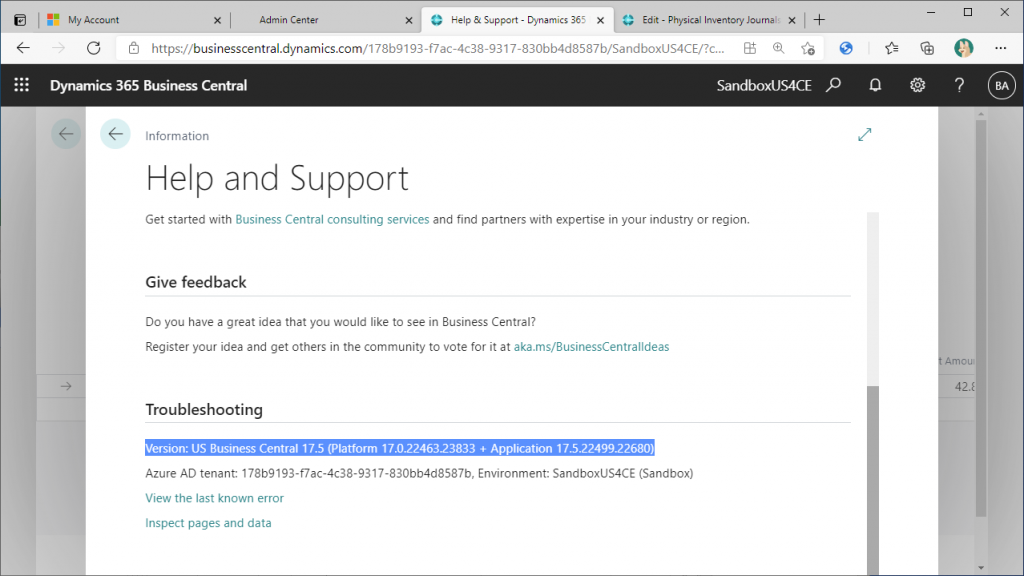
Since the behavior differs depending on the version (and the behavior may be improved in the future), the version information is also described here. Also, the environment used for the check is a free trial tenant created in the US region, and uses Company with sample data (so-called Cronus data). See this article on how to create a BC free trial environment.
2. Edit the item journal with Edit in Excel
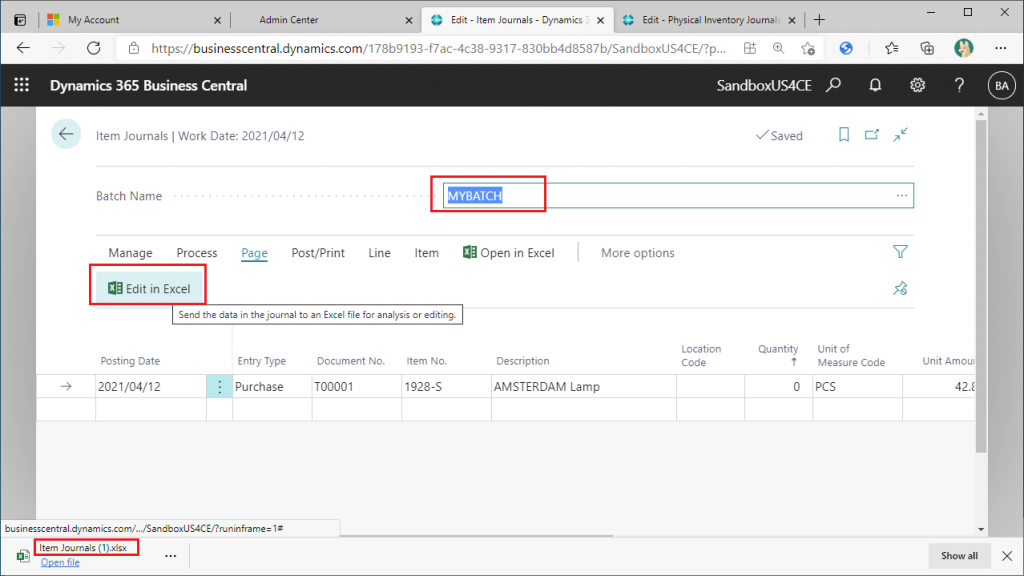
First of all, let’s try to edit a item journals entry normally with Edit in Excel. If you know how to do this, please skip it. Open the item journals, and enter some data in the journal line.
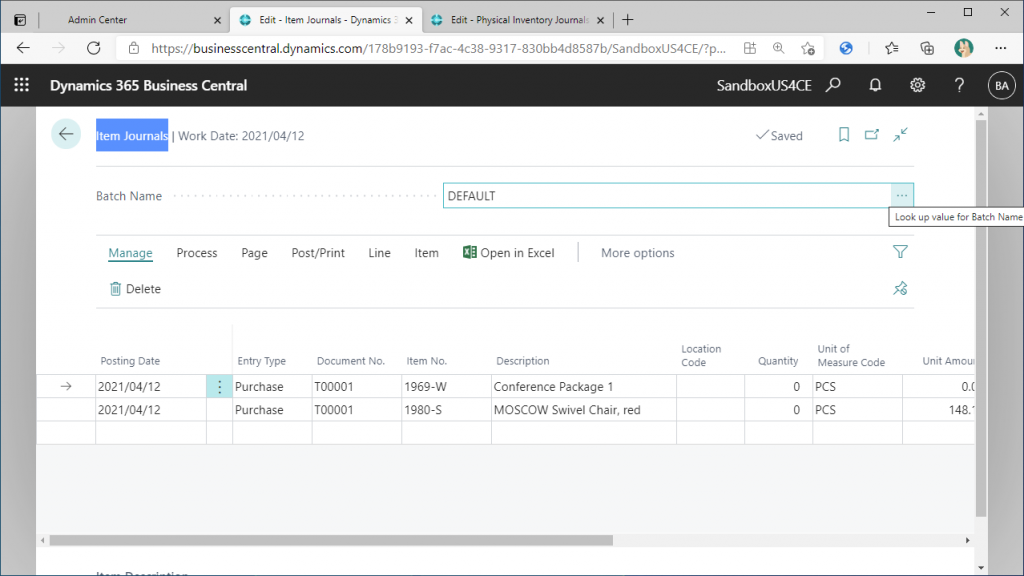
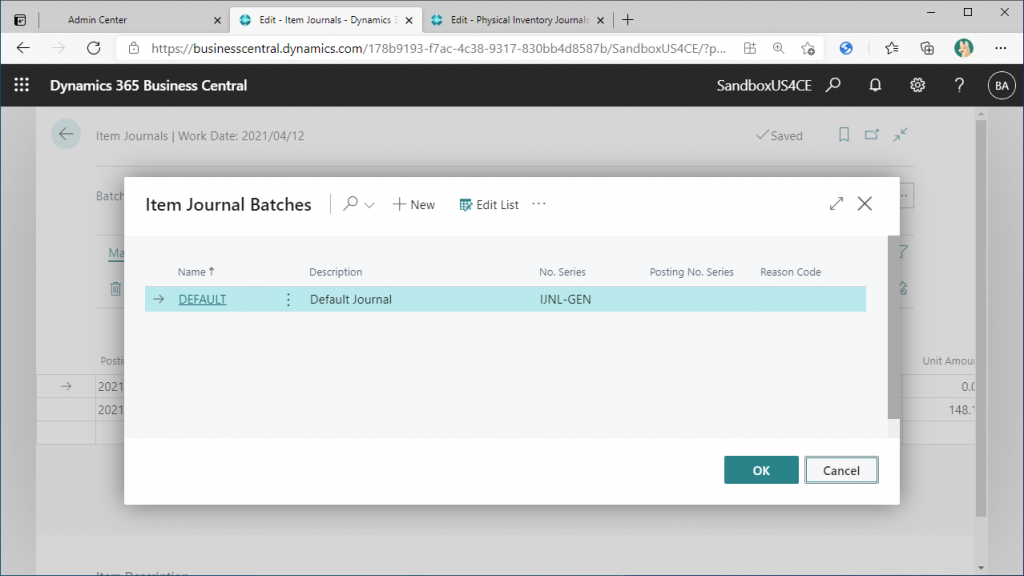
In the standard sample data company, only the “Default” batch is available.
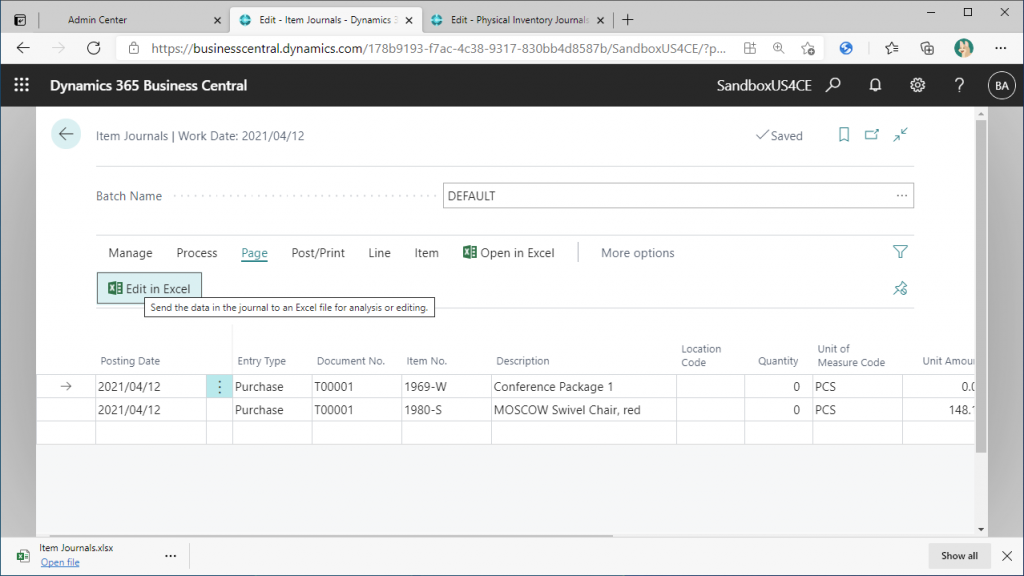
Click on the Edit in Excel button to download Excel.
Open Excel. Click “Enable Editing”.
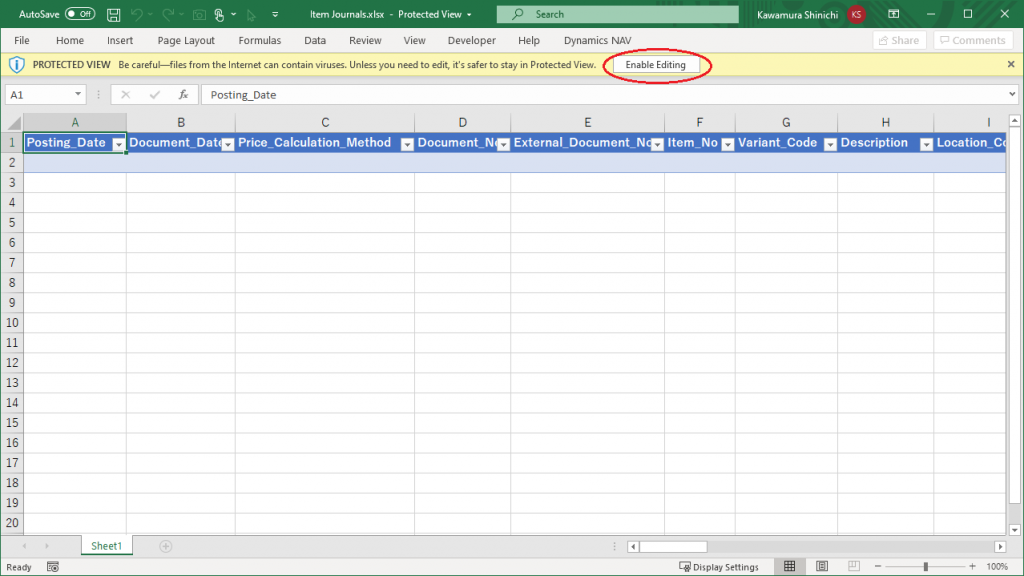
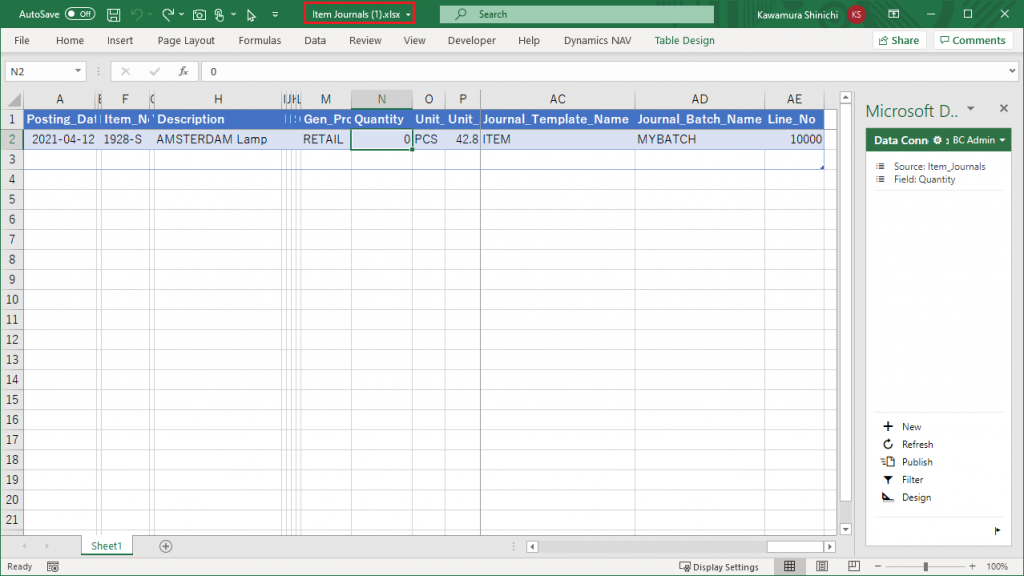
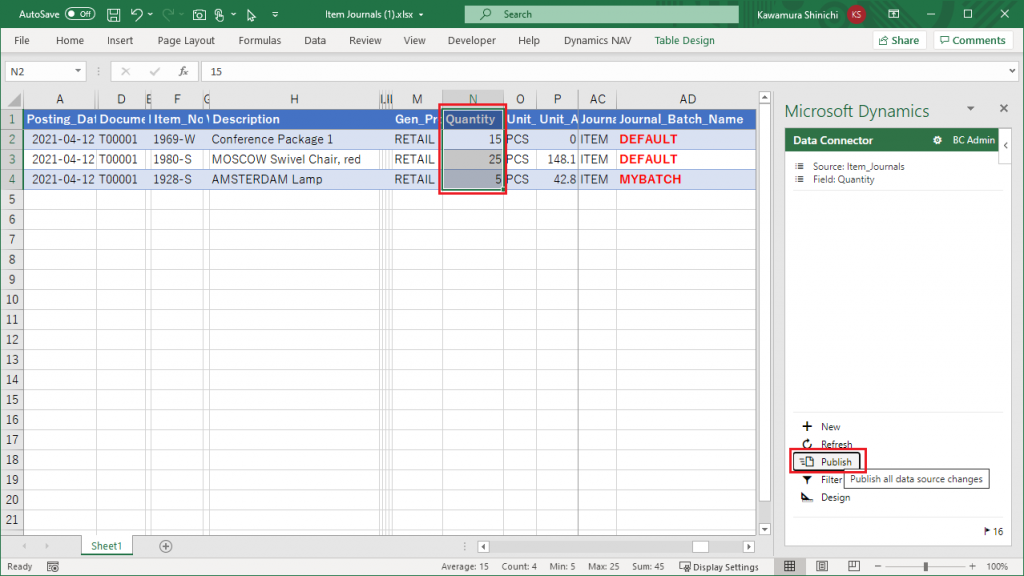
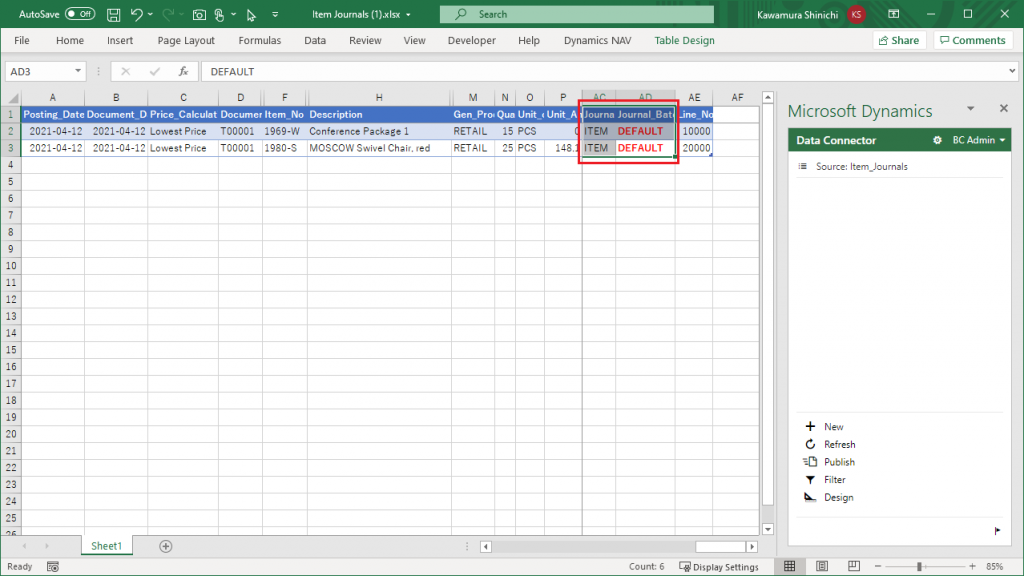
Excel is now open. I adjusted some column widths to make it easier to explain, but don’t worry about it. The data from the item journals page is displayed.
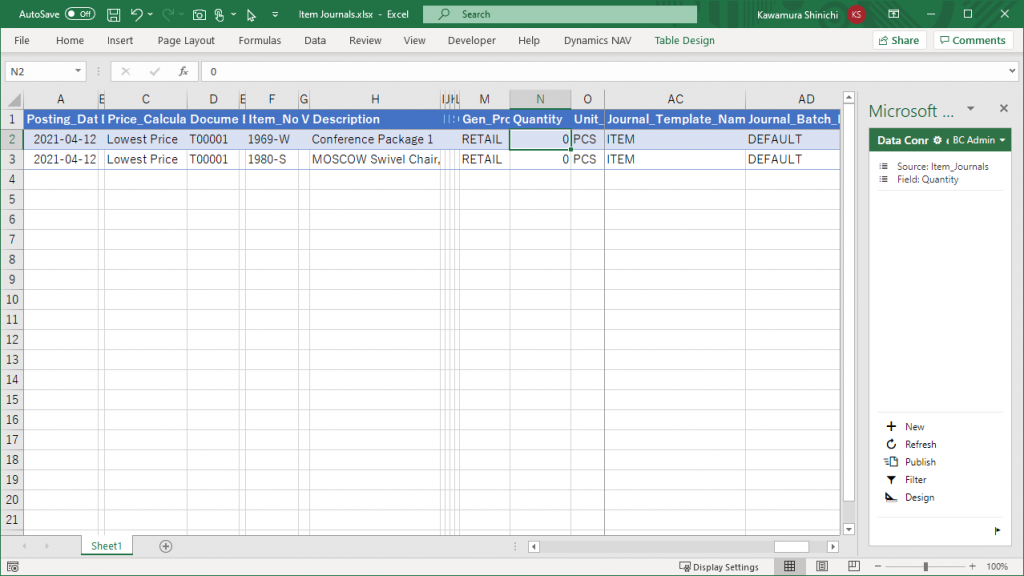
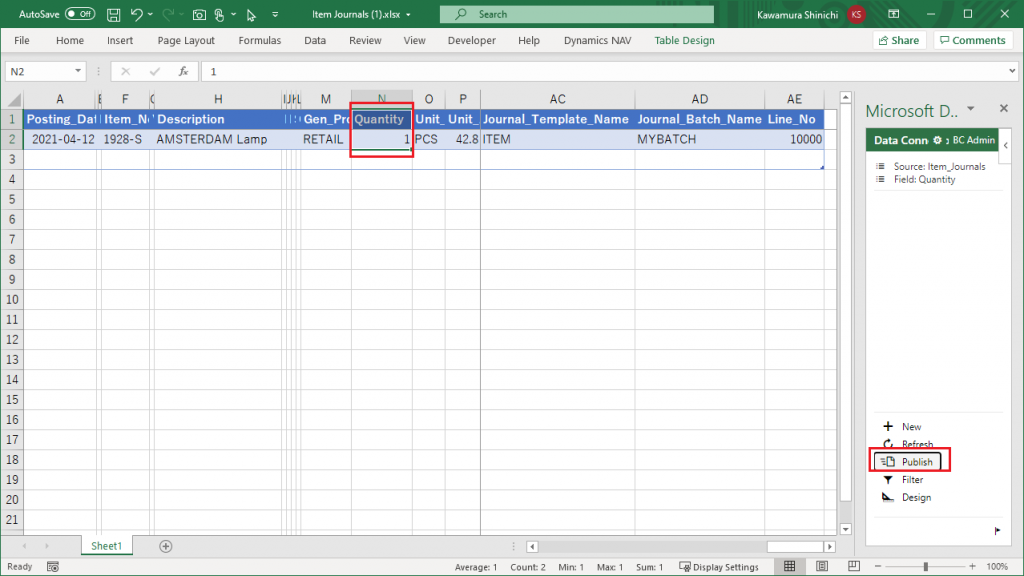
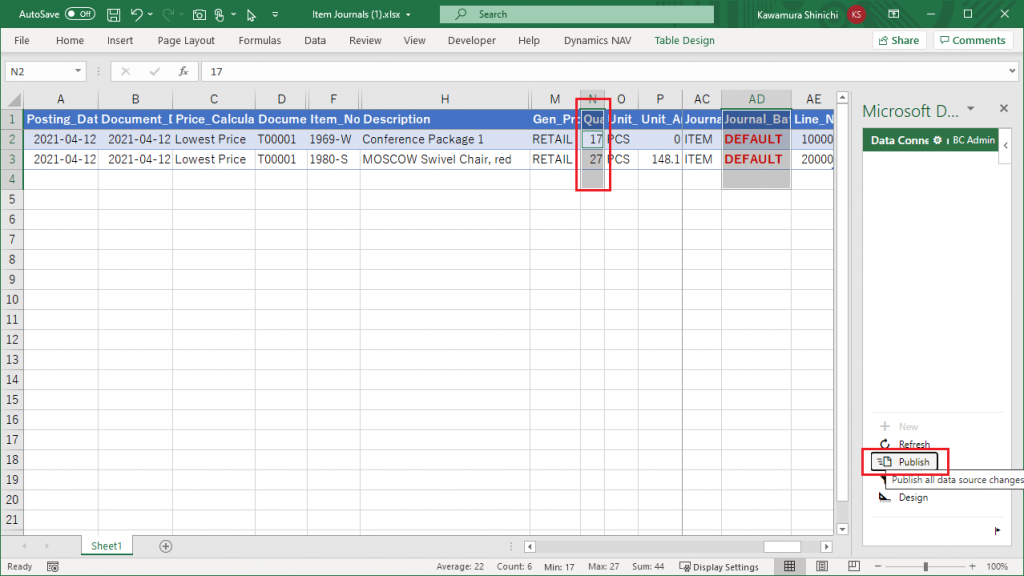
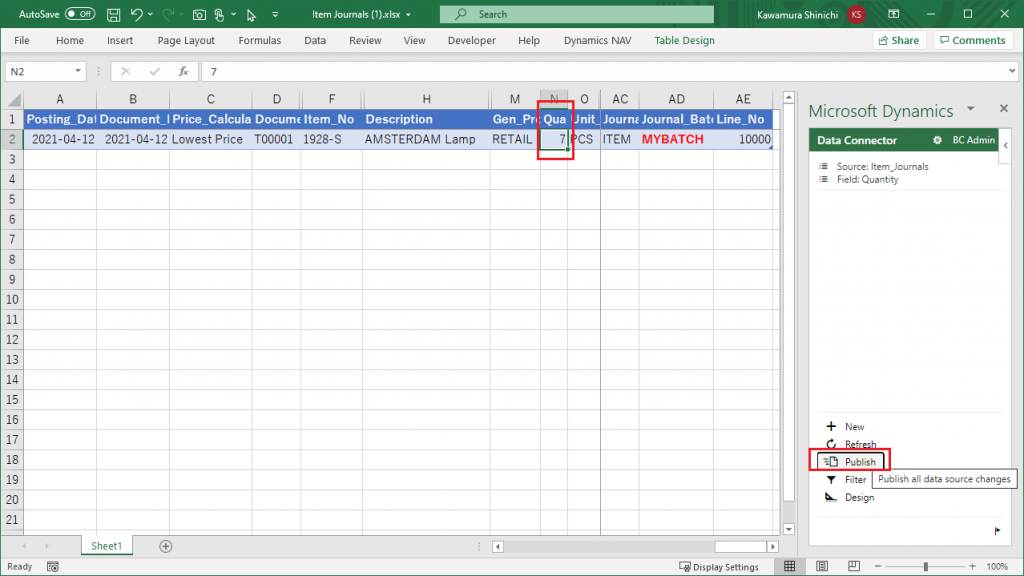
Edit the quantity and click the “Publish” button.
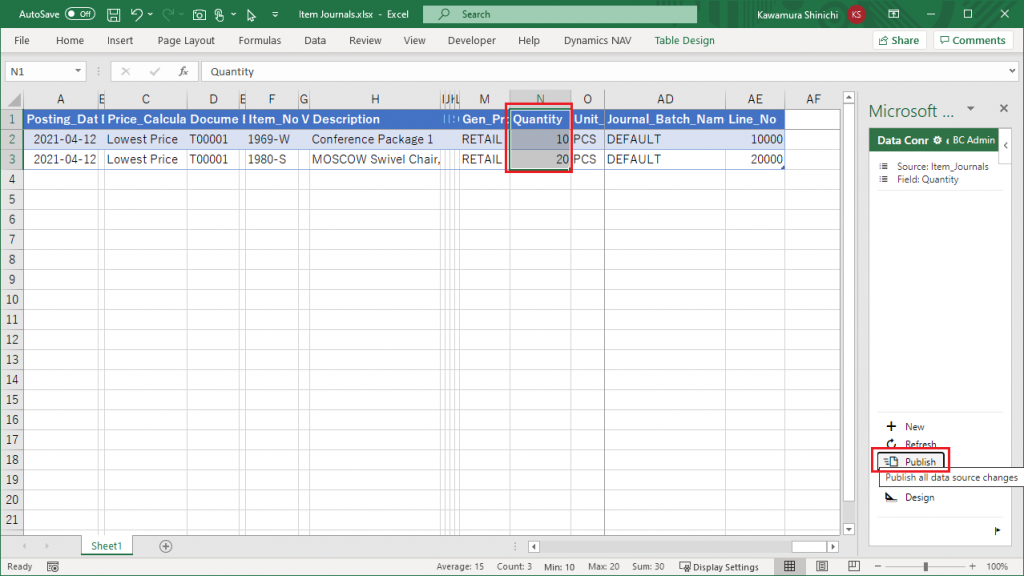
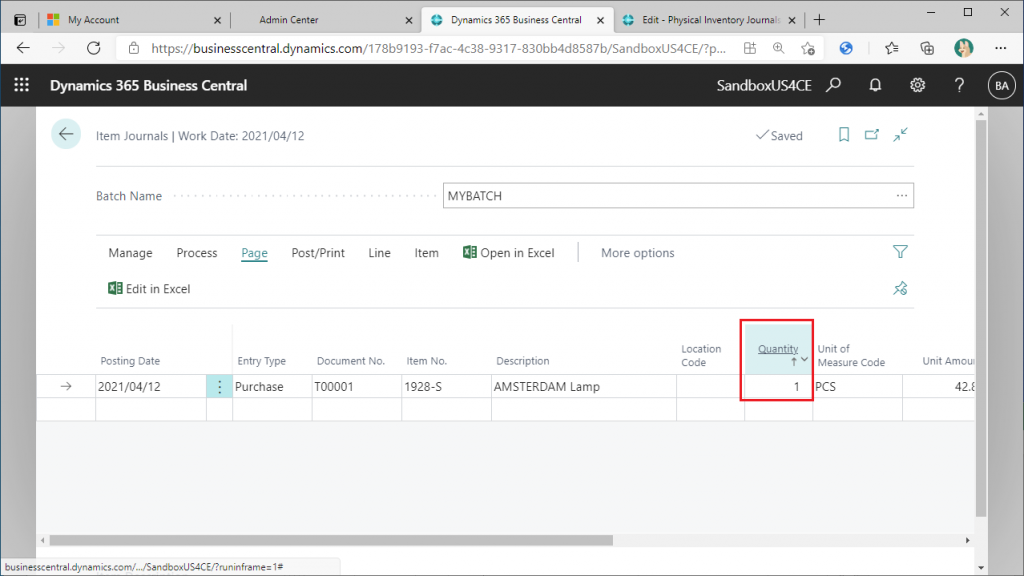
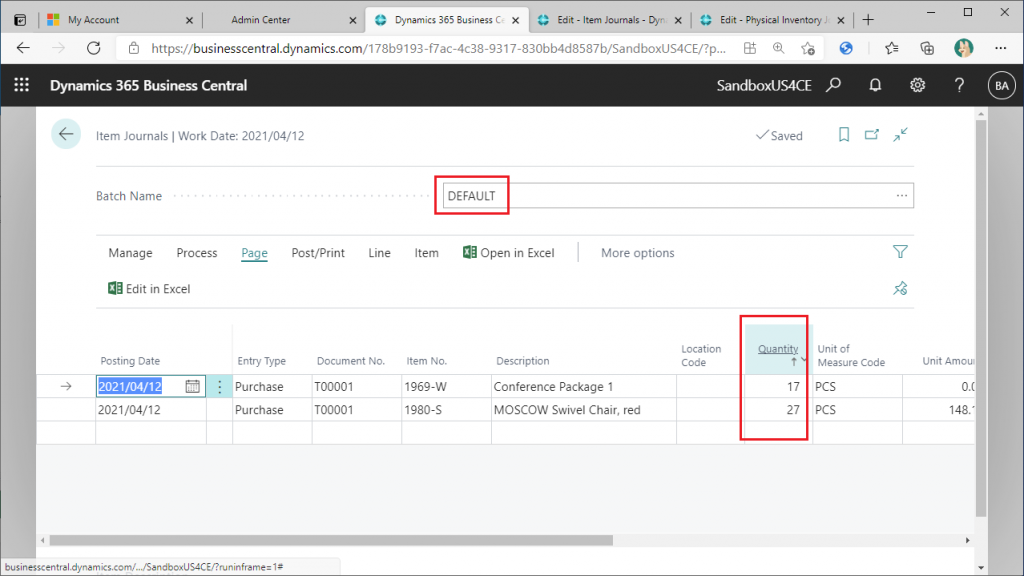
Go back to the item journal page and refresh the page with the F5 button, and the quantity entered in Excel will be reflected.
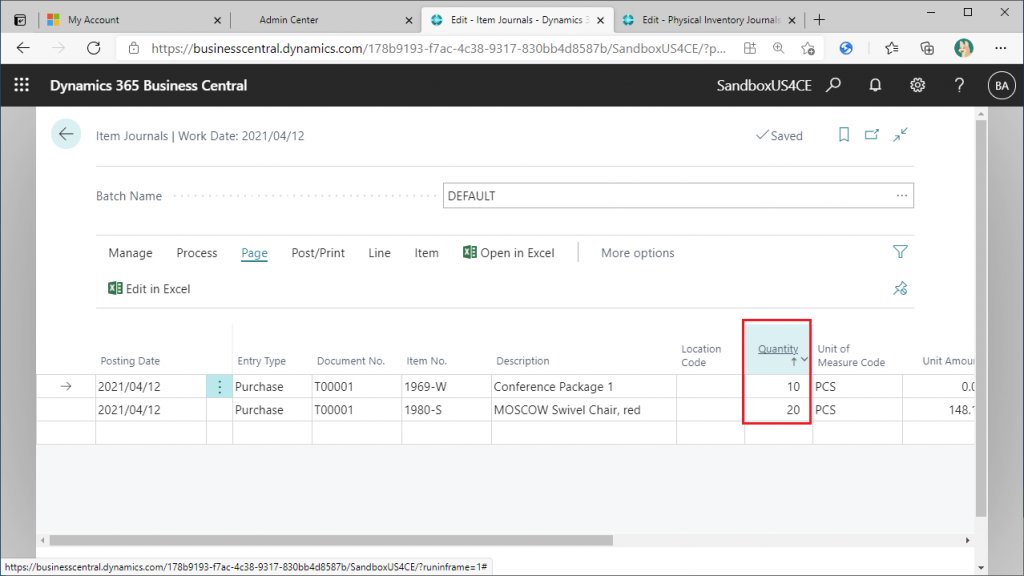
This is the basic explanation of how to use Edit in Excel. Up to this point, it is exactly the same as a standard list page (Customer List, Item List, Payment Terms List, etc.).
3. Add batches.
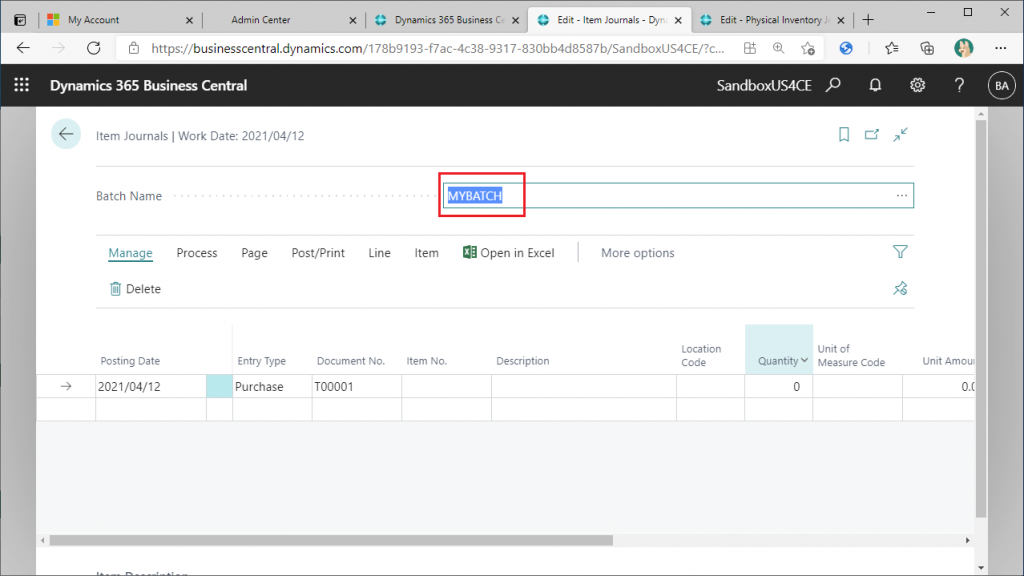
The biggest difference between the journal page and a typical list page is the “Batches”. To understand the behavior of Edit in Excel on the journal page, let’s add a batch. In this case, I added a batch named “MyBatch”.

Enter one journal entry line in the added “MyBatch” and click the “Edit in Excel” button. Another file will be downloaded.
Open a new Excel file. It contains only the data for “MyBatch”.
Let’s try to change the quantity and publish it.
It will be reflected in the BC without any problem.
4. Remove the filter by batch name
Excel downloaded from the page with the batch name “Default” will retrieve/update only the data of the “Default” batch. And excel downloaded from the page with the batch name “MyBatch” will retrieve/update only the data of “MyBatch”. Let’s analyze how this is achieved and try to remove the batch name filter.
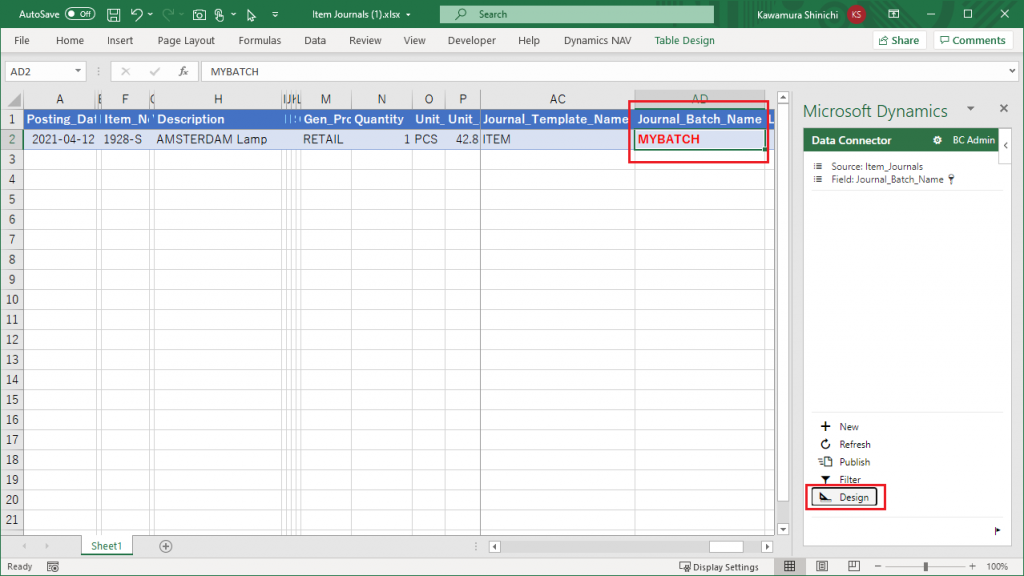
In Excel, there is a column called “Journal_Batch_Name” in the second column from the right end. This is where the batch name is written. The Excel downloaded from the “MyBatch” page is filtered by “MyBatch”. If you remove the filter in Excel, you will see that the data is not filtered in Excel, but rather the filtered data is stored in Excel. Let’s see where this filter control is being executed. First, click on the “Design” button.
Click on the edit icon in the “Item_Journal” row.
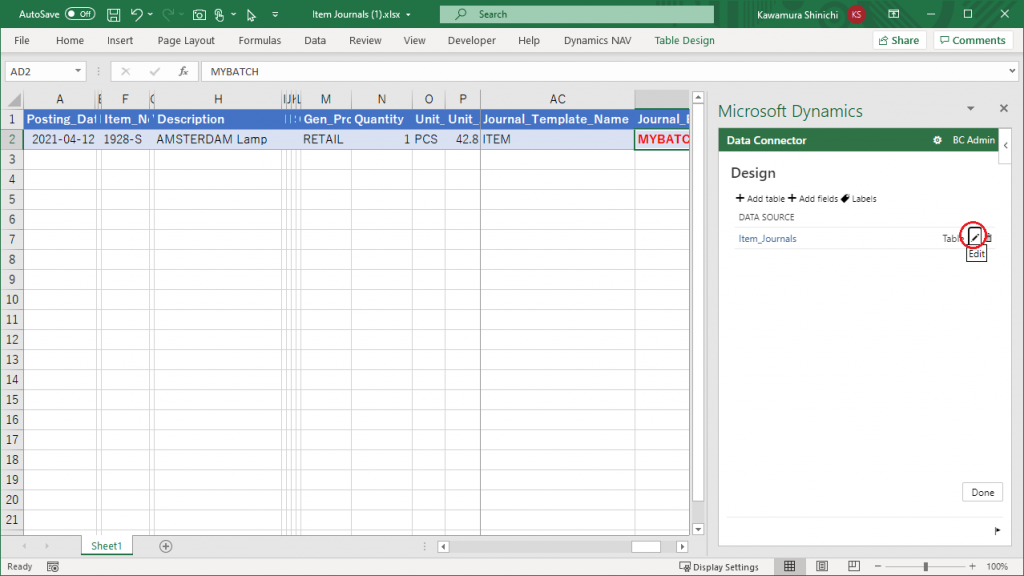
It seems that only the data source and the columns that can be retrieved and displayed are defined here. No filter condition is described. Use the Back button to return.
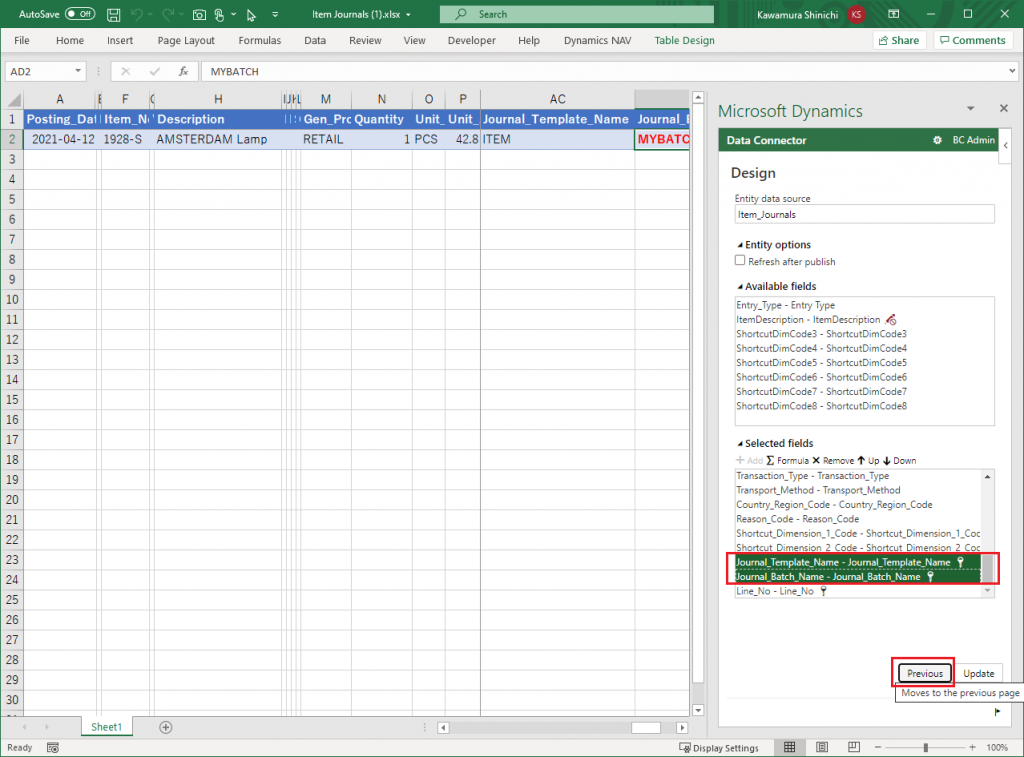
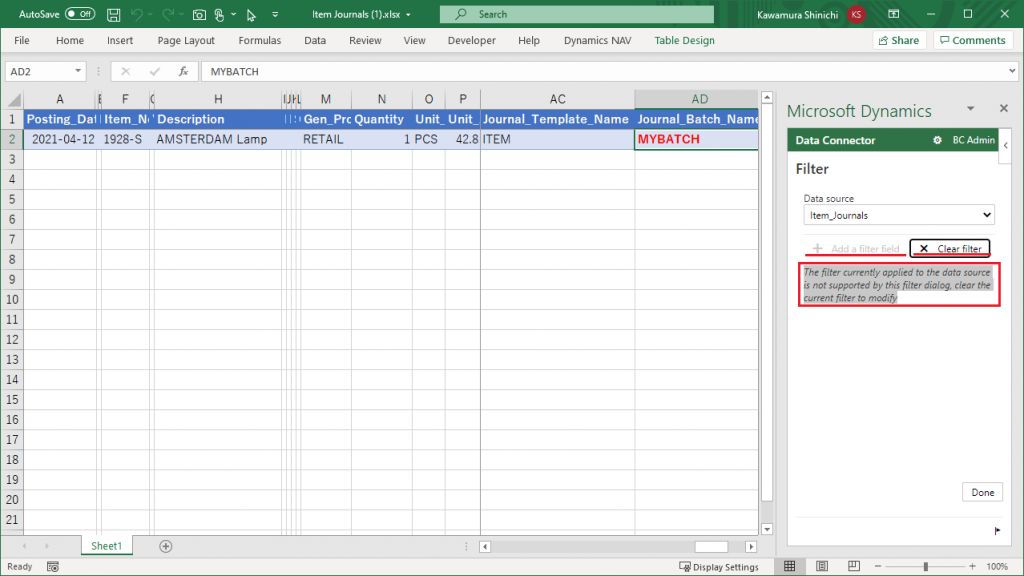
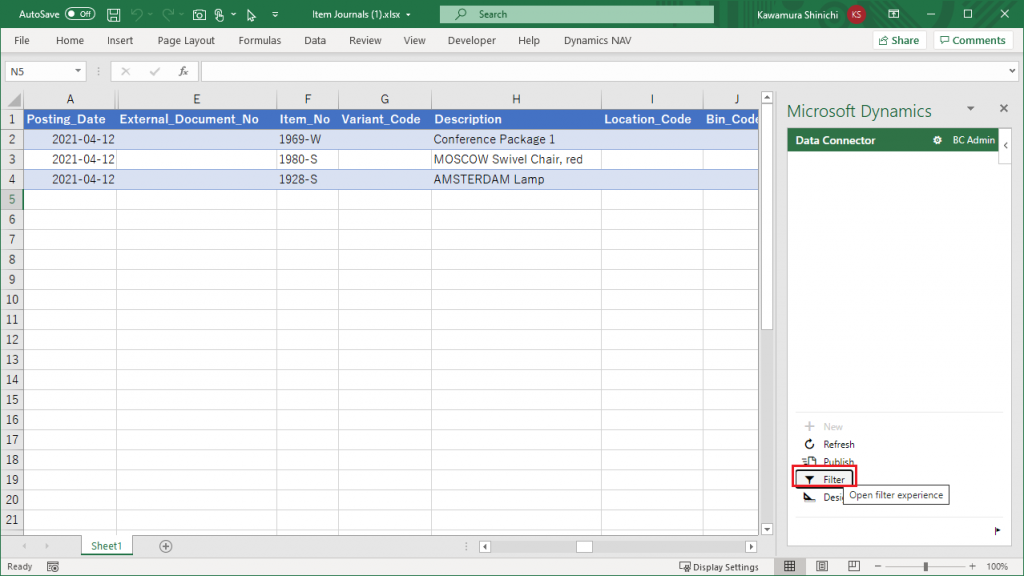
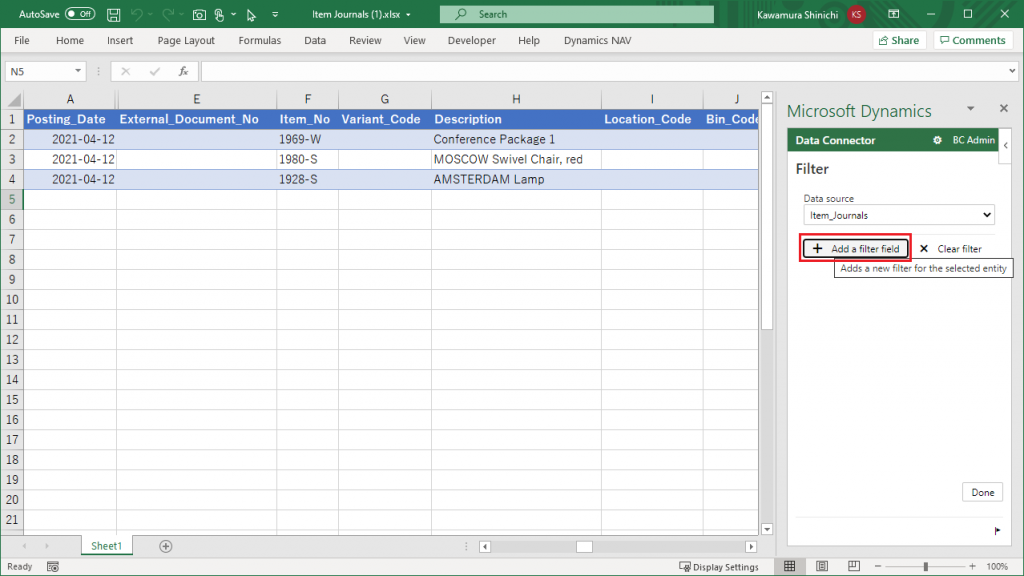
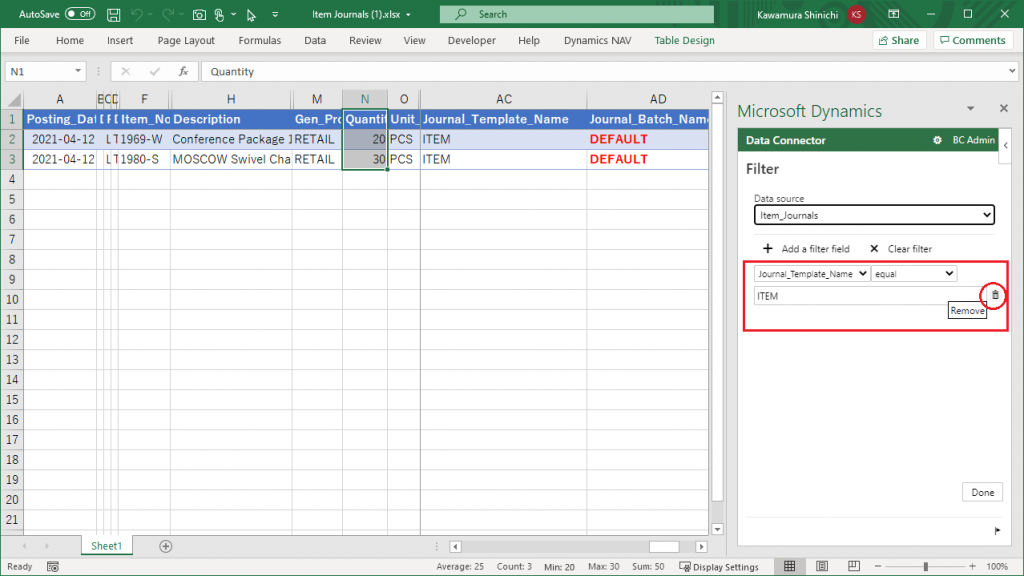
Next, click on the Filter button. As you can guess from the name of the button, you can expect to set the filter here.
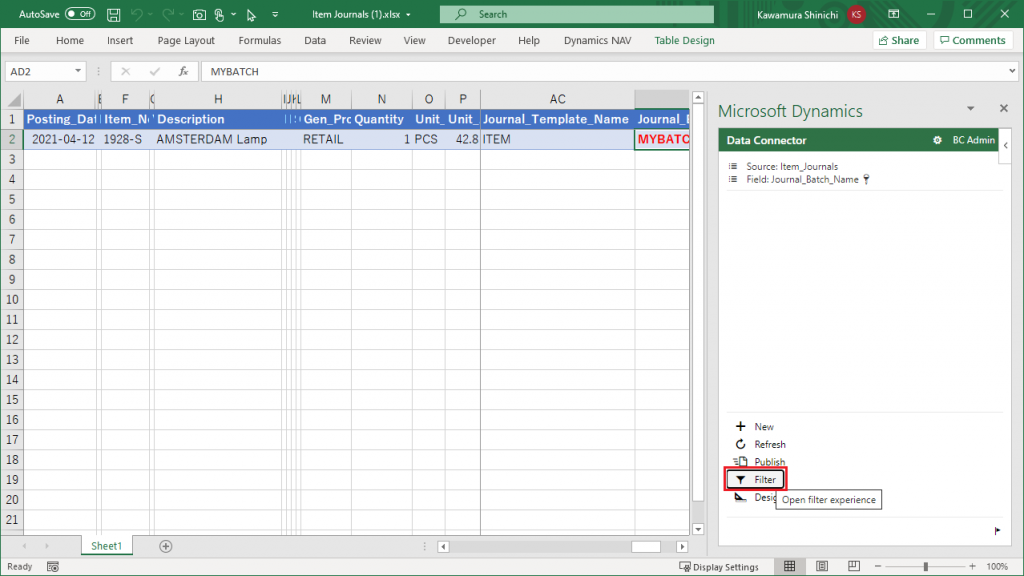
I was expecting the filter column and value to be set, but, it was a little different.
A message “The filter currently applied to the data source is not supported by this filter dialog clear the current filter to modify.” is displayed. The filter is set, but it seems to be set elsewhere.” + The “Add a filter field” button is deactivated, and it seems that to use the filter function on this page, you first need to clear the filter set elsewhere.” Click on the “x Clear filter” button.
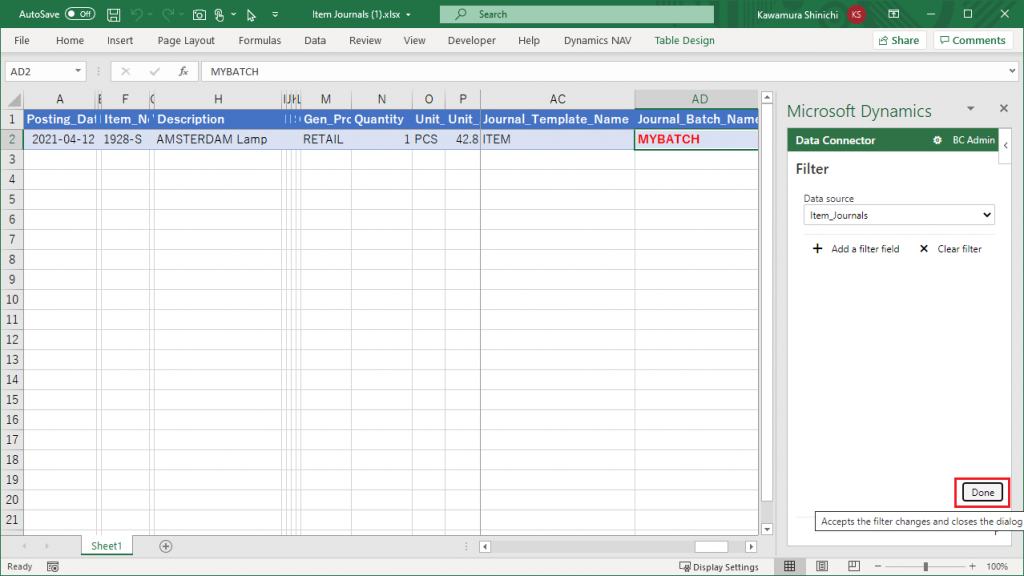
The “+ Add a filter field” button is now available. However, we will not set it up now, but rather check to see if the filter has been removed in this state. Click on the “Done” button.
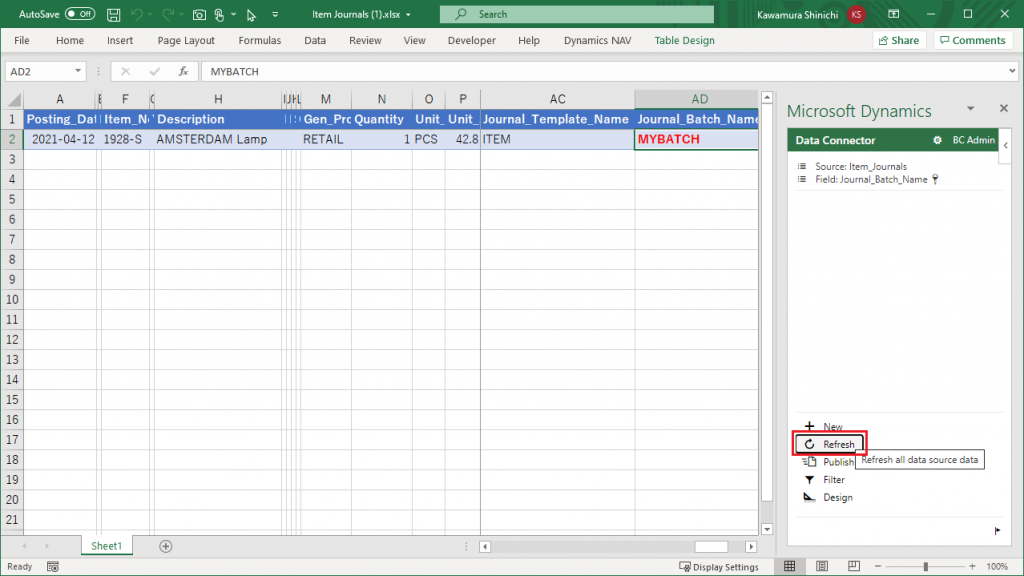
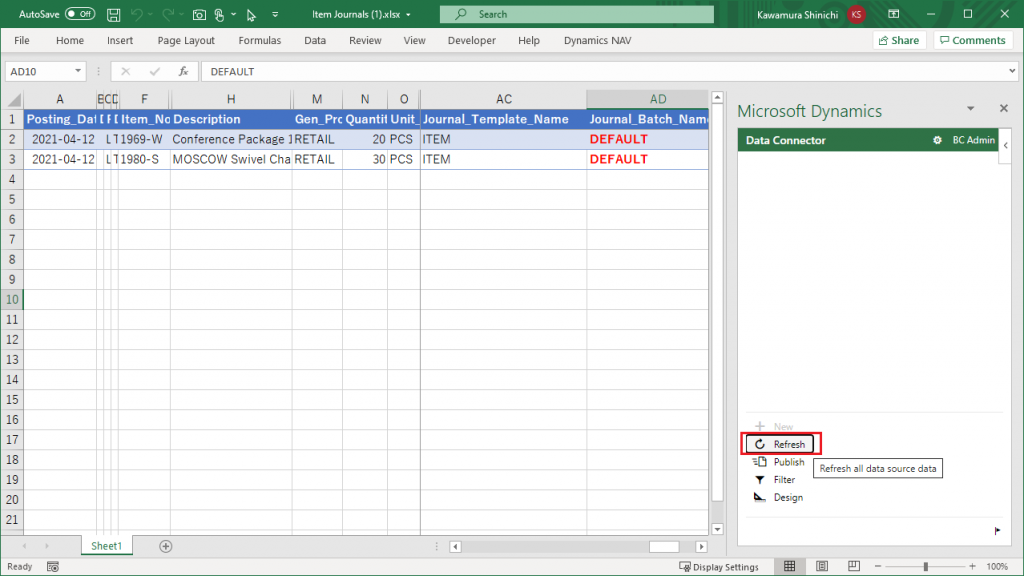
Click on the “Refresh” button.
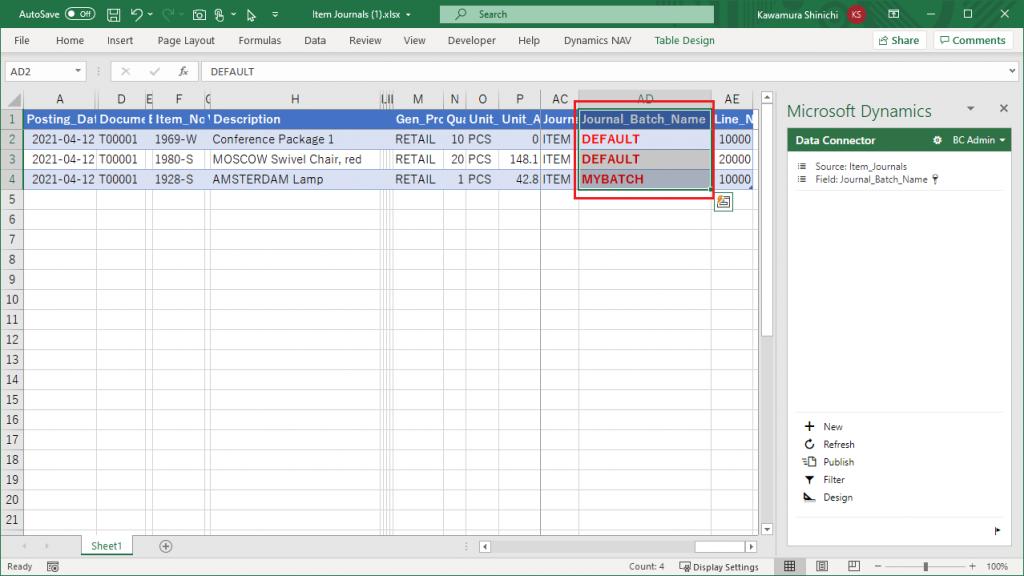
Then, the data for both the batch name “Default” and “MyBatch” are displayed. The filter has been removed successfully.
Can the data for both batches be updated? Try changing the quantity and click the “Publish” button after changing the quantity.
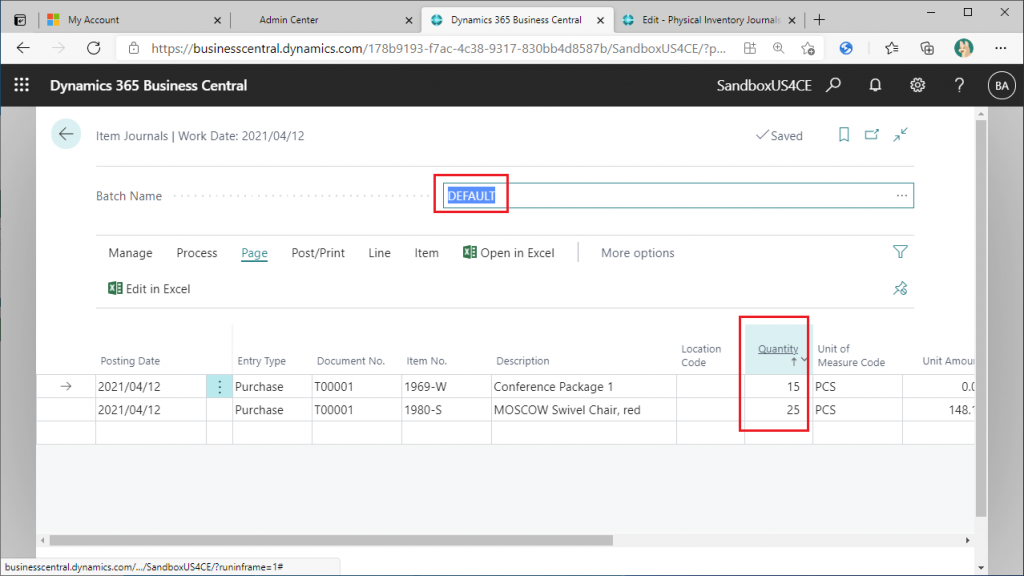
The data for the “Default” batch has been updated.
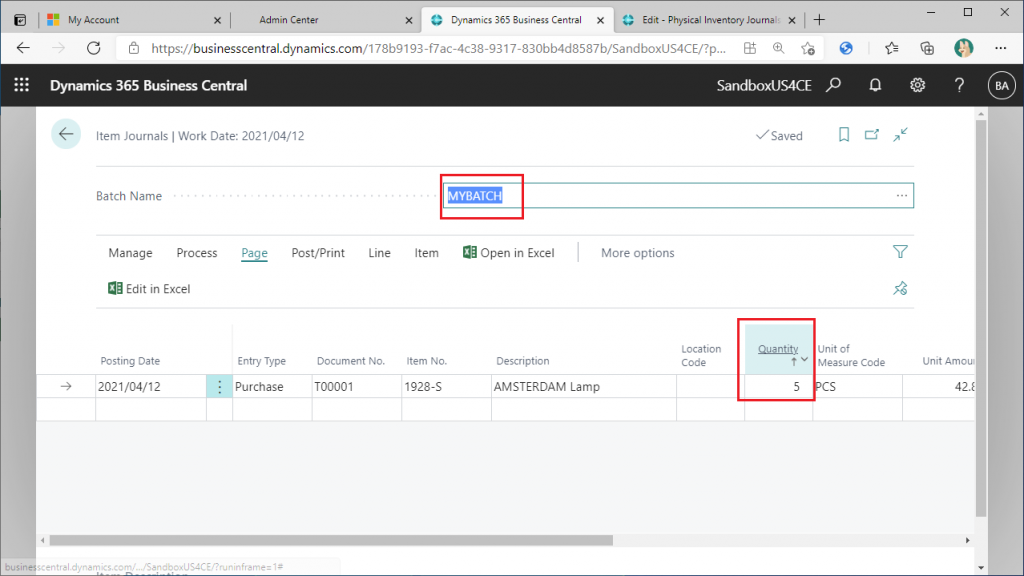
“MyBatch” batch data has also been updated.
This means that only one batch of data can be edited in the BC journal page, but in Edit in Excel, you can retrieve/update data from multiple batches by removing the filter.
5. Filter by batch name
We have successfully unfiltered the batch names, but it is also true that it is difficult to use them in actual operation without filters. Let me show you how you can properly filter batch names with the filter function.
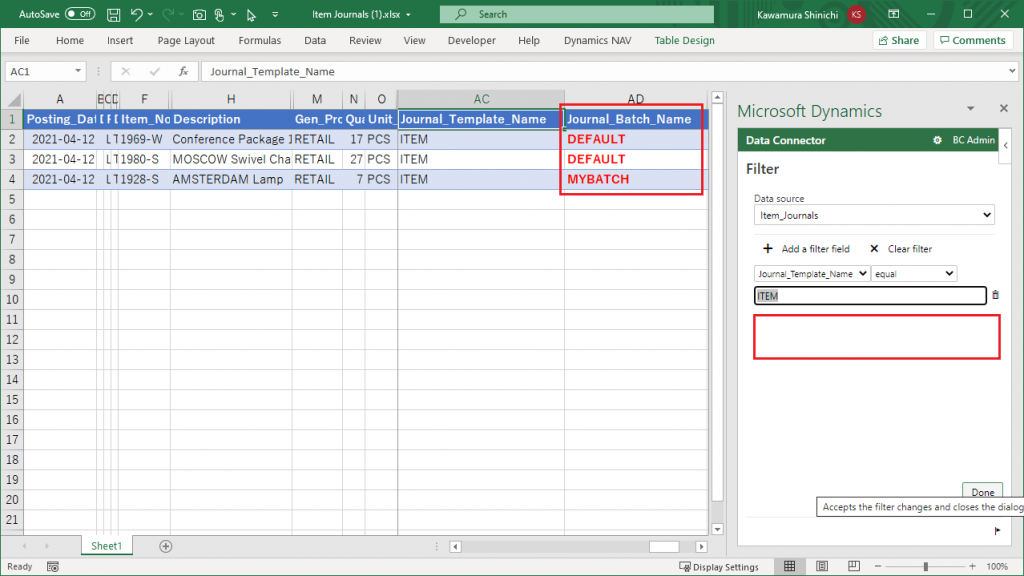
Click the “+ Add filter field” button on the filter settings page.
You can specify the fields and values to be filtered, as well as the operators (such as “equal” or “not equal”).
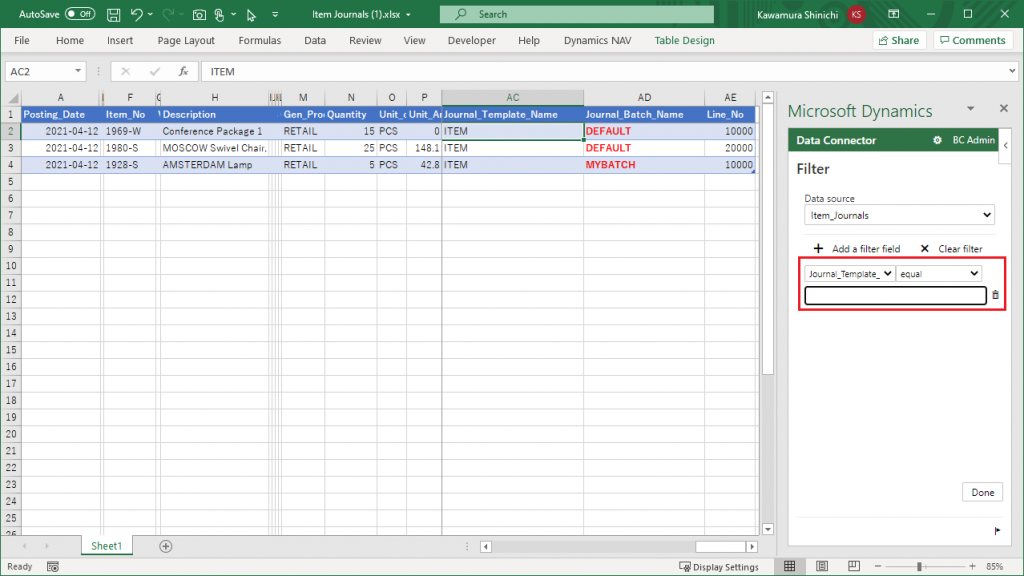
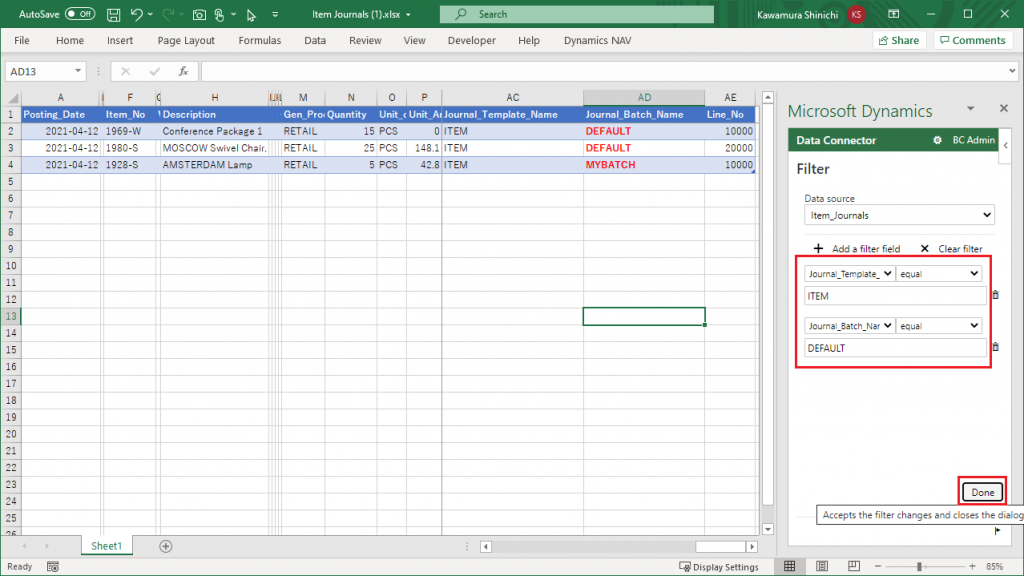
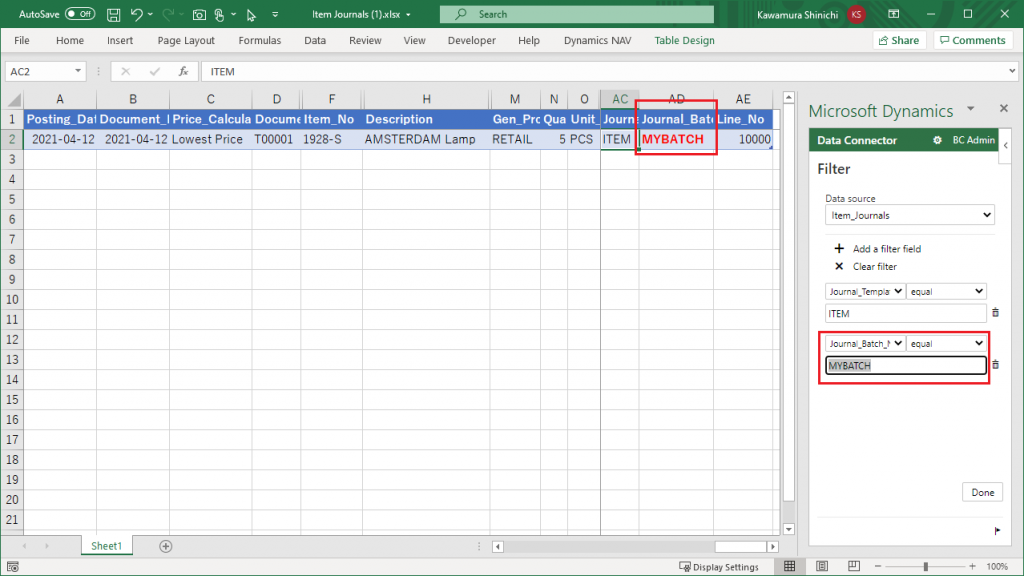
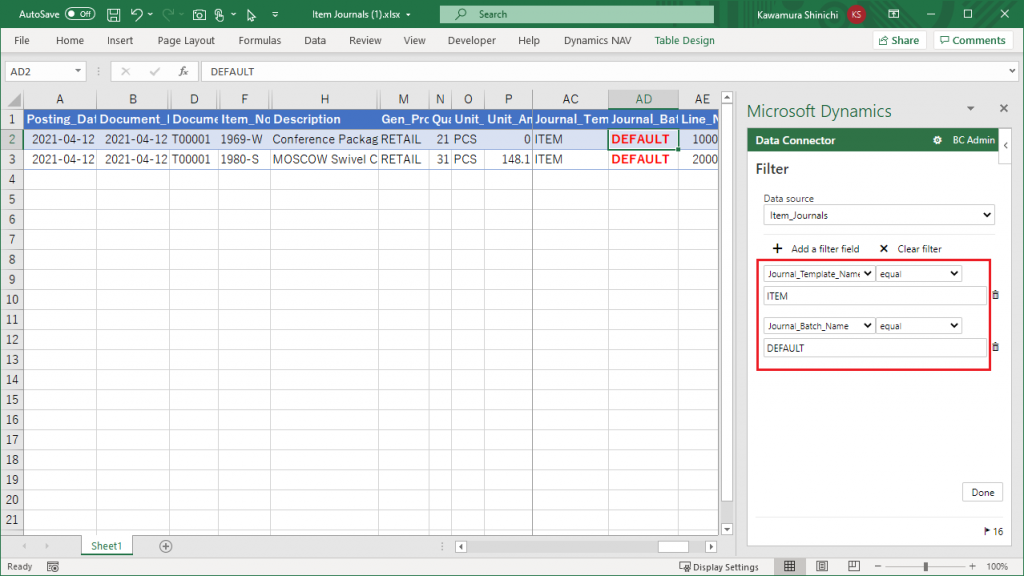
Set the following two filters.
”Journal_Template_Name” = “ITEM”
”Jounal_Batch_Name” = “DEFAULT”
After completing the settings, click “Done”.
The filter settings are now complete, but the data displayed does not yet reflect this.” Click “Refresh”.
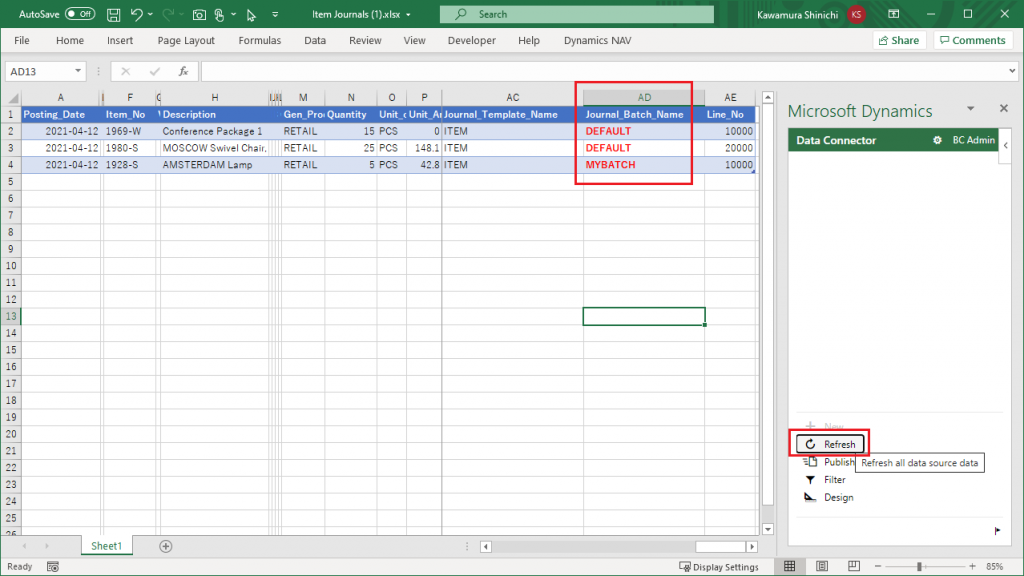
Only data with a “Default” batch name will now be displayed.
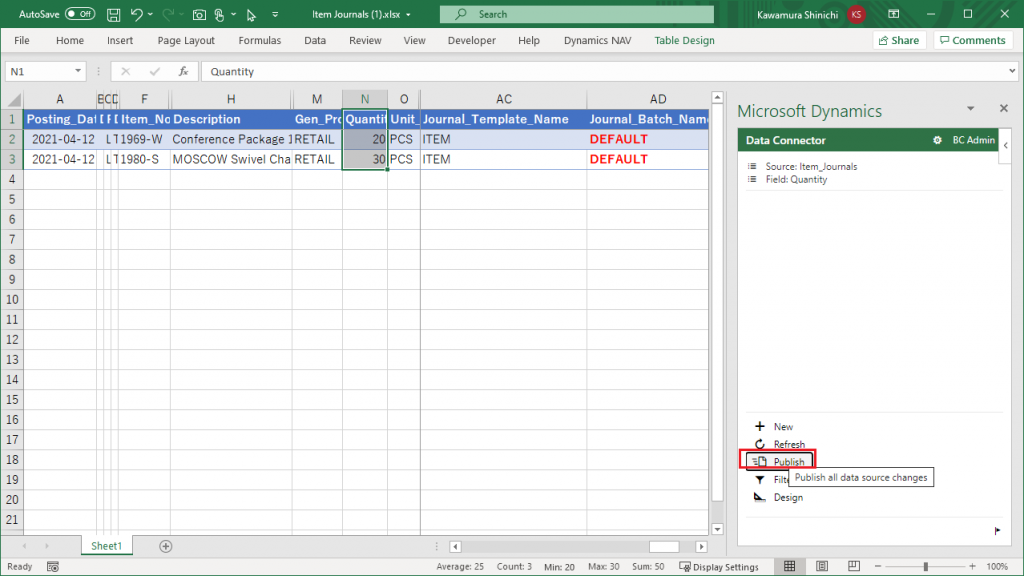
Change the quantity in the “Quantity” column and click the “Publish” button.
Return to the Item Journals page and click the F5 button to refresh, and the quantity will have been updated.
In the same Excel file, try changing the batch name filter to “MyBatch”.
Change the quantity in the same way as before and click the “Publish” button.
The quantity change has been reflected by checking “MyBatch” in the item journals page.

This means that the Edit in Excel filter function can be used to retrieve and update values for a specific batch of journal entries. The filter is set in a different place than the Edit in Excel button in the BC journal page, but you can do the same thing by using the filter function in Edit in Excel.
6. Considerations when using filters in Edit in Excel
There is one thing you should be aware of when using the filter function. If the filter is not specified correctly, there is a possibility of accidentally deleting data. Let’s use a concrete example to illustrate.
Remove the filter condition for the batch name. Excel now shows the data for all batches.
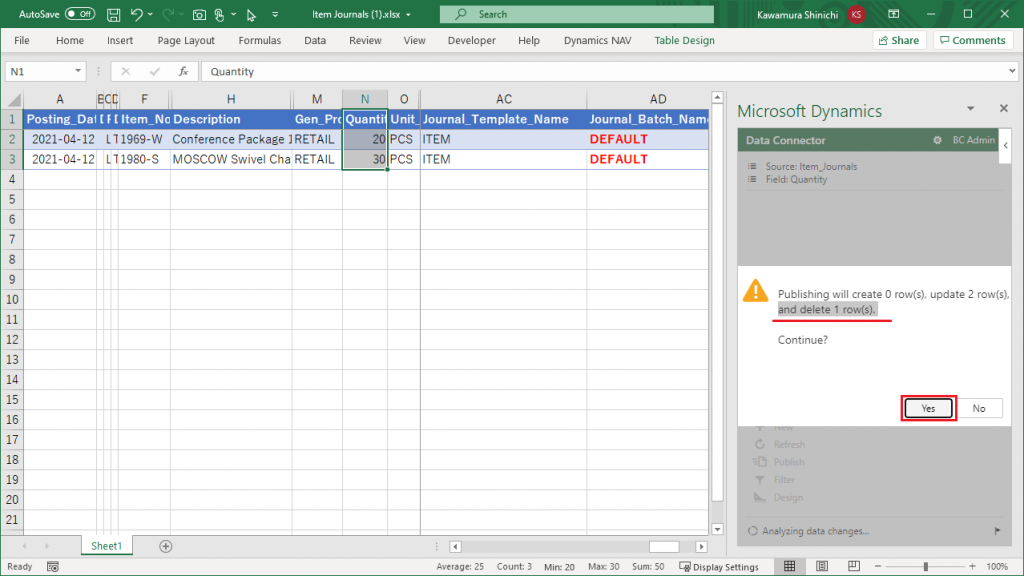
In this situation, delete the row of data in “MyBatch”.
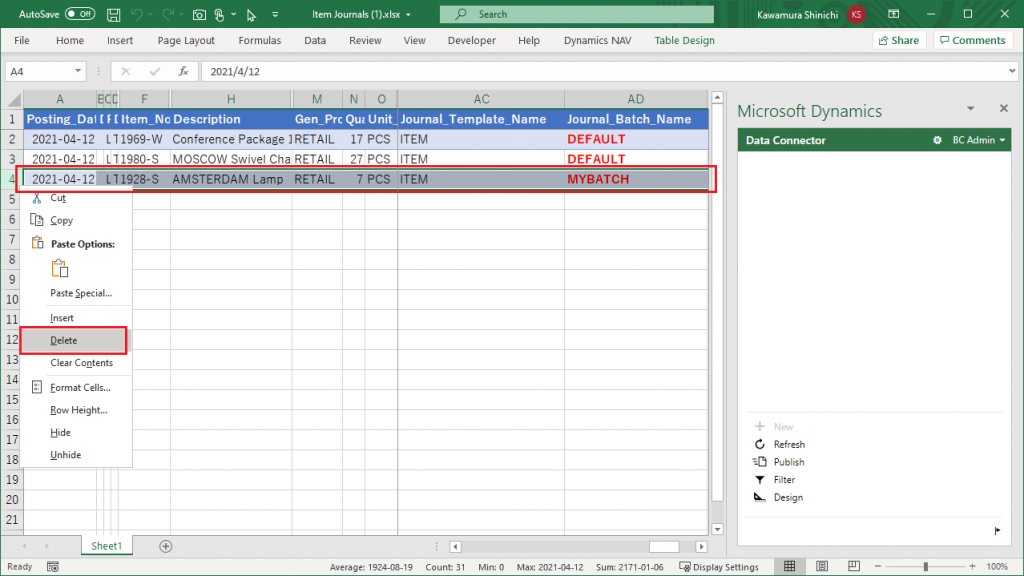
Then click the “Publish” button.
Then a warning will appear.” It says, “Delete one line.” Let’s click “Yes”.
Display the data of “MyBatch” in the item journal page of BC. The data of “MyBatch” has been deleted.
In this case, you may not feel any problem. However, if you update data from Edit in Excel thinking that the filter is set, even though the filter for the batch name has been removed, there is a possibility that you will accidentally delete data from a batch that you do not intend to change.
7. Filter journal batch template
Earlier, when I applied the filter, I applied the filter “Journal_Template_Name = ITEM” without explaining the reason. I will explain the reason for this.
Delete the “Journal_Template_Batch” filter in the filter settings.
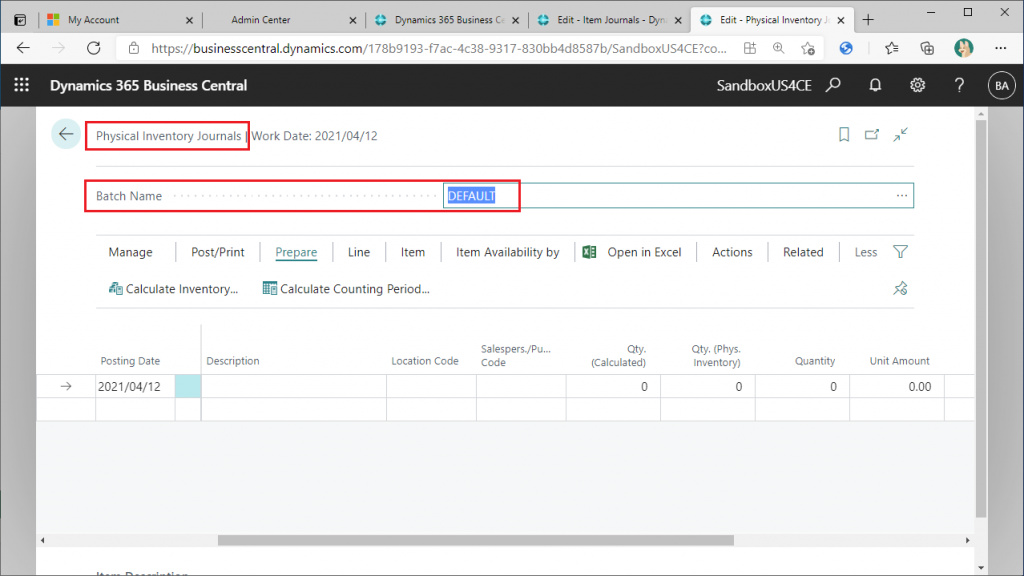
To understand the behavior, it is necessary to open the “Physical Inventory Journal” and enter the data.
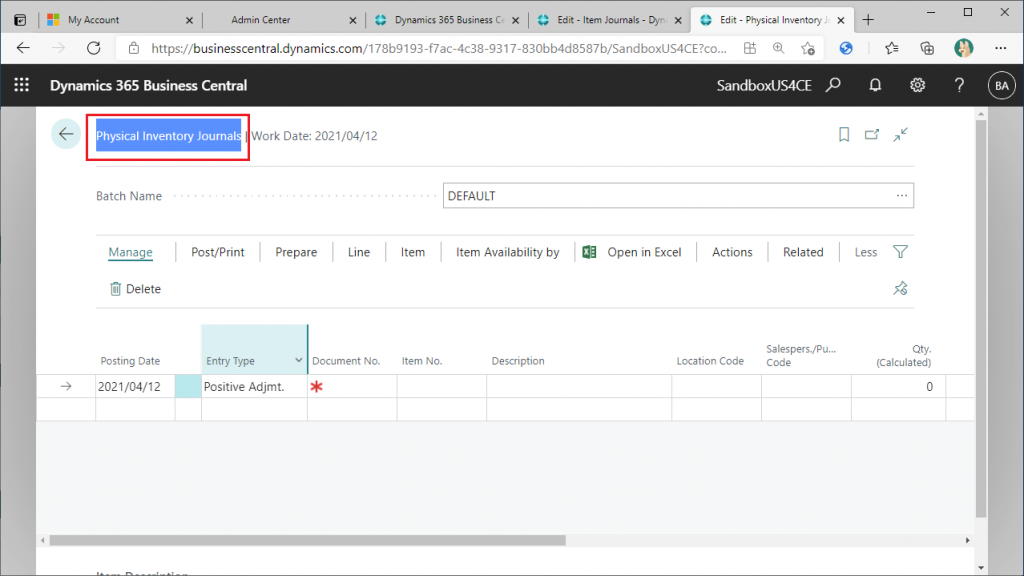
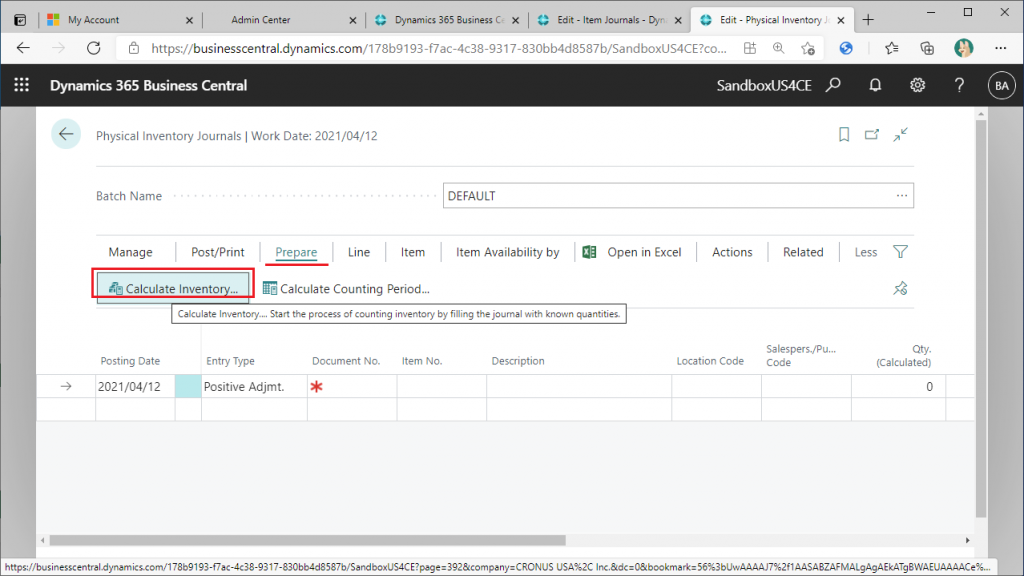
In the “Prepare” tab, click the “Calculate Inventory” button.
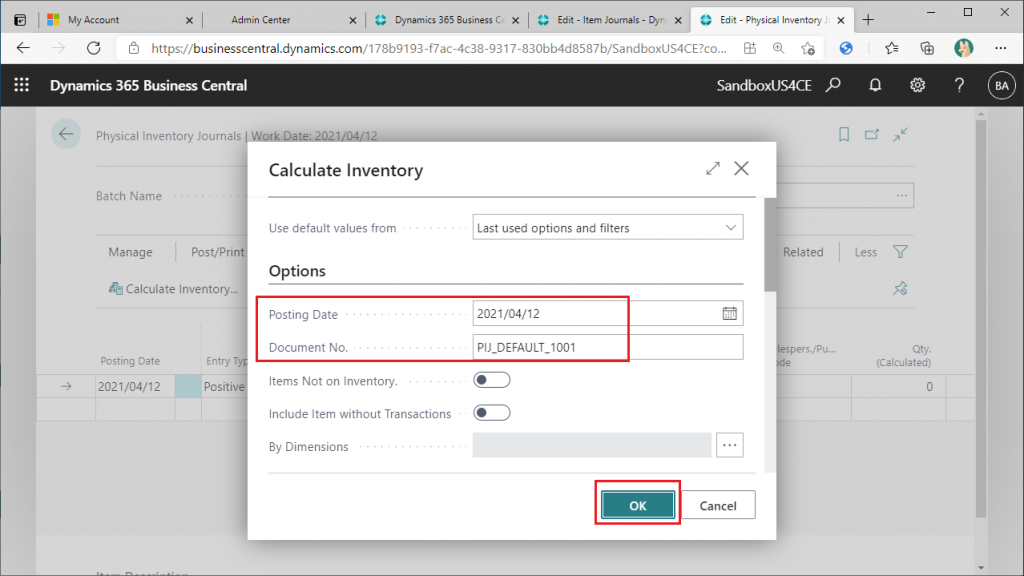
“Specify some string for “Document No.”. Posting Date” can be left at its default value. Then click “OK”.
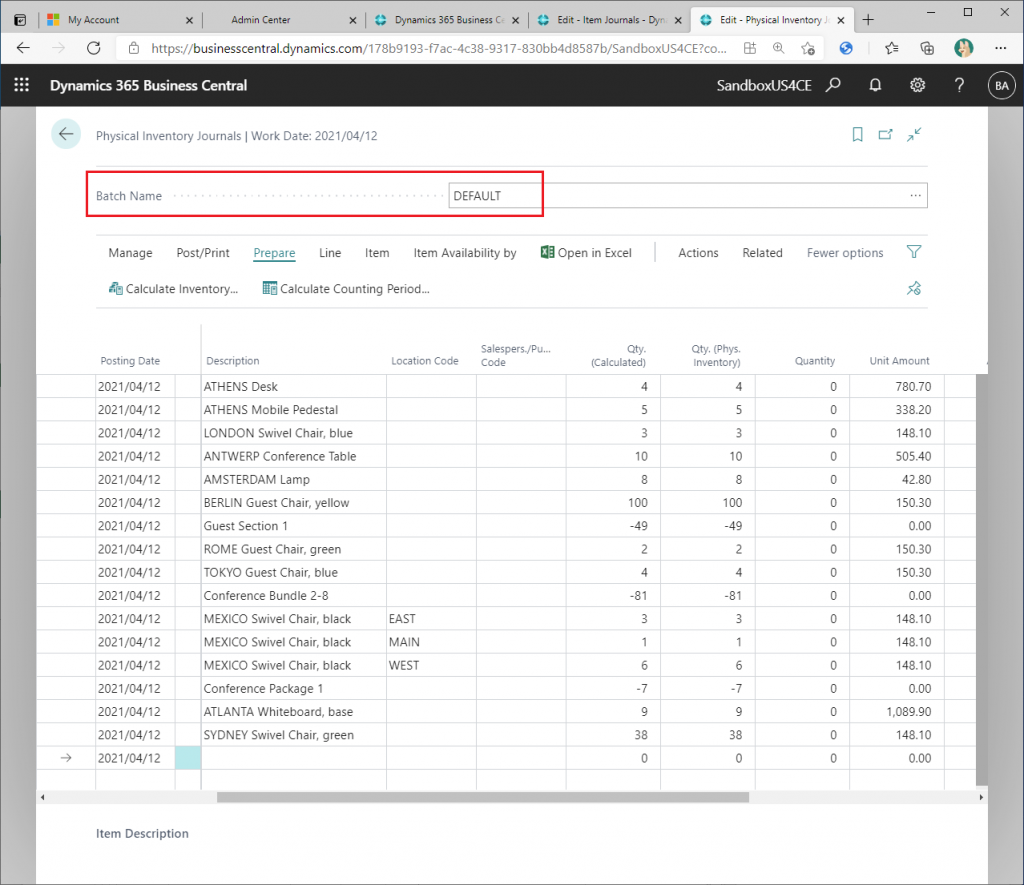
Then the physical inventory journals line data was created. This is a function of the physical inventory journals page, where the inventory by item and location is calculated and the lines are initially proposed. For the sample data company, it should look like the following. And here the batch name is “Default”.
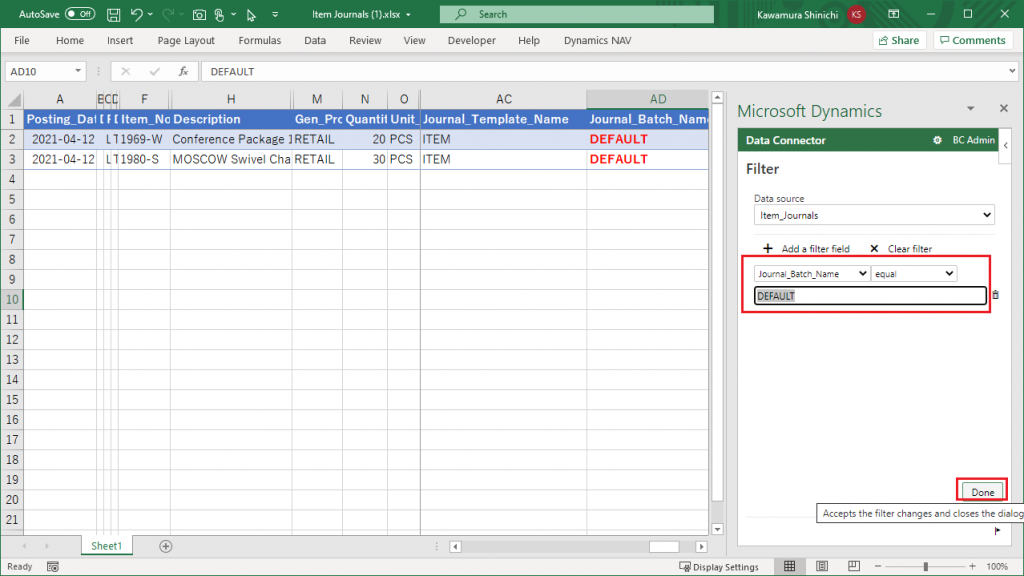
Return to Excel and set “Journal_Batch_Name = DEFAULT” in the filter condition. Note that the “Journal_Template_Name” filter condition has been deleted. Click “Done” to complete the filter settings.
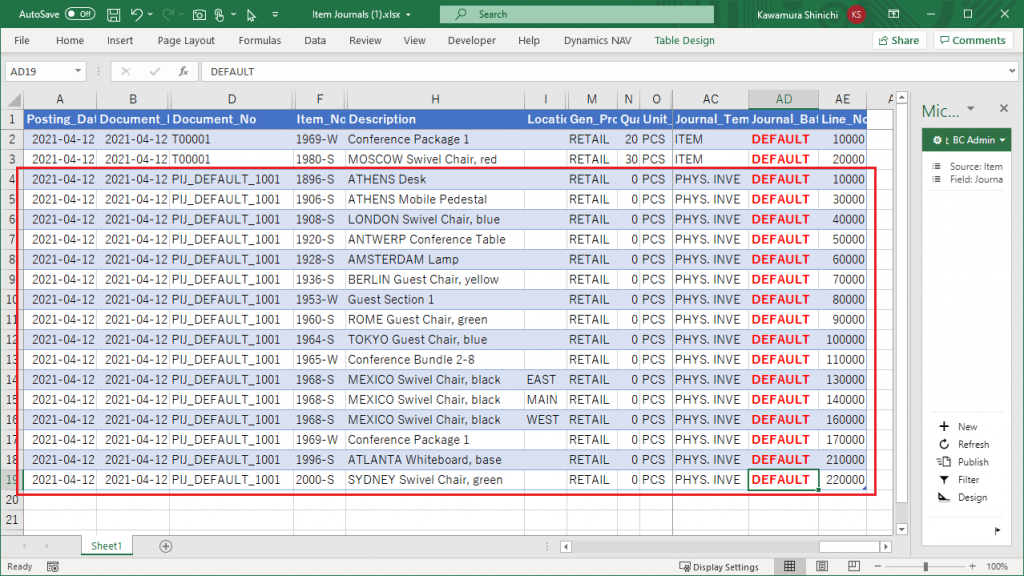
Click on the “Refresh” button.
Then, nearly 20 data items were added, obviously from the AC columns “Journal_Tempalate_Name” and “Journal_Batch_Name”, this is data from the physical inventory journals.
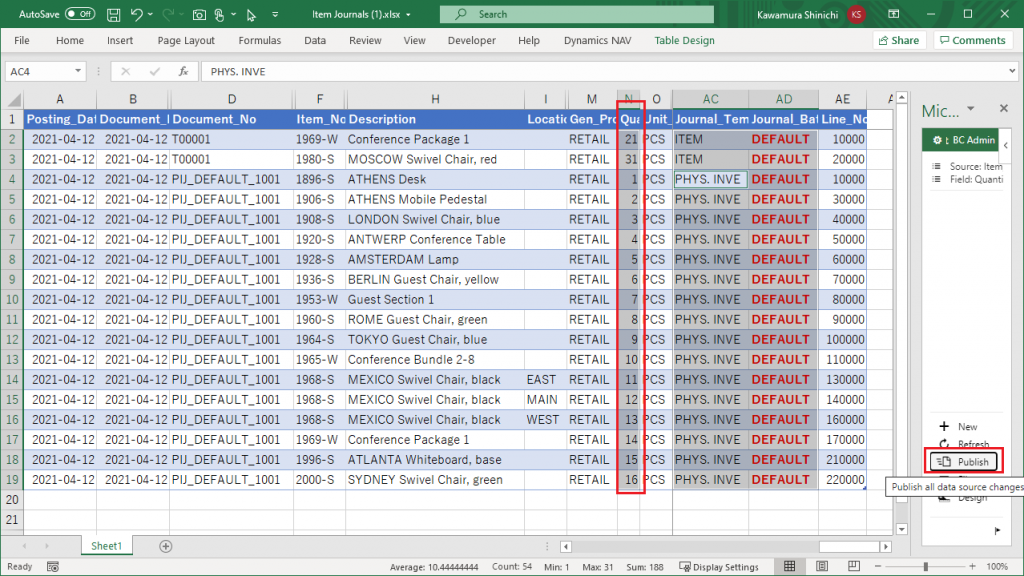
Is it possible to update the data in the physical inventory journals from the Excel? Change the quantity in all rows and click on the “Publish” button.
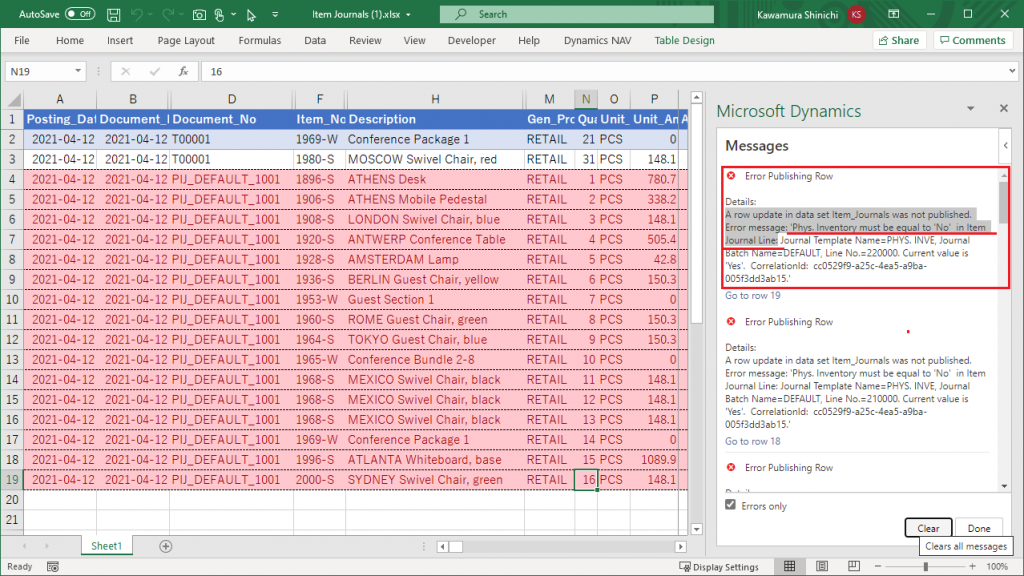
Oh, there are errors. Click “Open Message Center” to confirm the error message.
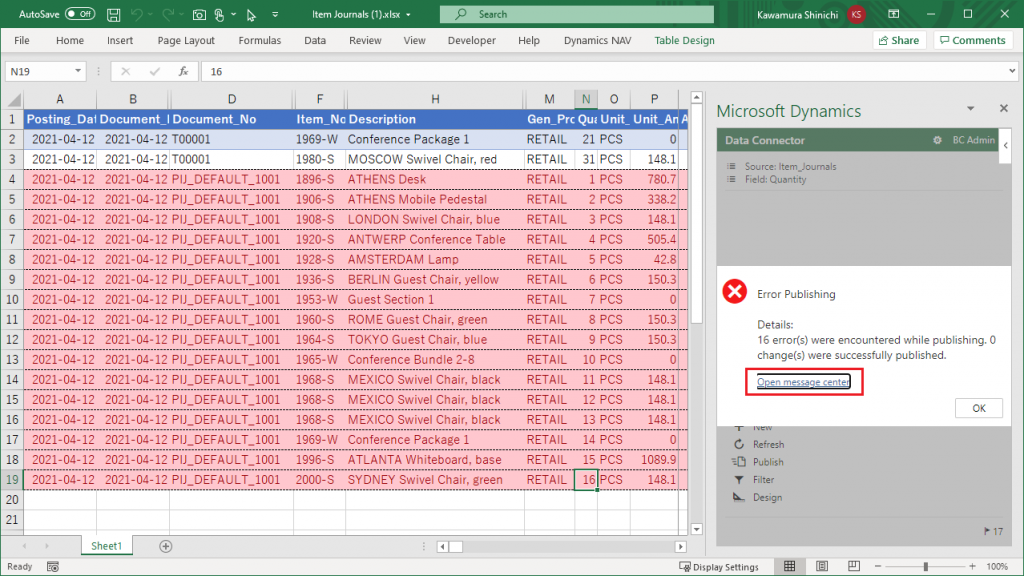
The message says “If the inventory journal flag is Yes, the data cannot be updated in the item journal”. I haven’t checked the code, but I think this is probably the specification of the Item Journals page, because Edit in Excel uses the OData for Item Journal page exposed in web-service list page to retrieve/update data.
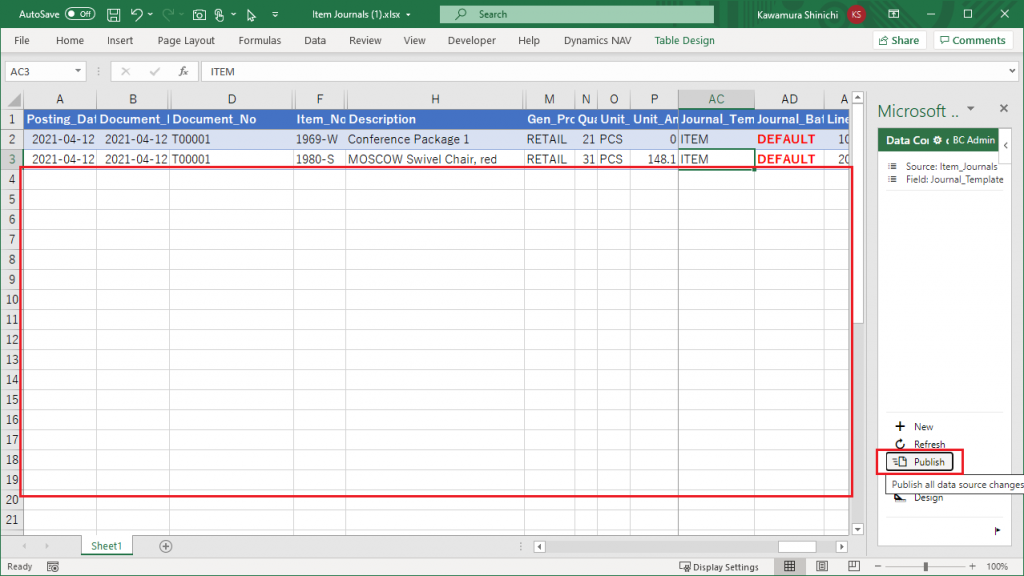
If the data in the physical inventory journals cannot be updated, is it okay not to limit “Journal_Tempalte_Name” to “ITEM” in the filter function of Edit in Excel? Is it safe to do so? The answer is NO. This is because physical inventory journals line data can be deleted from the excel file. Try deleting the physical inventory journal related data in Excel and click the “Publish” button.
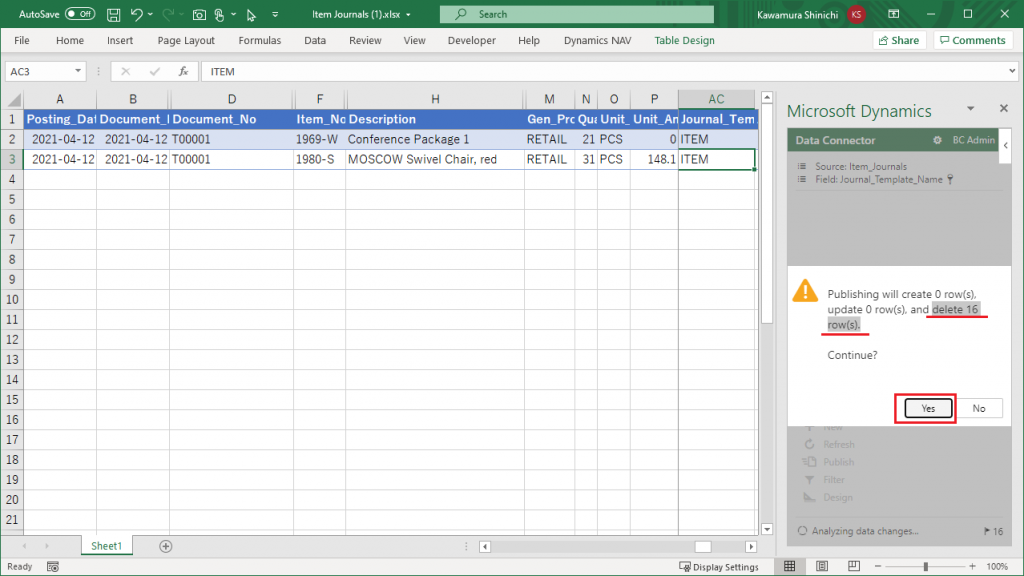
A warning message appears, saying that 16 rows of data will be deleted.” Click “Yes”.
You will see a message saying that the data update was successful.
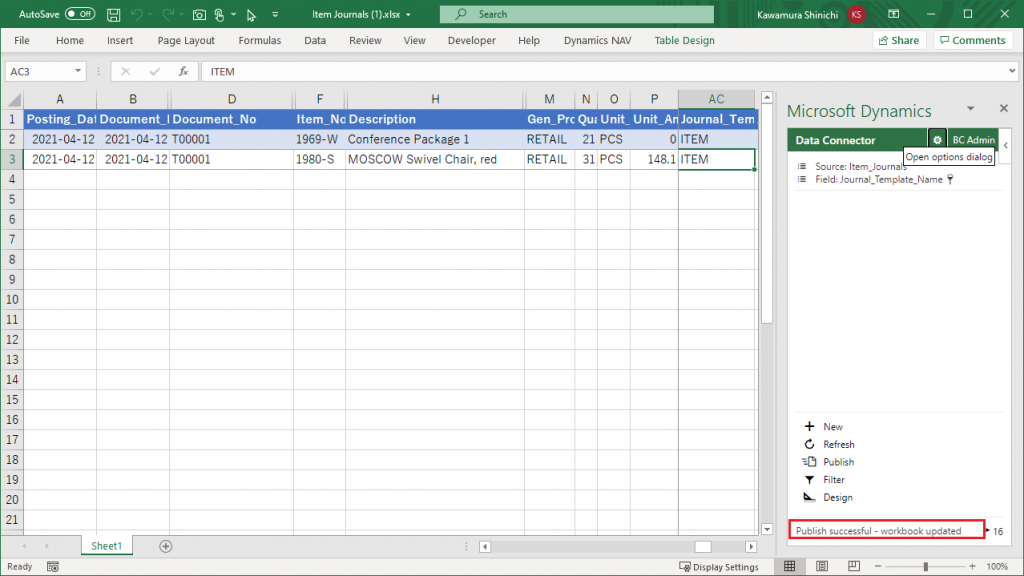
Go back to the BC physical inventory journals page and check the data in the “Default” batch, and you will see that the lines of this batch have been deleted.
So, the filter needs to be set properly in Edit in Excel to edit item journals line data on BC.
8. How to safely use Edit in Excel for journal entries
I wrote that “we need to set up the filter properly,” but what is the necessary and sufficient setting? To set it up properly, we need to understand the keys field in the journal table correctly.
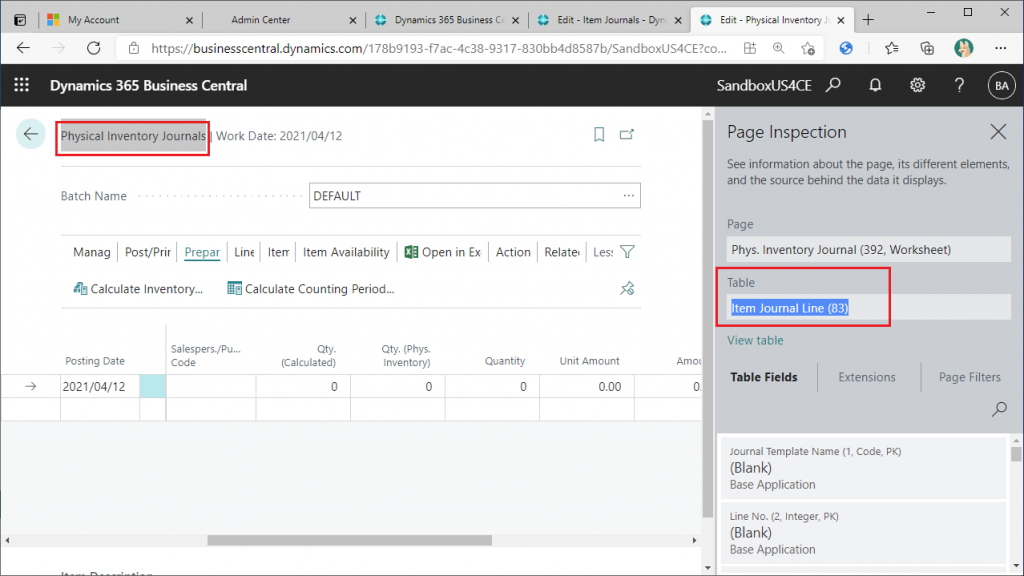
In the physical inventory journal page, click Ctrl+Alt+F1 to display the “Page Inspection” information. “Item Journal Line(Table ID:83)” is the table that is being retrieved/updated in the physical inventory journal.
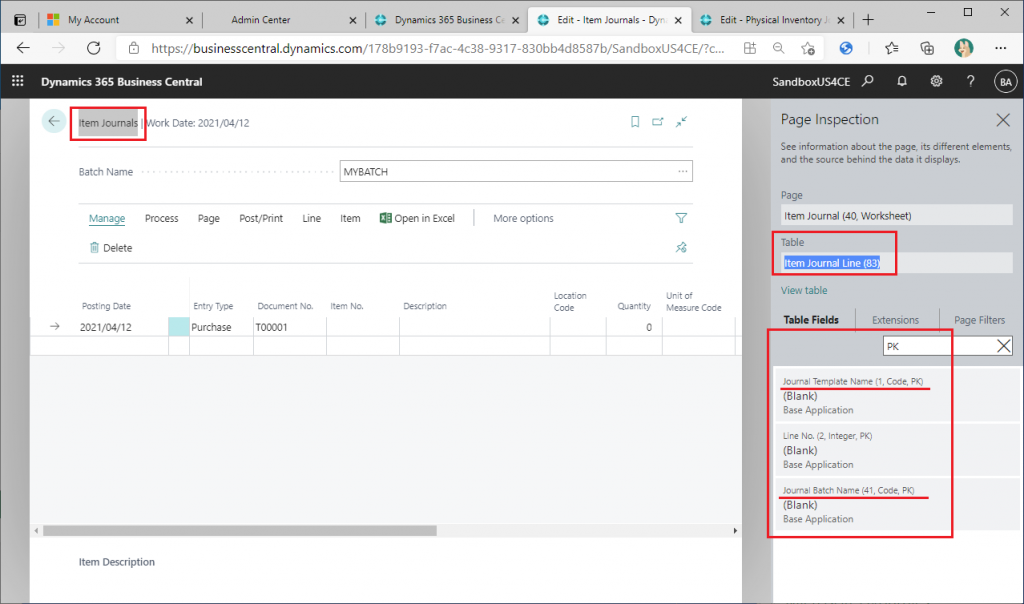
In the same way, display the information of “Page Inspection” in the Item Journal page. You can see that it is the same table. Now, do a keyword search on “PK” to find out the key of the table. You will find the following three items
Journal Template Name
Journal Batch Name
Line No.
Line No. is assigned for each additional line, so the keys to be filtered are “Journal Template Name” and “Journal Batch Name”.
Therefore, you can safely use Edit in Excel for the item journals by setting the following filters.
9. Closing
In this article, I used the item journals as an example, but as far as I checked, the general journals behaved in almost the same way. I think it will be the same for other journal entries.
In the next article, I will explain the strange behavior that is happening in the physical inventory journals Edit in Excel.