
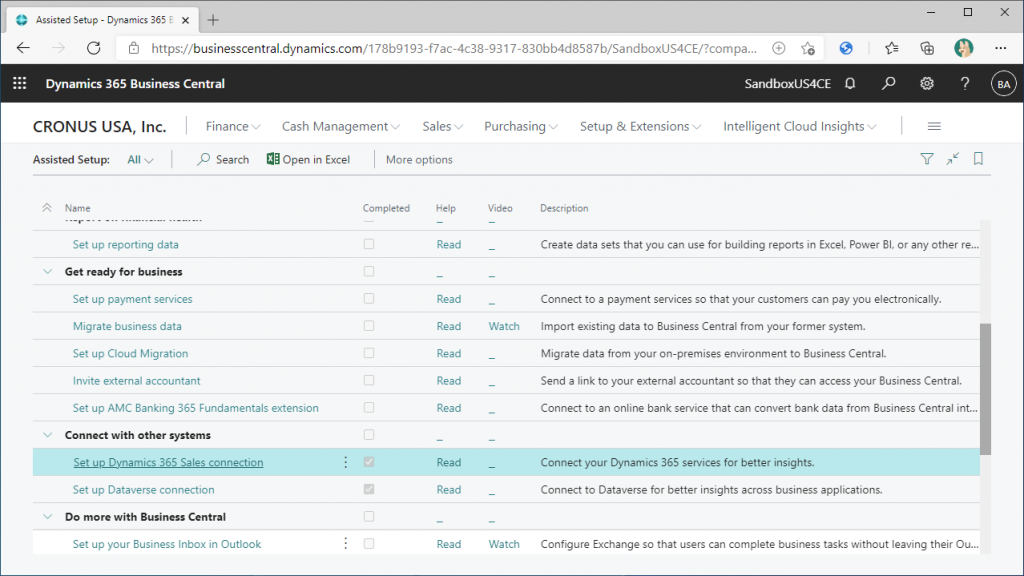
This is the last article to configure the connection between Dynamics 365 Business Central and Dynamics 365 Sales. In the previous article, we configured the connection between BC and Dataverse.
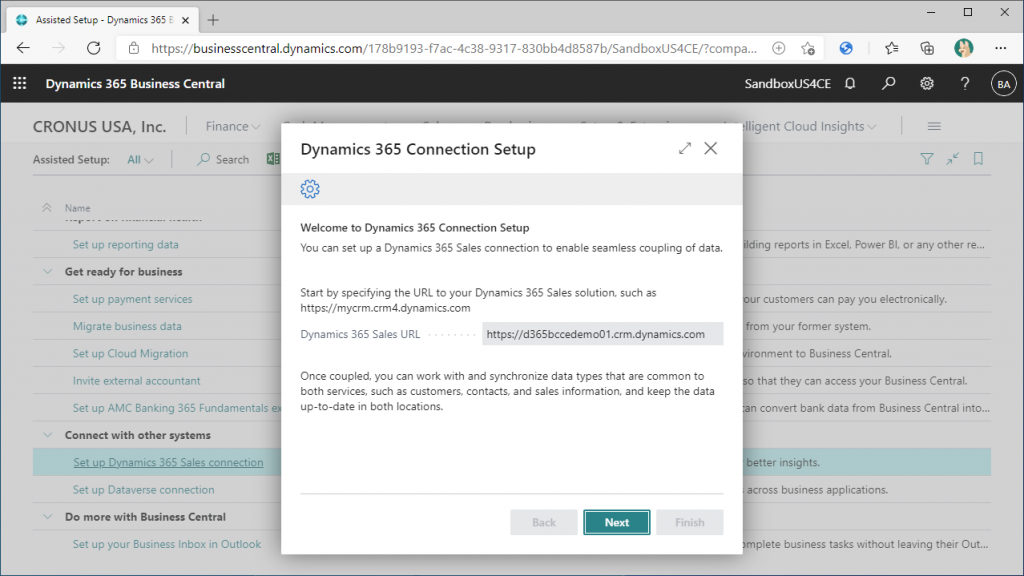
We will configure the connection from the Assisted Setup screen as same as BC with Dataverse. Click Setup Dynamics 365 Sales Connection to start the Wizard. Read the instructions on the first page and click Next.
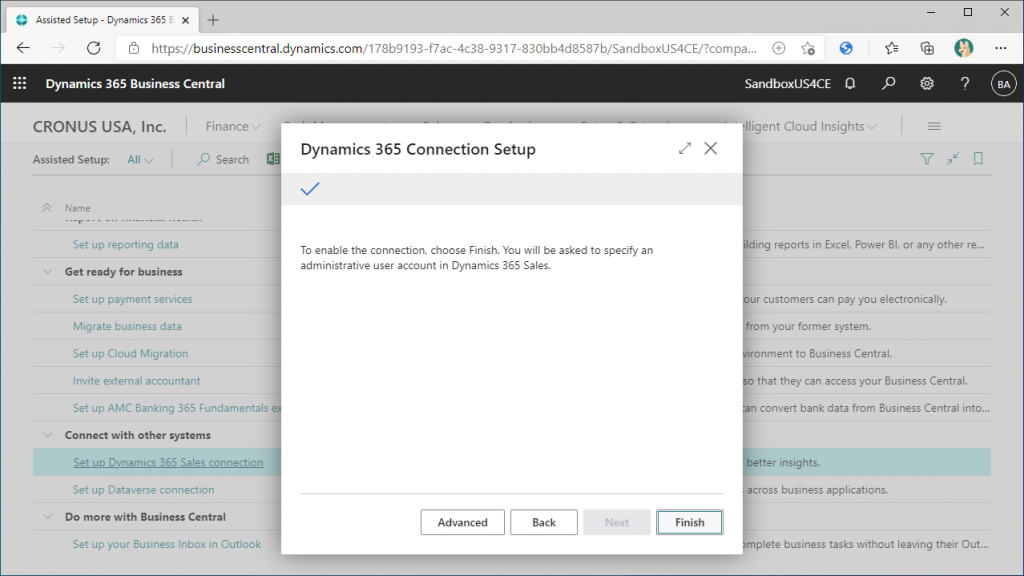
Click Finish.
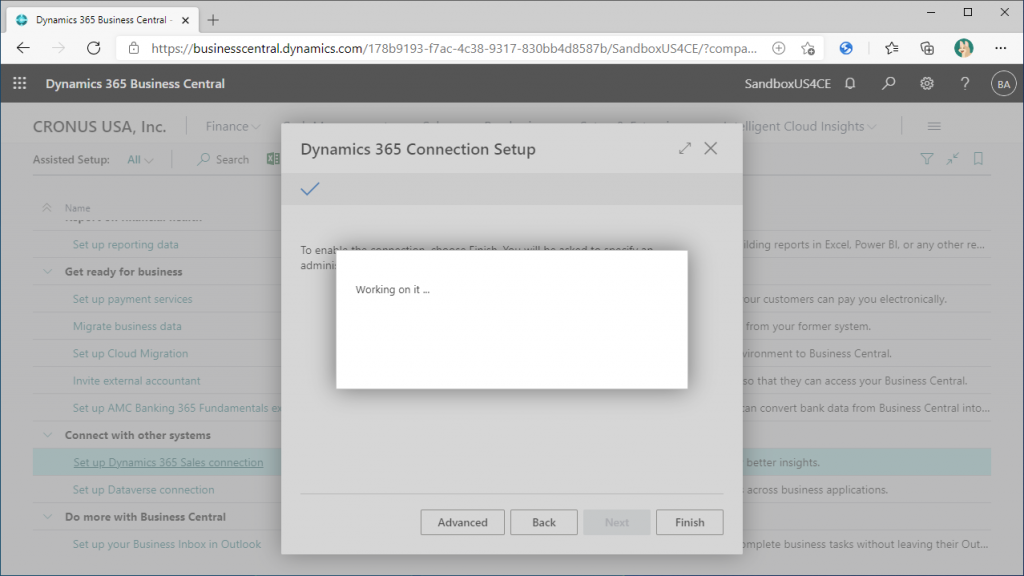
You will have to wait on this screen for a while.
It’s done. I’d like to say that’s all, but there are a few additional settings.
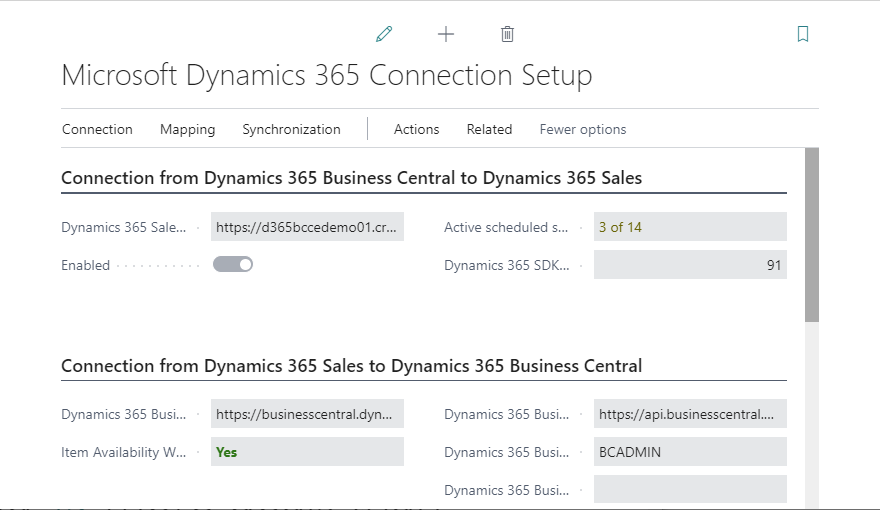
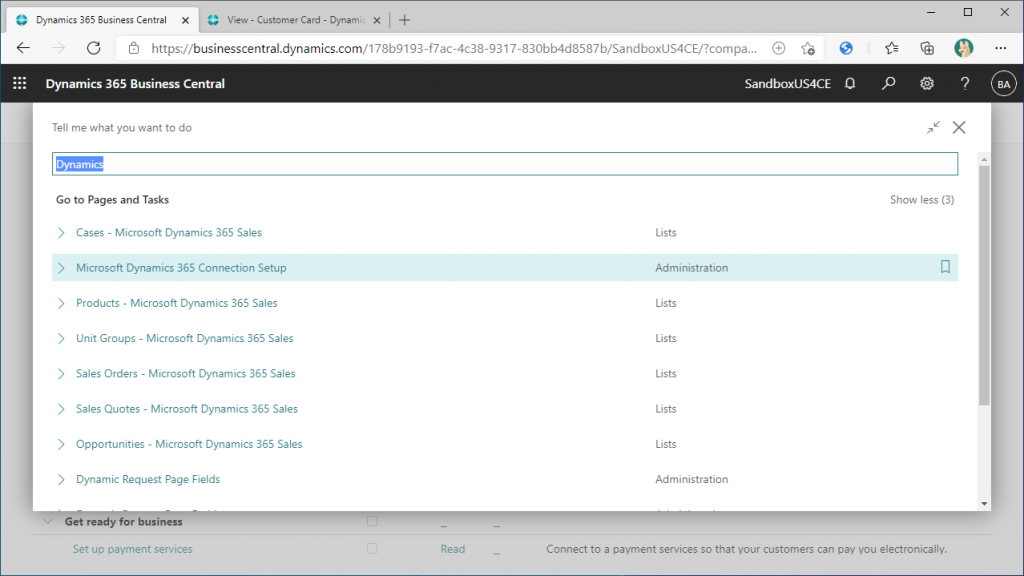
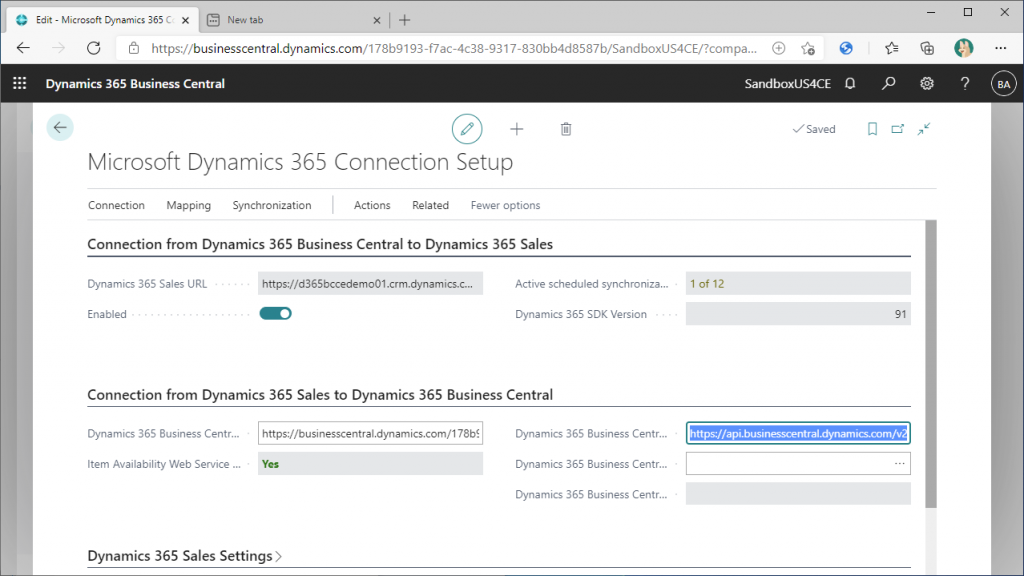
From the Search menu, search for “Dynamics” to open the Microsoft Dynamics 365 Connection Setup page.
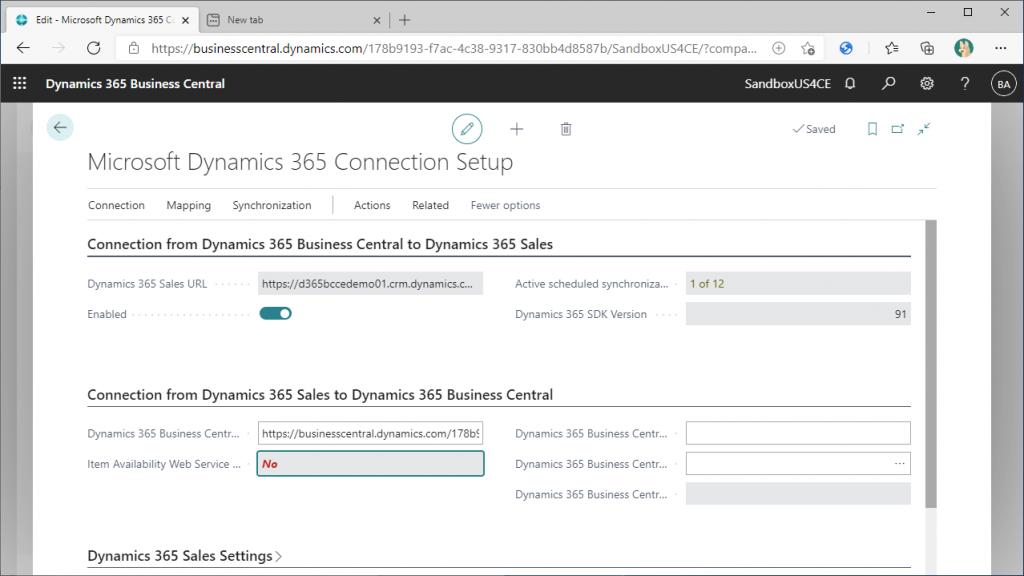
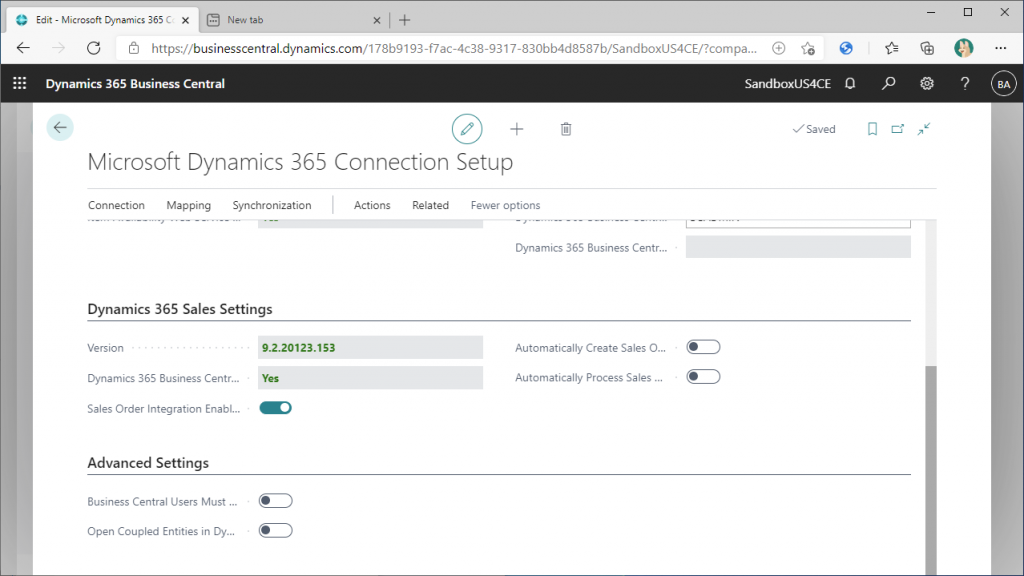
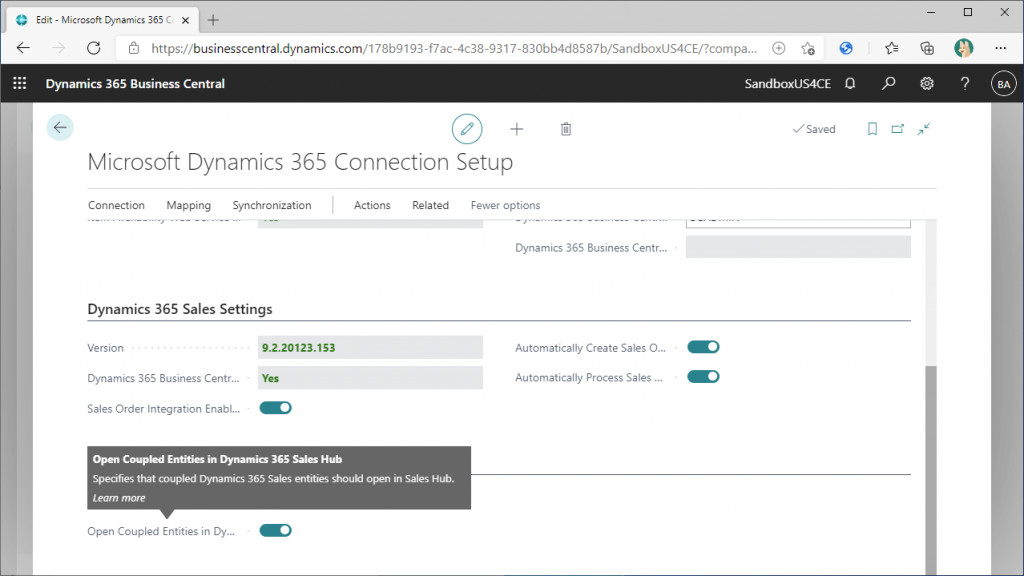
You set up the connection using the Wizard, so the parameter settings is as below. There are a few functions that are turned off. Let’s turn them all on.

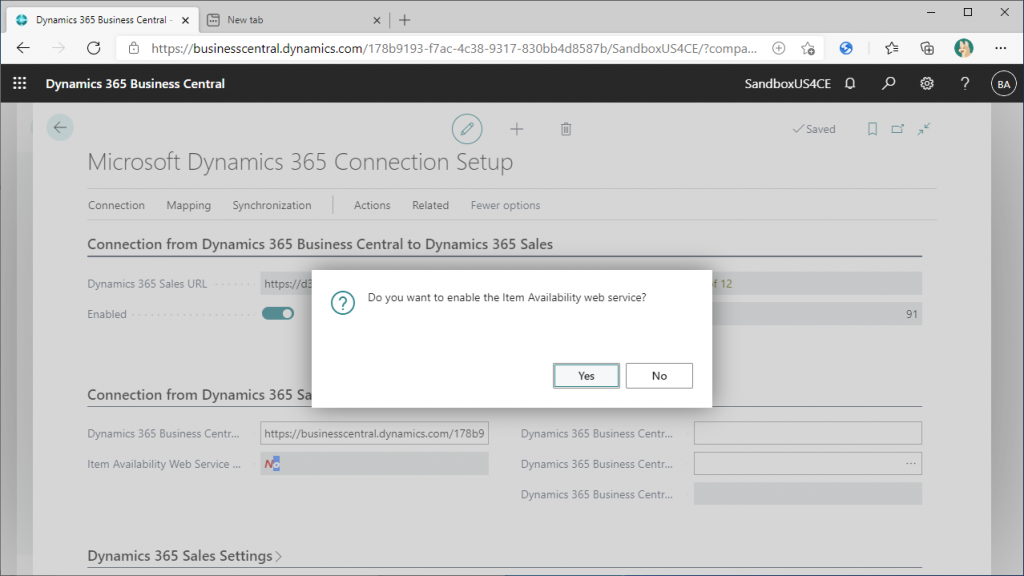
First, in the second section, “Connection From Dynamics 365 Sales to Dynamics 365 Business Central”, click “No” of Item Availability Web Service and turns to Yes.
Choose “Yes” on the pop-up.
Item Availability Web Service is set to Yes and the URL is placed on the right side. As you can guess from the name of the item, it is the URL of the API endpoint for inventory inquiry from the Sales side.
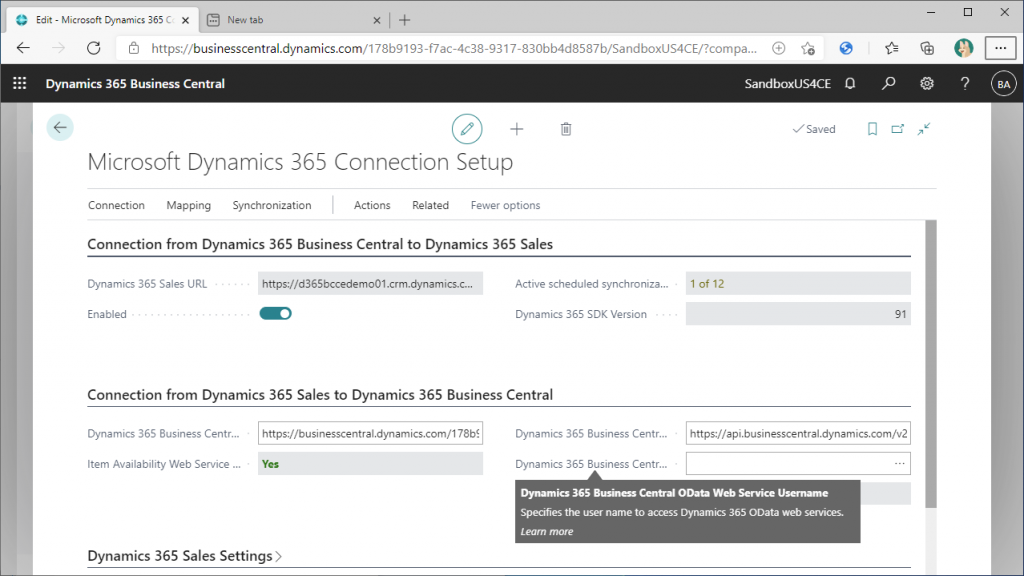
The item below the URL is blank. The URL above is OData, and it seems to be able to specify the connecting user. Click “…” on the right end of the field.
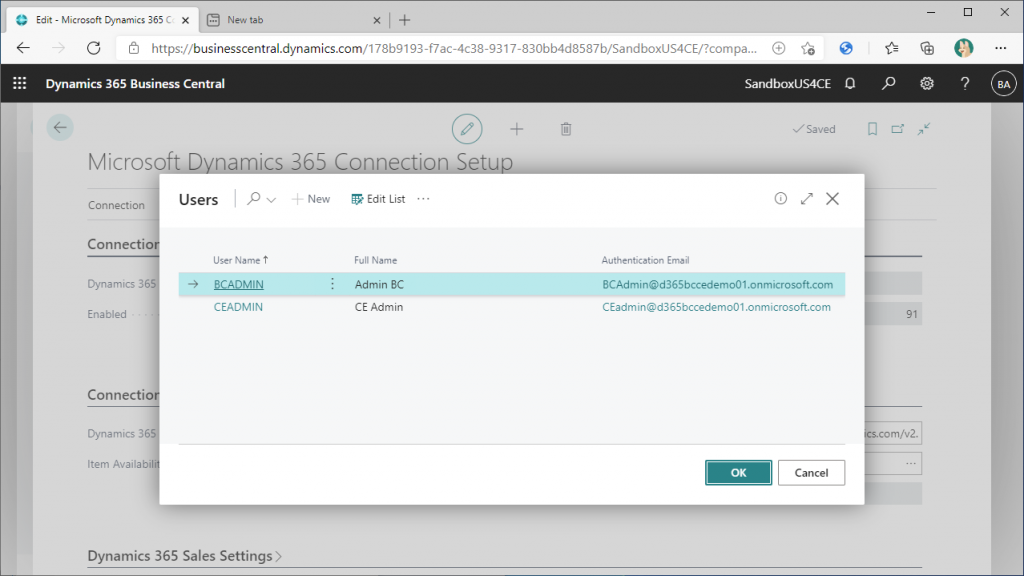
You will be presented with a list of possible user IDs, and since we are connecting to the BC, we will specify the administrator user for the BC.
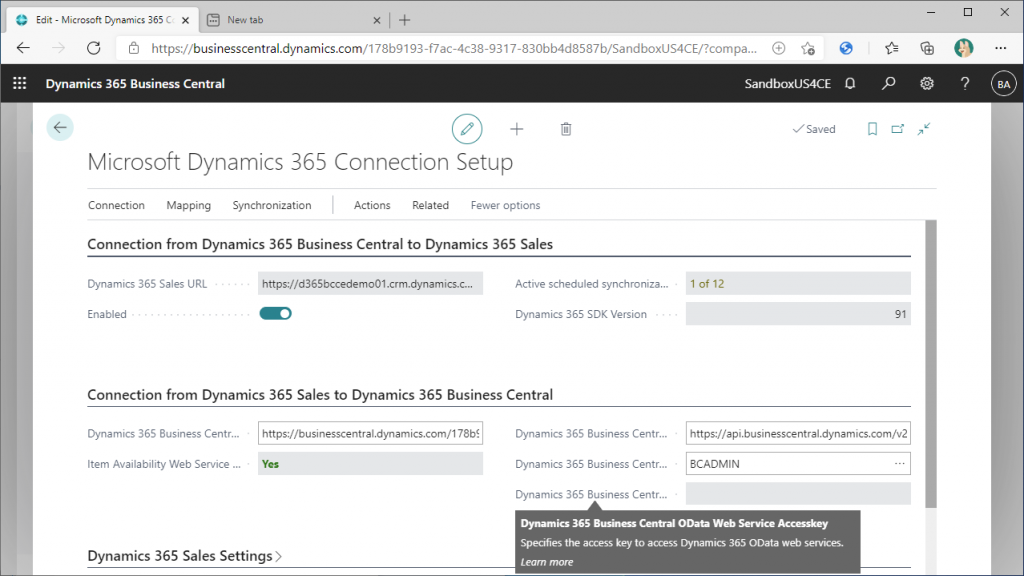
The user ID has been set. Let’s take a look at the item below, the WebService access key, which should not be set since there was an announcement that WebAccessKey will be obsoleted soon.
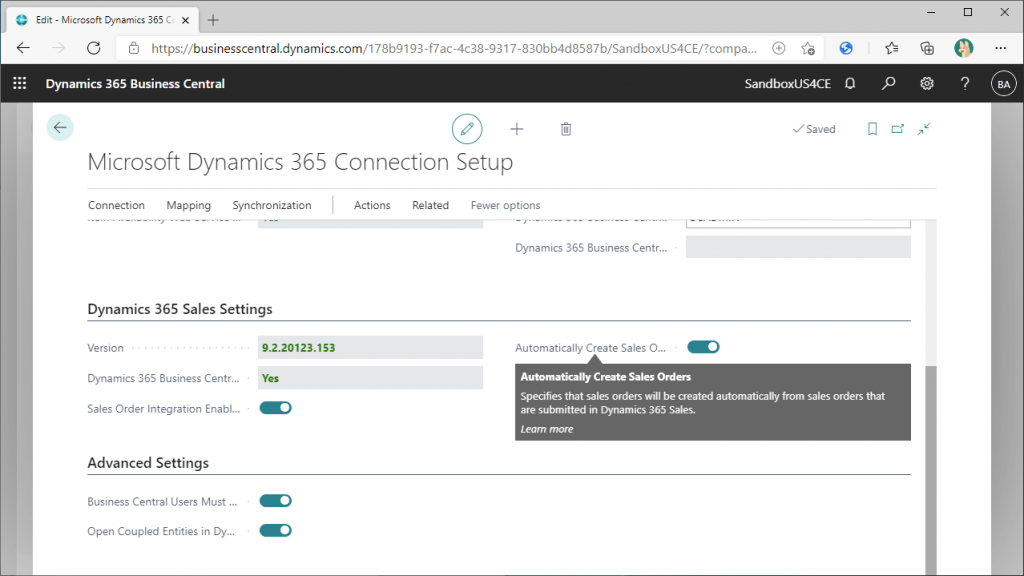
Scroll down to the bottom. 4 fields are Off. Try turning them all On.
It says that when a Sales Order is created on the D365 Sales side, it will create a Sales Order on the BC side. This is a feature I would love to try.
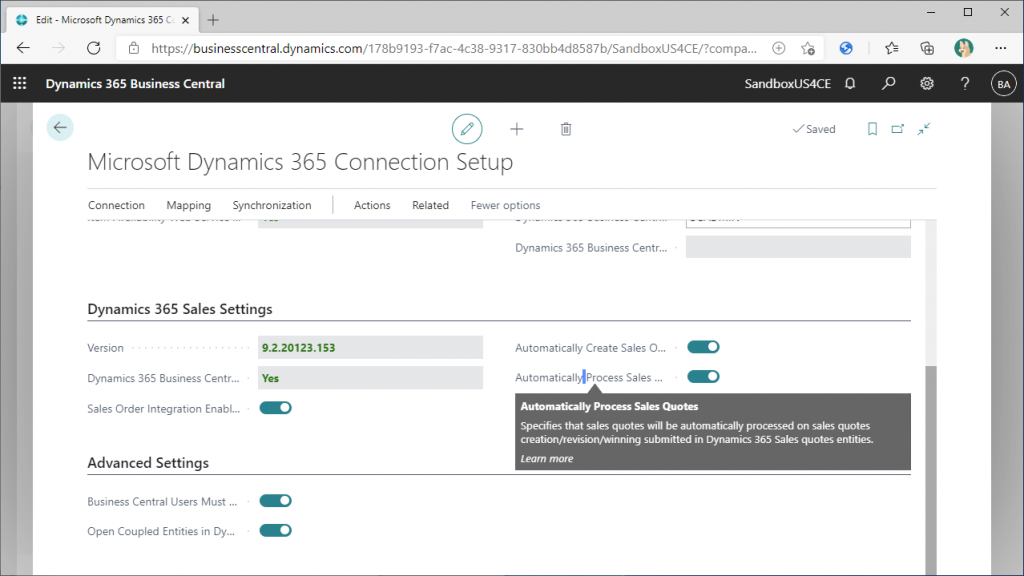
The next field is the automatic process of Sales Quotes, which, like Sales Order, is linked to BC when created on the D365 Sales side. This is another feature I want to try.
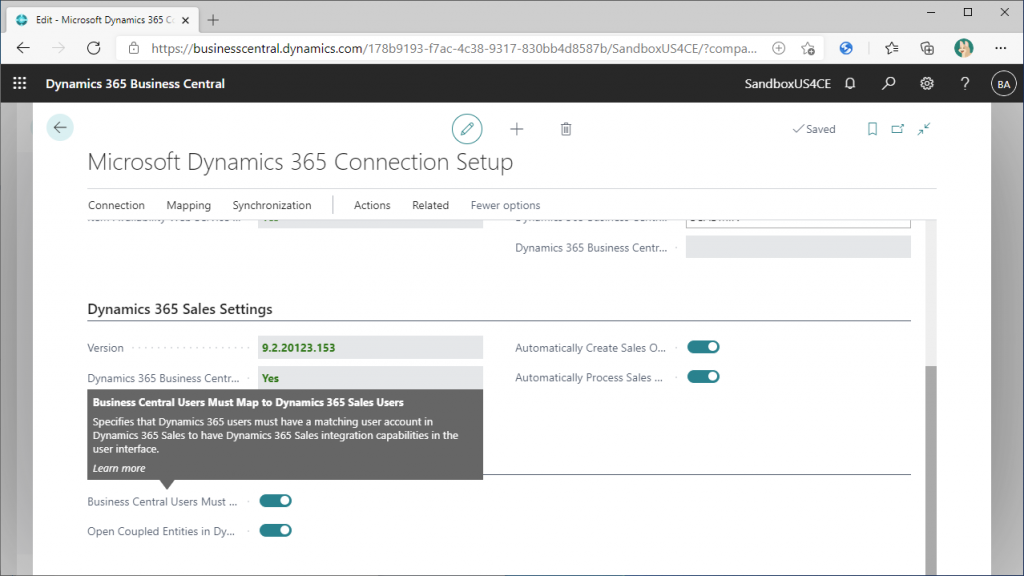
The flag at the top of the Advanced Settings section is a user mapping feature. Turn it on.
It seems to be able to open the record on the Sales side that is associated with BC. This explanation is a little unclear. Well, let’s turn it on and give it a try.
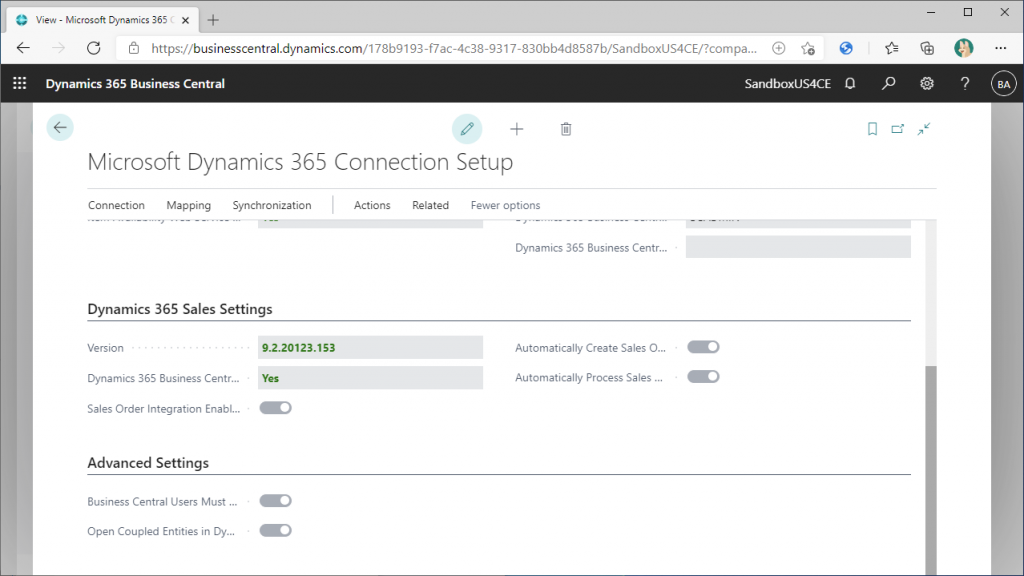
BC doesn’t have a save button and saves in real time, but you can use the pencil mark at the top of the page to switch to display mode and save explicitly.
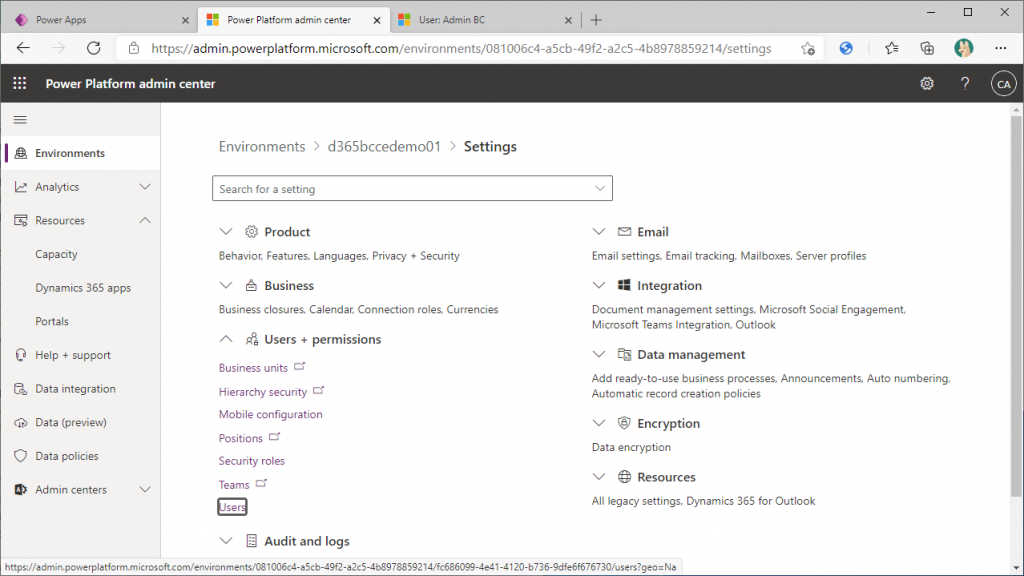
That’s all for the BC side, but there are still some settings to be done. Add user role settings for the Sales side (technically Dataverse side, or Power Platform side). and expand the User + permission tab and click on Users.
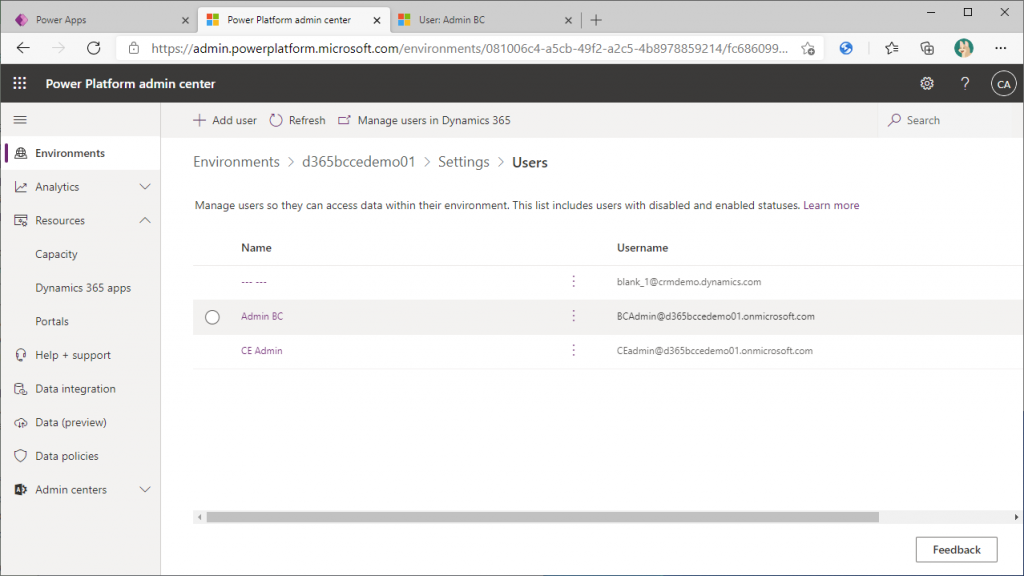
There is an administrative user for BC and an administrative user for Sales. It doesn’t matter from which one, click on the user to open the settings.
Click “Manage Role” to see the roles that can be assigned. There are some roles that are turned off, even though all roles have already been turned on in the previous step, probably because they were added by setting up the integration between BC and Sales.
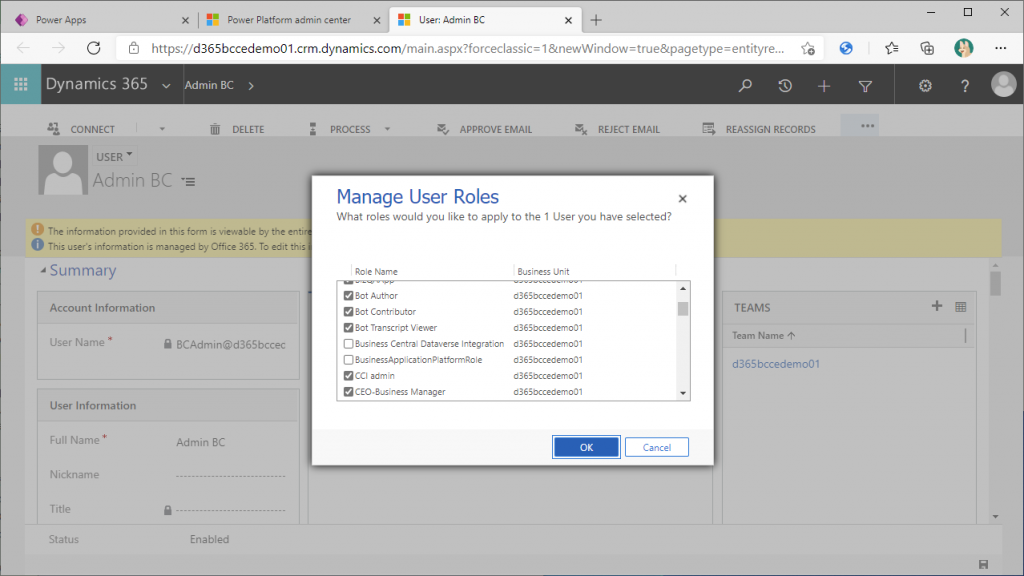
Turn both of them On.

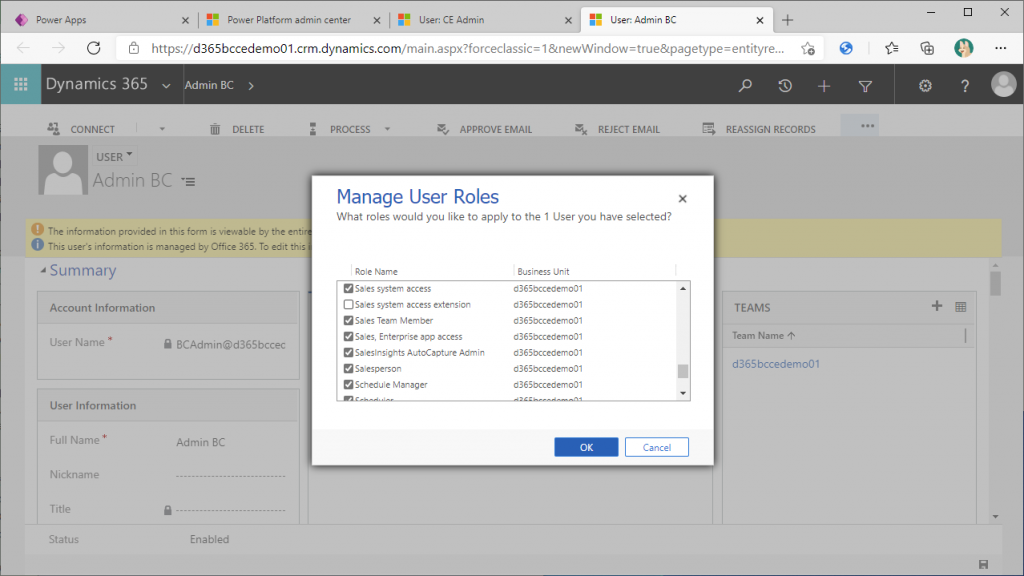
A little further down, there is a 3 roll that are off.

Set all of these to On as well.

There is another one further down the path.
こちらもOnにします。
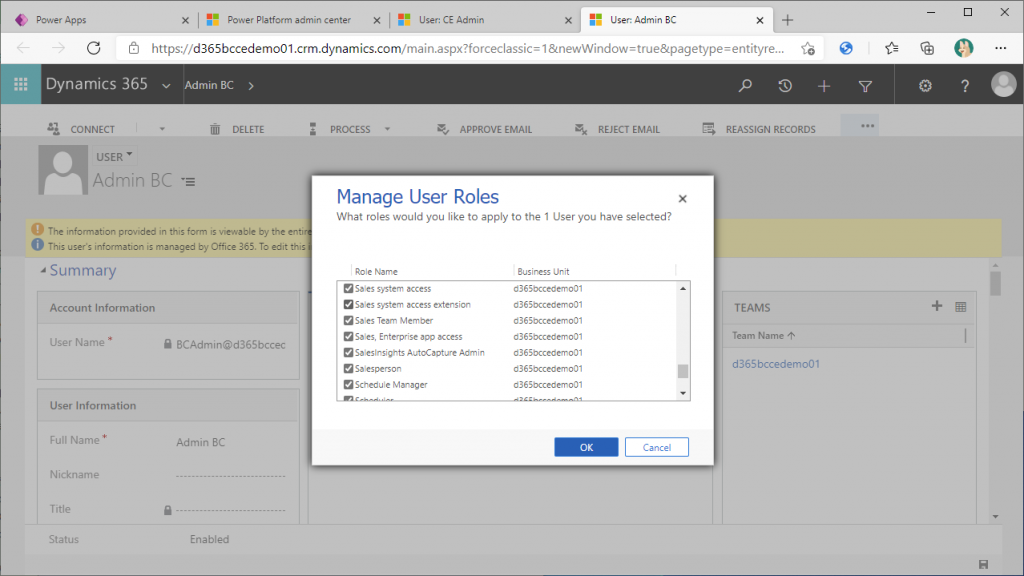
Set another Admin Users to On as well.
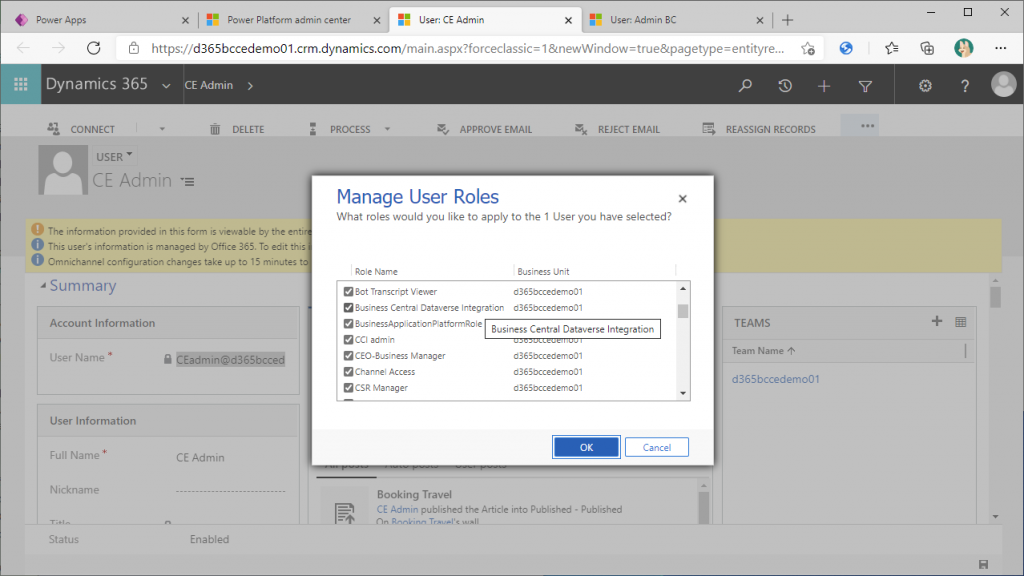
As for the roll, I feel it has changed a lot, since I set it up some years ago. Anyway, it’s a trial, so don’t be afraid to turn it all On. Of course, you need to add/remove permissions appropriately when implementing the actual project. But when trying out new features, the main purpose is to see what you “can” do.
Now, you can try integration BC data and Sales data.