
In the previous article, we set up a trial environment for BC. In this blog post, we will set up the integration between BC and Dataverse. Actually, we need to set up the integration between BC and Dataverse before we can integrate BC and Sales.
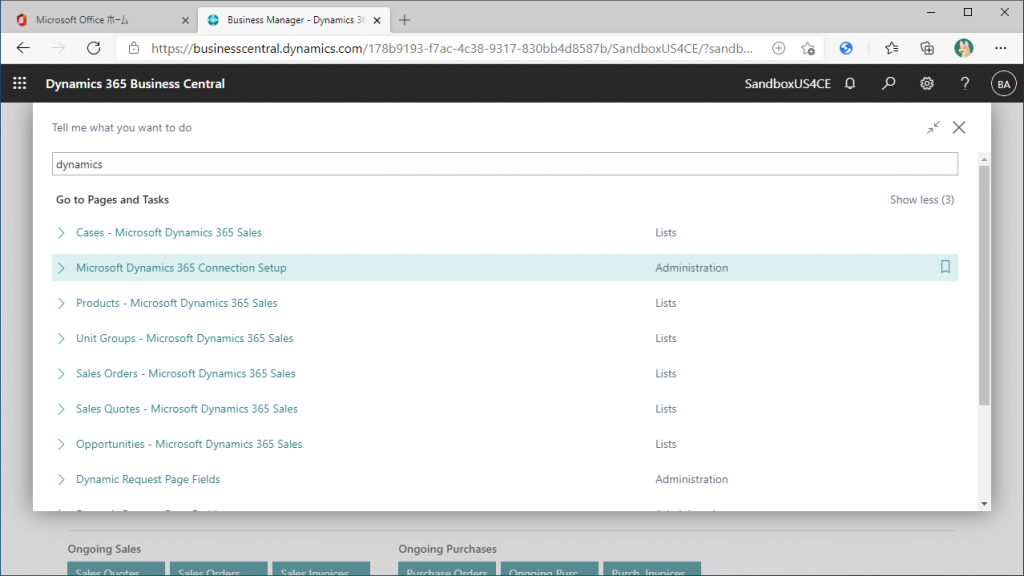
If you search the menu for “Dynamics”, you will find seven functions as follows. The second one from the top, “Dynamics 365 Connection Setup” looks like a setup menu, so let’s select it.
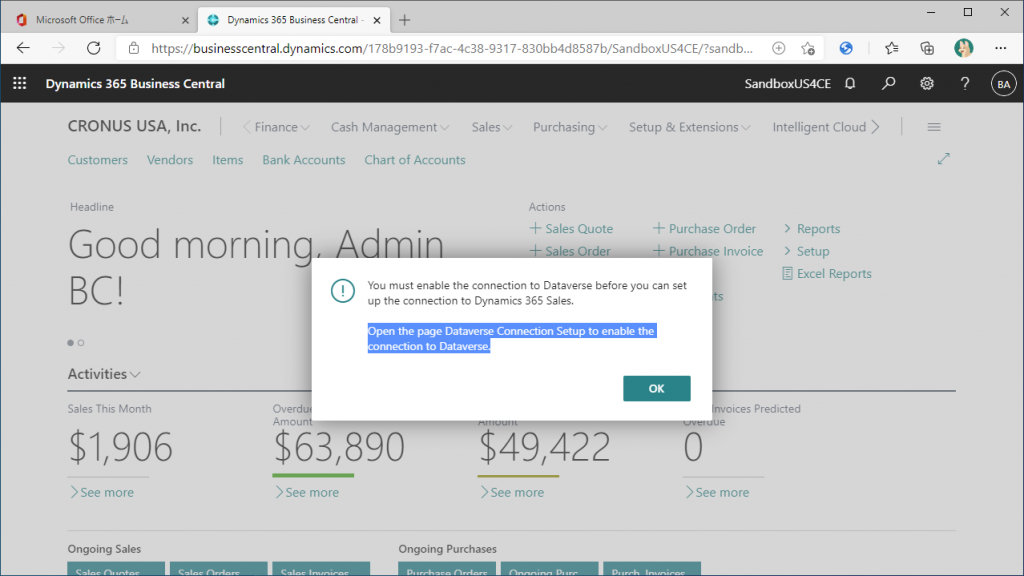
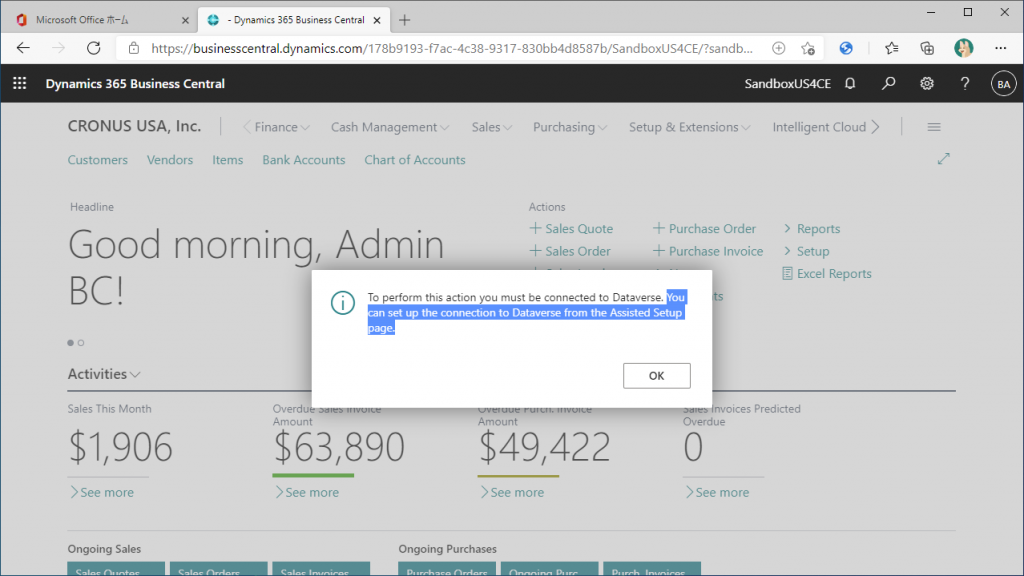
You will be told to “Set up a Connection with Dataverse first” as shown below.
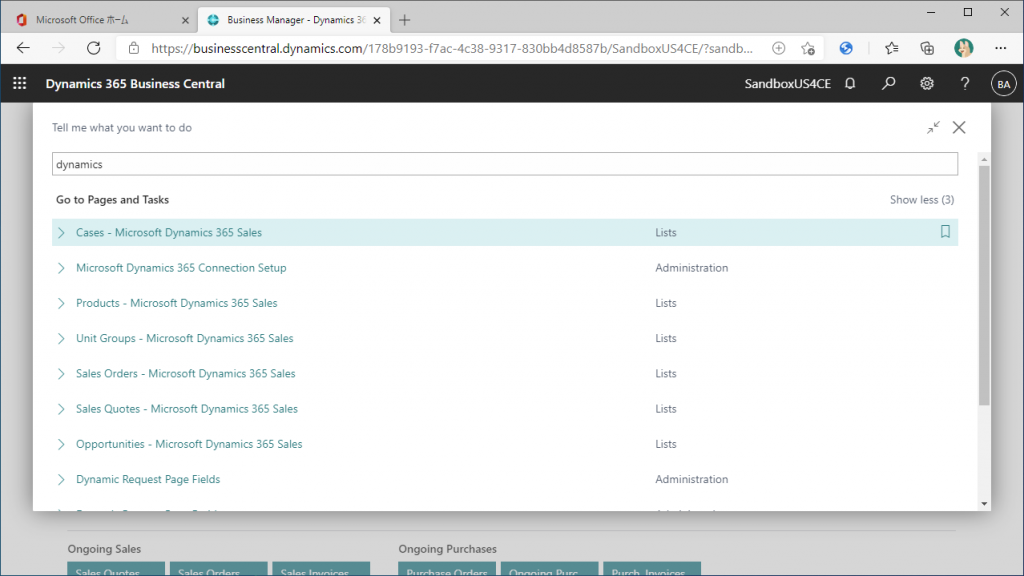
By the way, if you select any other menu, you will see…
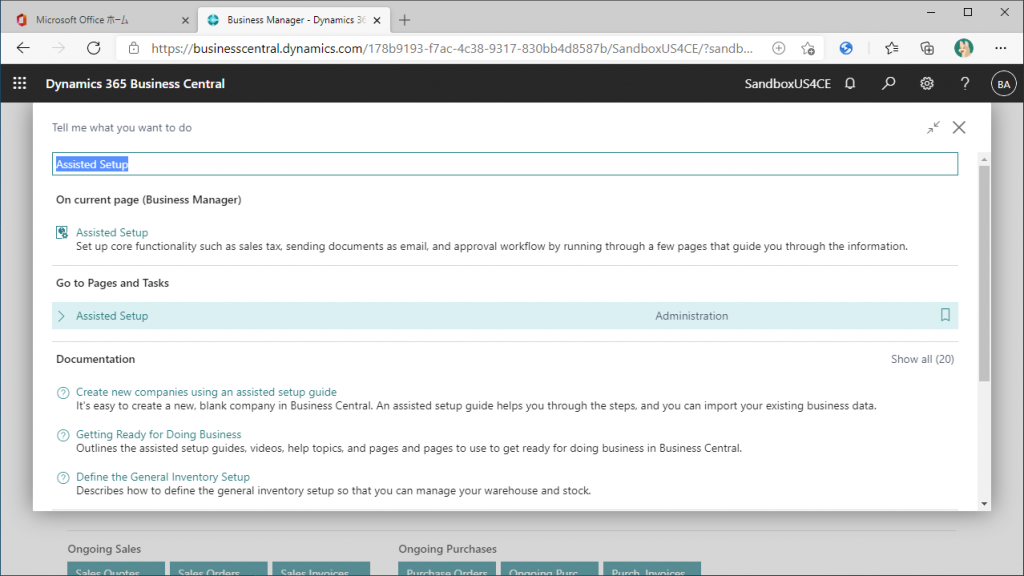
In the same way, I’m told to set up Dataverse integration first, but I’m told to do so from the “Assisted Setup” page. OK, let’s use Assisted setup feature.
Search for “Assisted Setup” to find the Assisted Setup function. Let’s open it.
In the category “Connect with other systems”, there are two Connection Setups, the upper one is for D365 Sales and the bottom one is for Dataverse.
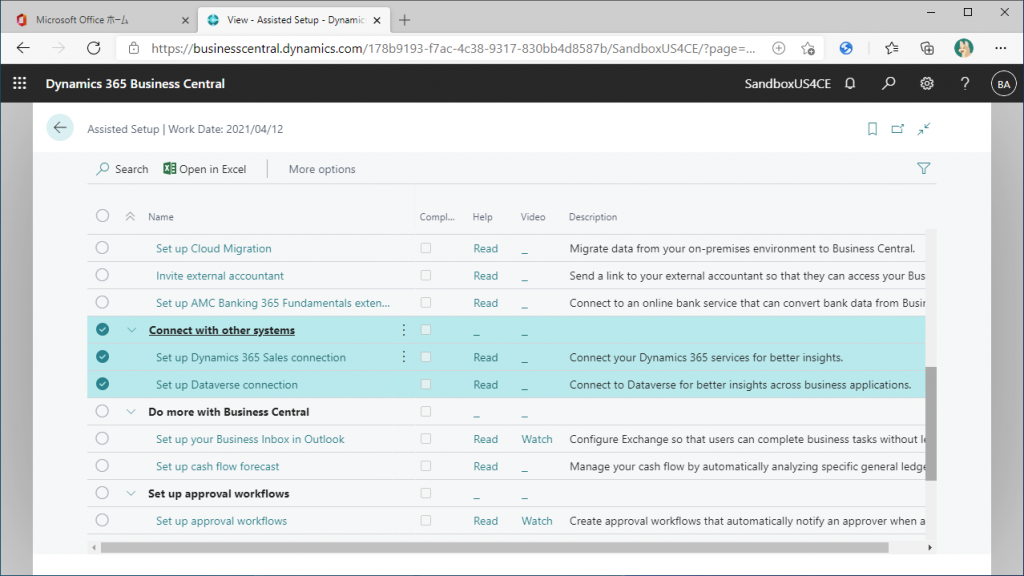
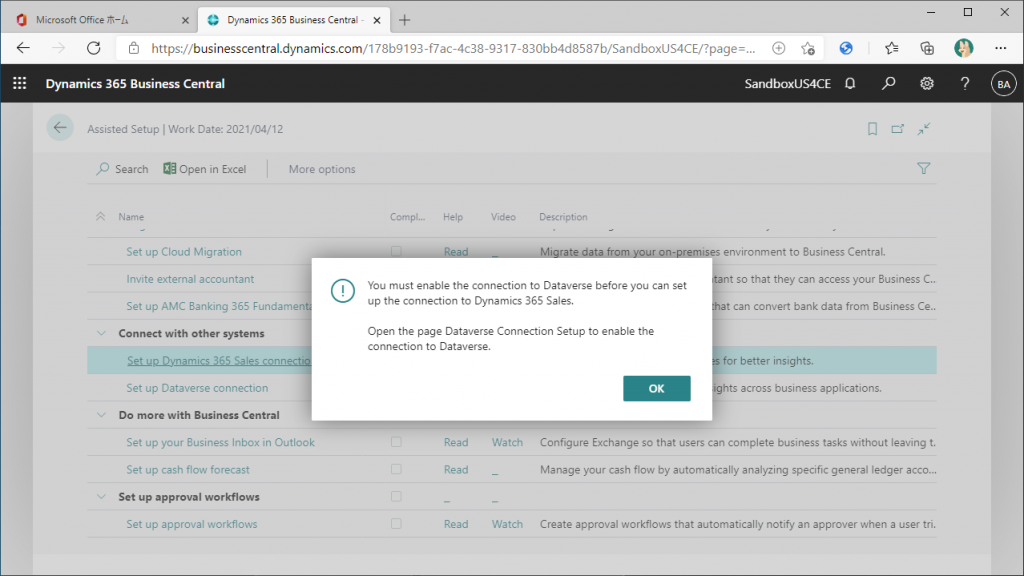
Try clicking on the D365 Sales connection. You will be asked to configure Dataverse first. It may be hard to understand the reason why, at first, but Dataverse and Sales are on different layers, Sales is the application and Dataverse is the foundation. So you need to set up Dataverse from at first, and then setup Sales.
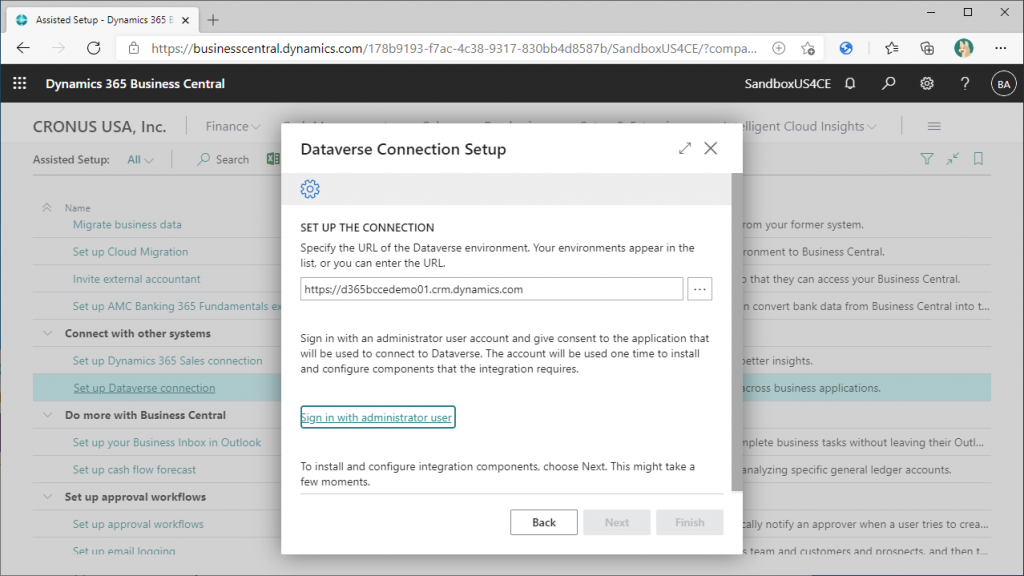
Once again, click on Dataverse to start setting up the connection. Read the first part of the instructions and click Next to continue.
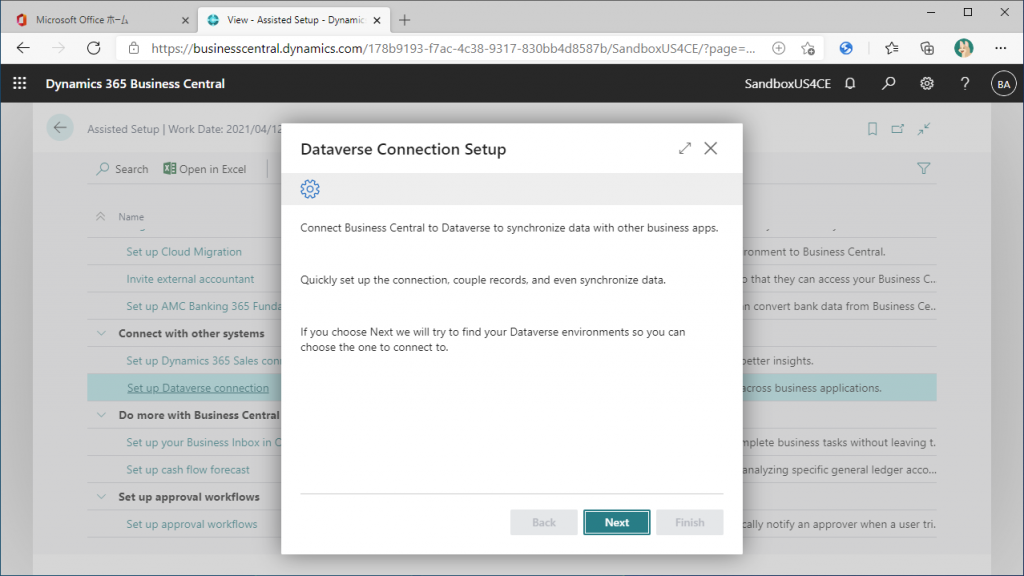
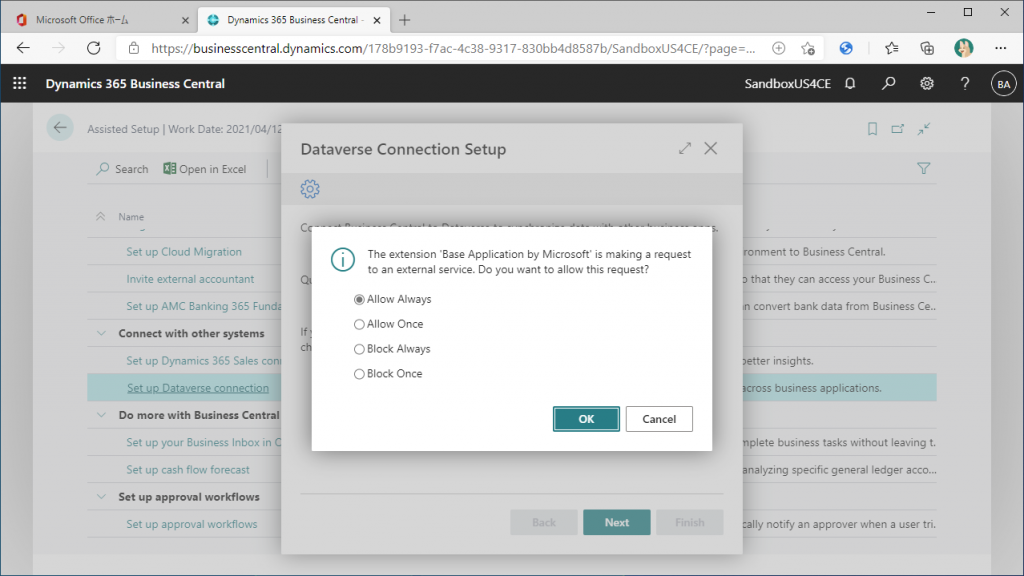
If you are asked what to do with the popup, choose Allow Always or Allow Once as you like.
You will see a page with the URL of the connection destination set as shown below. What is this URL?
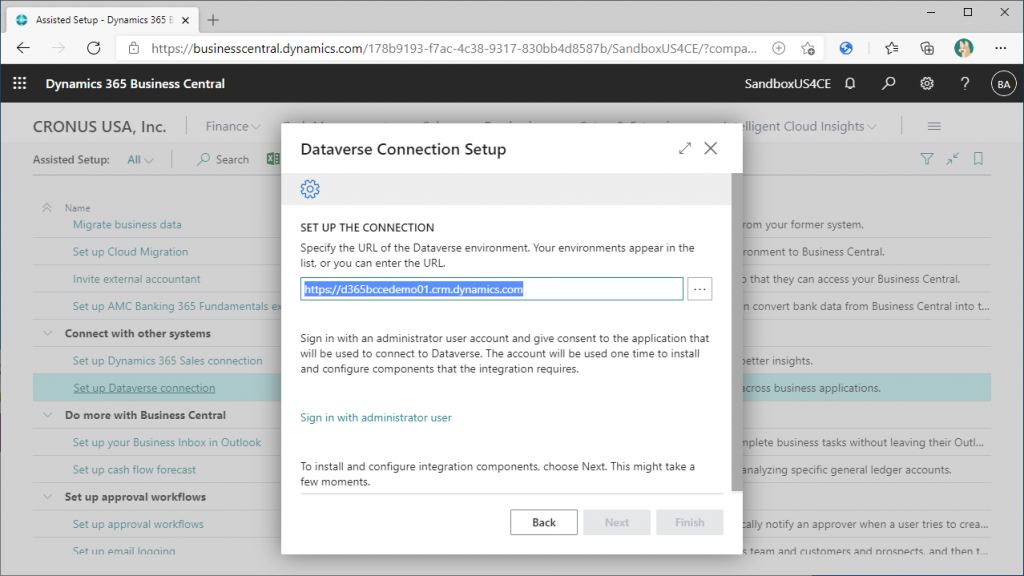
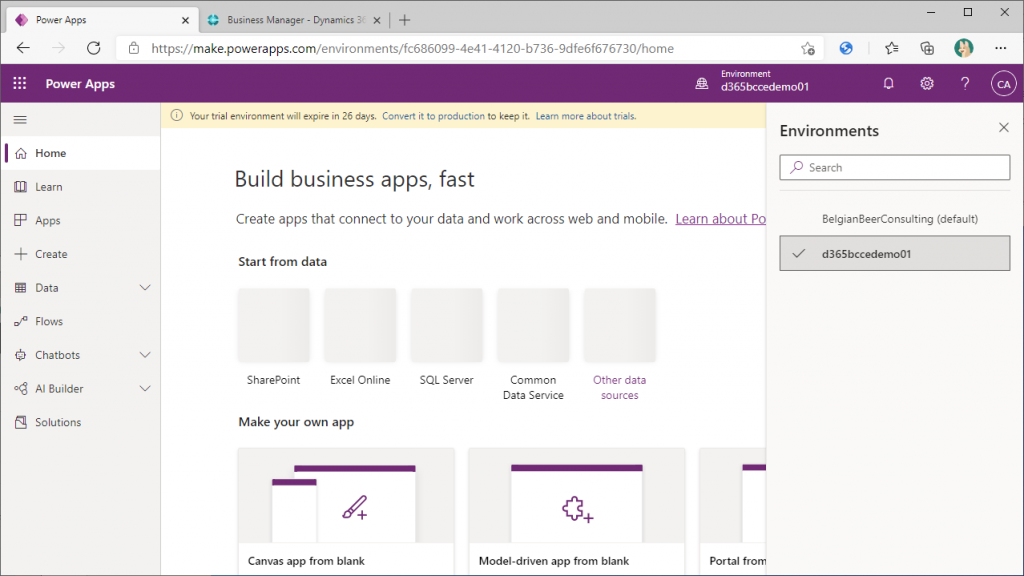
You can see in the list of Power Apps environments that were created when you applied for the free trial of Sales.
Click Sign in with administrator user. (I used to be able to proceed with Next without signing in as an administrator, but now Next button is grayed out and I can’t seem to proceed.
In the previous steps, the BC Administrator has been granted administrative privileges on the Sales side (or rather, the PowerPlatform), so you can proceed with the registration, but..
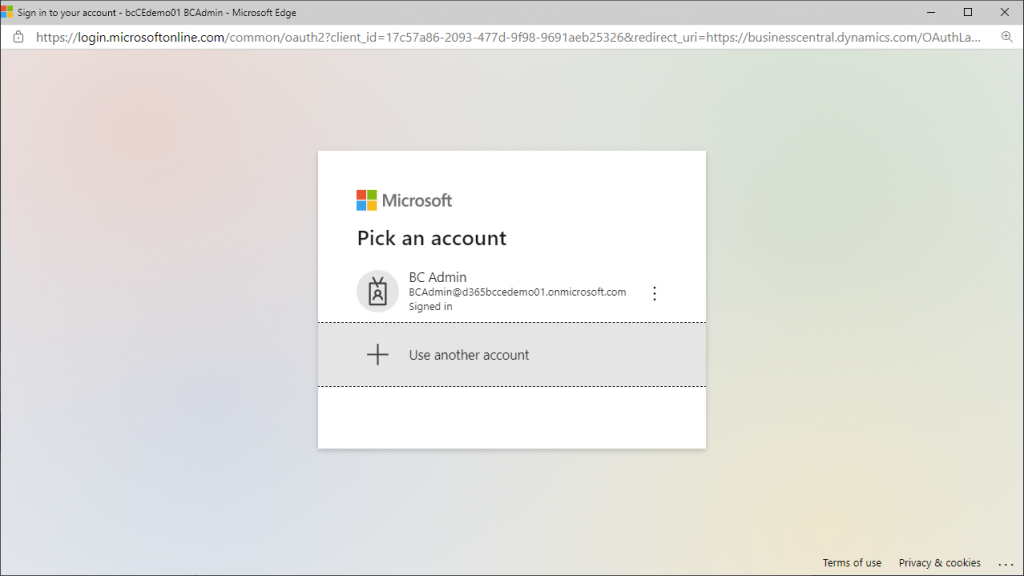
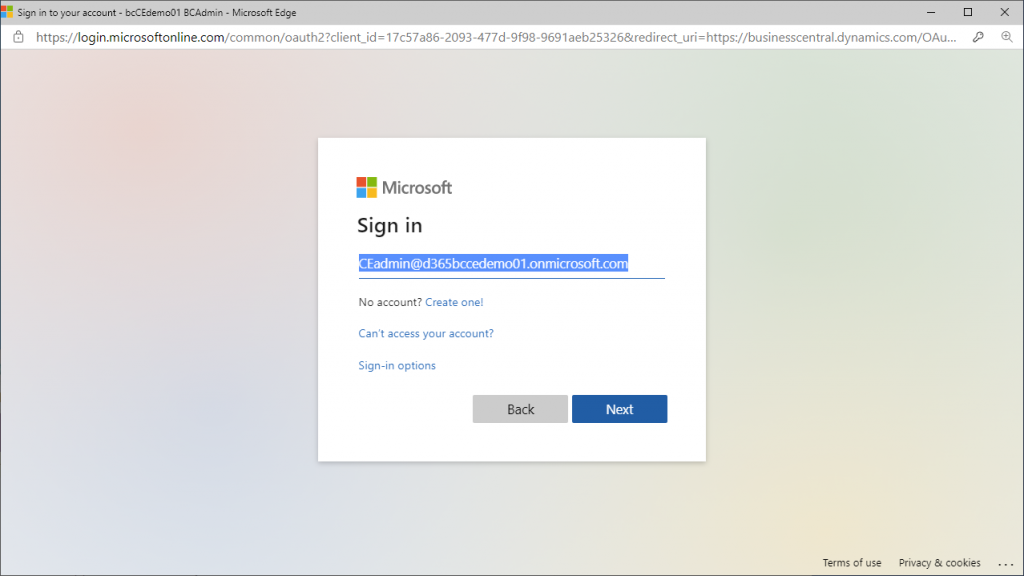
Since we have an Administrator for Sales, we will use that as the administrator to proceed with the setup.
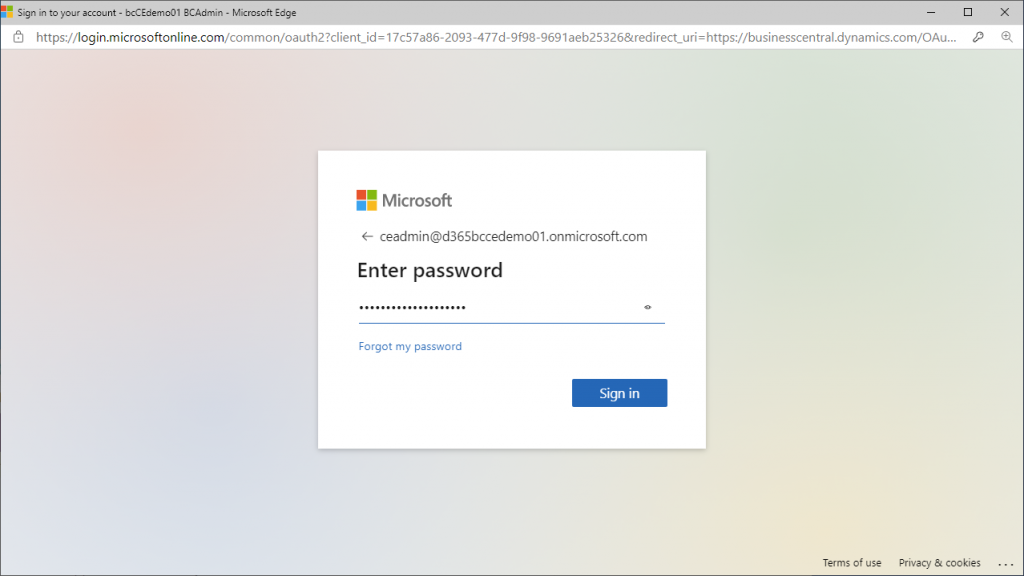
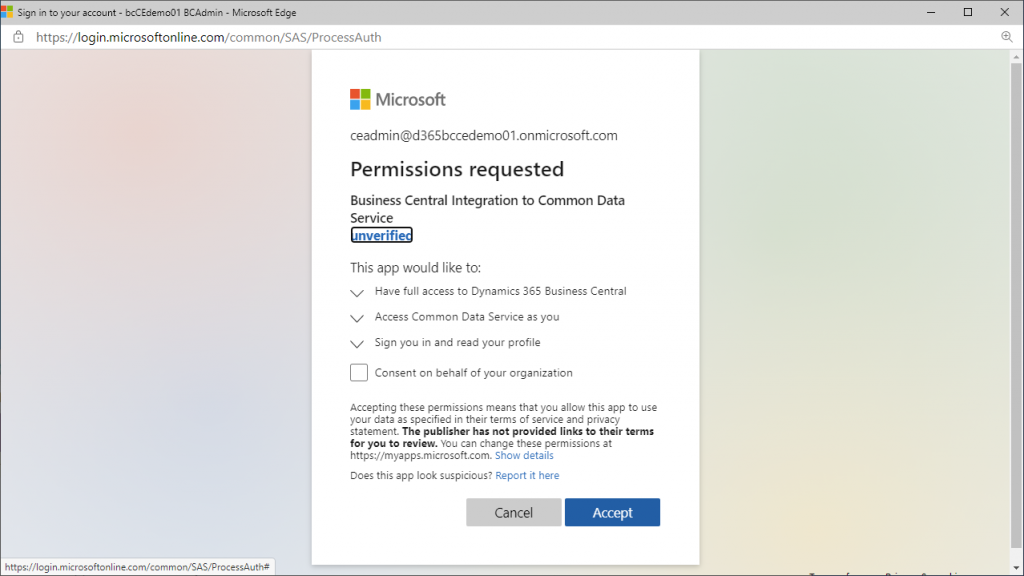
Enter the password and pass the authentication if you have MFA.
Accept the confirmation of authorization.
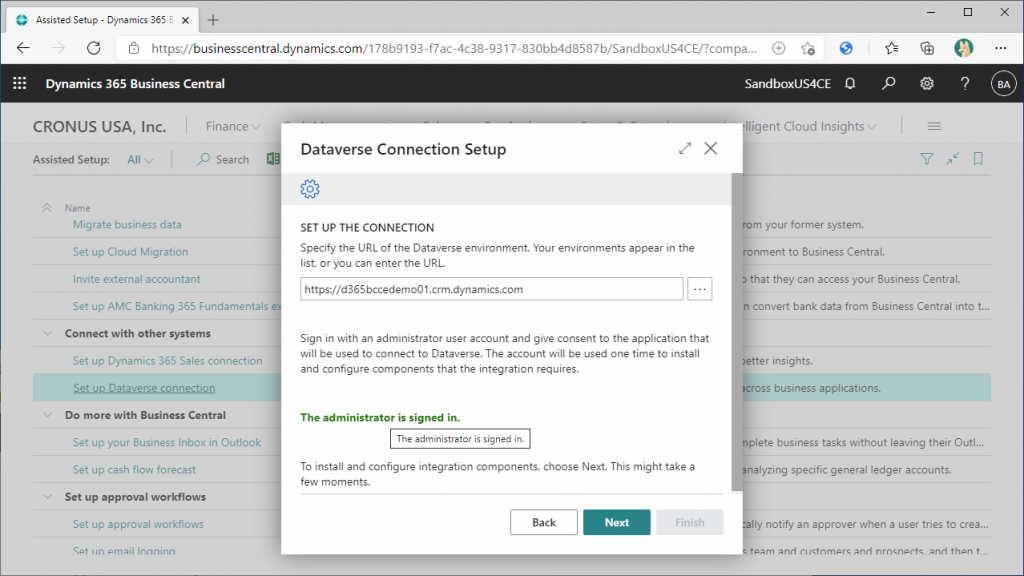
You will come back to the BC page. You will see a message indicating that you have signed in as the administrator of the connection.
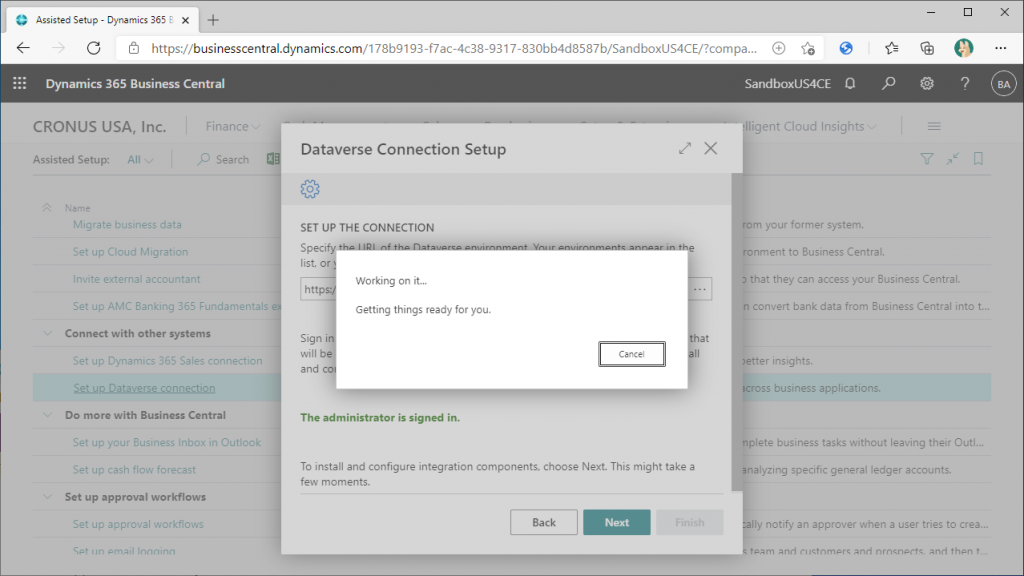
You will have to wait a bit here. Probably the extension is installed on the BC side for the integration, and the solution is deployed on the Dataverse side.
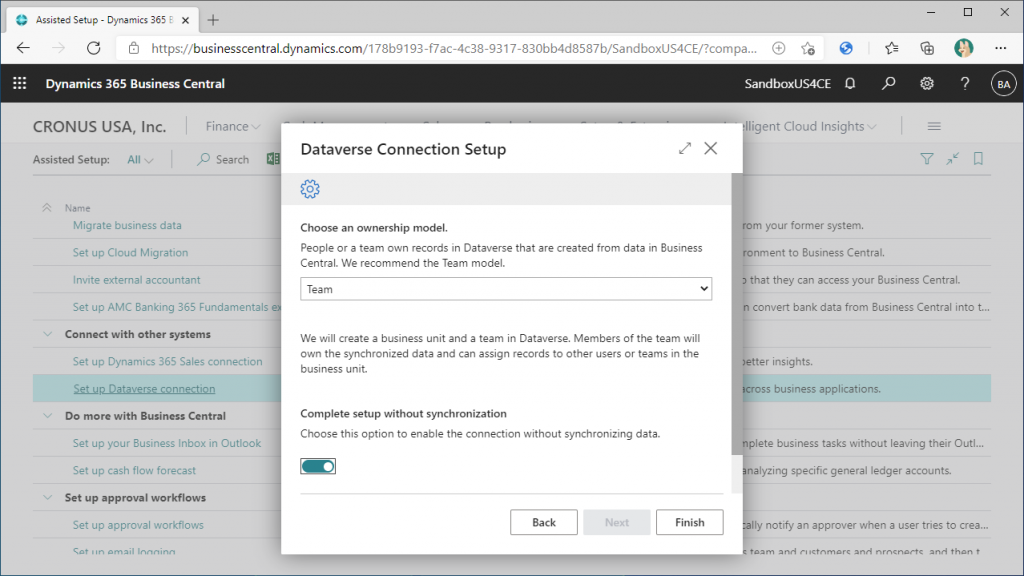
By default, “Complete setup without synchronization” is Off. This means that if you click the “Finish” button, the synchronization process will start immediately. I want to check the status before and after synchronization, so I checked it On. In other words, no synchronization will be done here. Then click the Finish button.
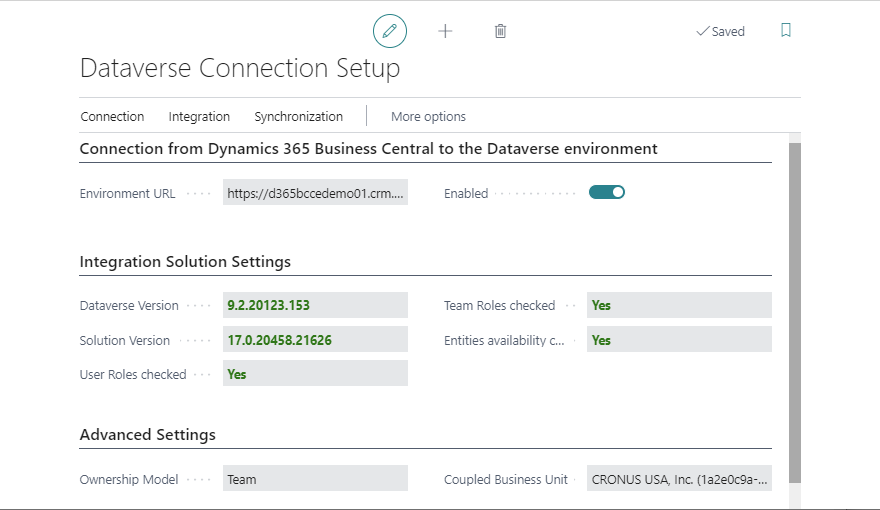
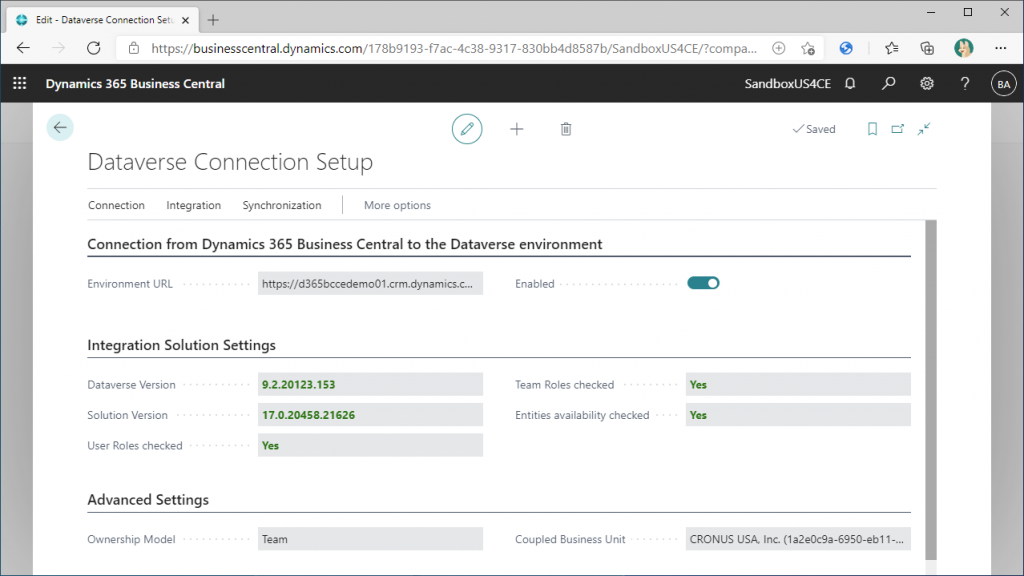
The Enabled flag in the Setup screen is now set to On. The BC and Dataverse settings are now complete.
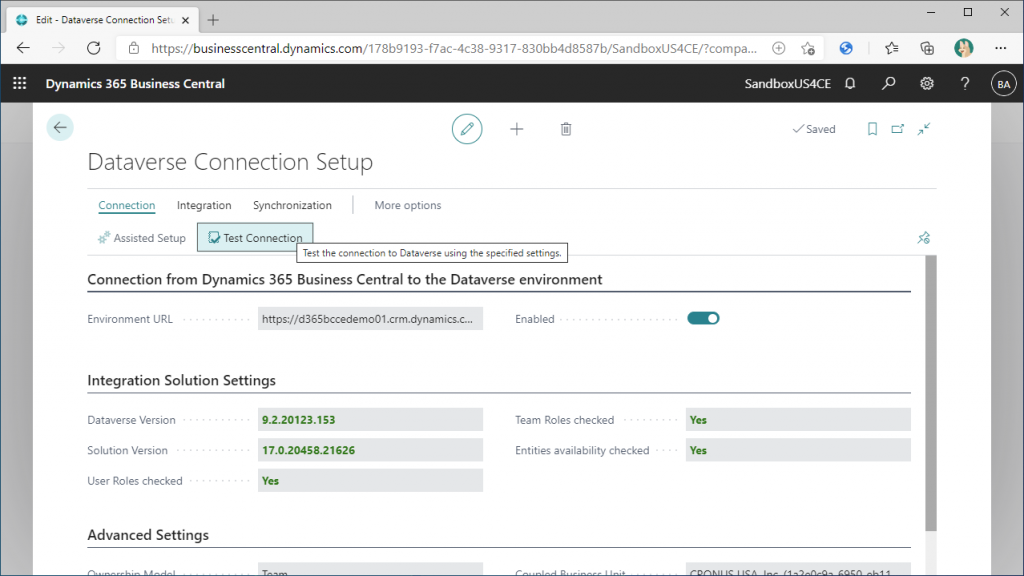
Click Test Connection to test the connection.
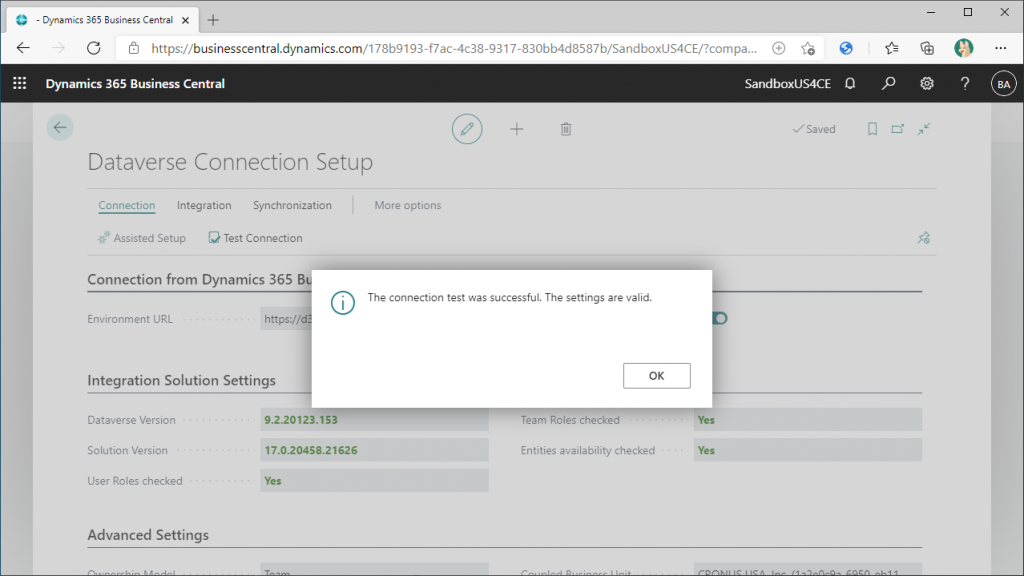
Successfully connected.
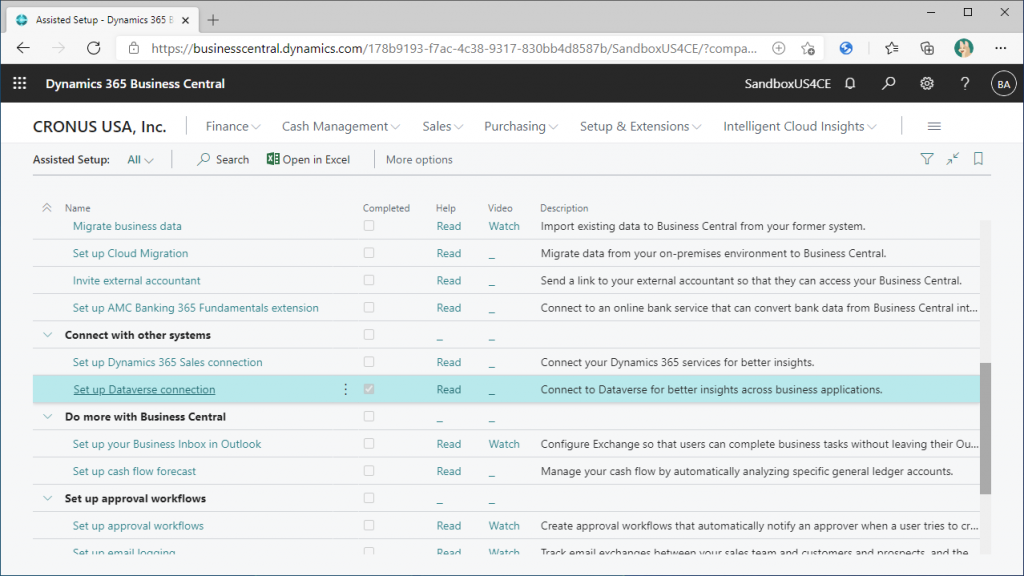
Return to the Assisted Setup page, the Complete column for Dataverse Connection Setup is ON.
In the next article, we will finally move on to setting up Integrating with Sales.
1件のコメント