
In this article, I will introduce enhancements to the error checking function using the Default Dimension of D365BC. This is a feature that was added in the 2021 Release Wave1 of D365BC.
In summary, this function restricts the values that can be used when the master data has a default analysis code, and an error will occur if you try to post a transaction data using an unspecified value.
Let’s use a standard company with sample data (the so-called Cronus company).
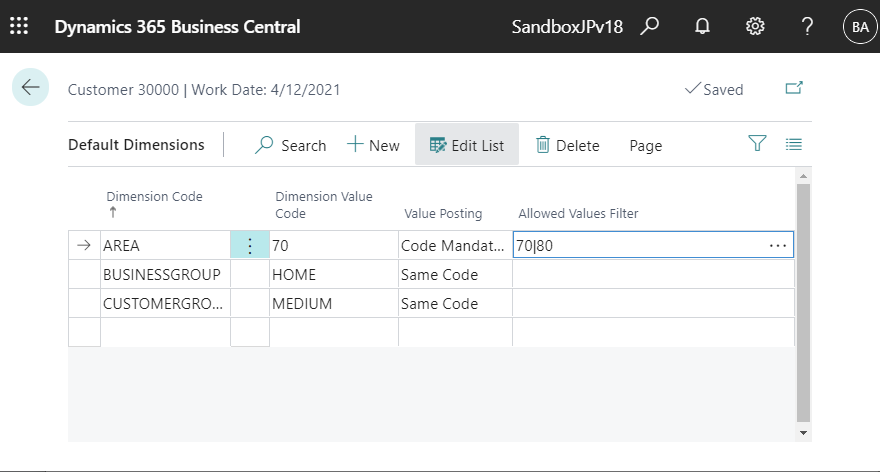
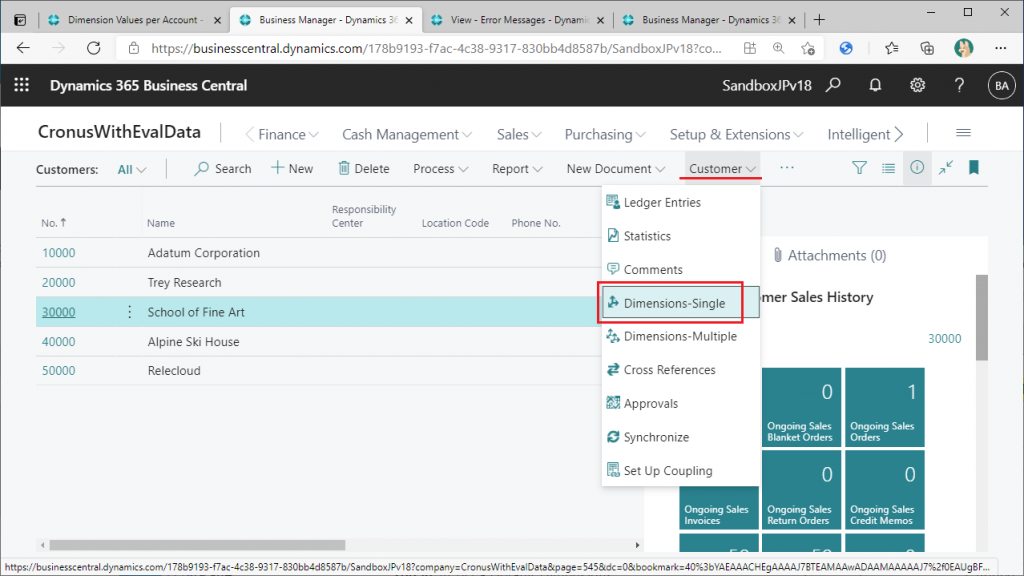
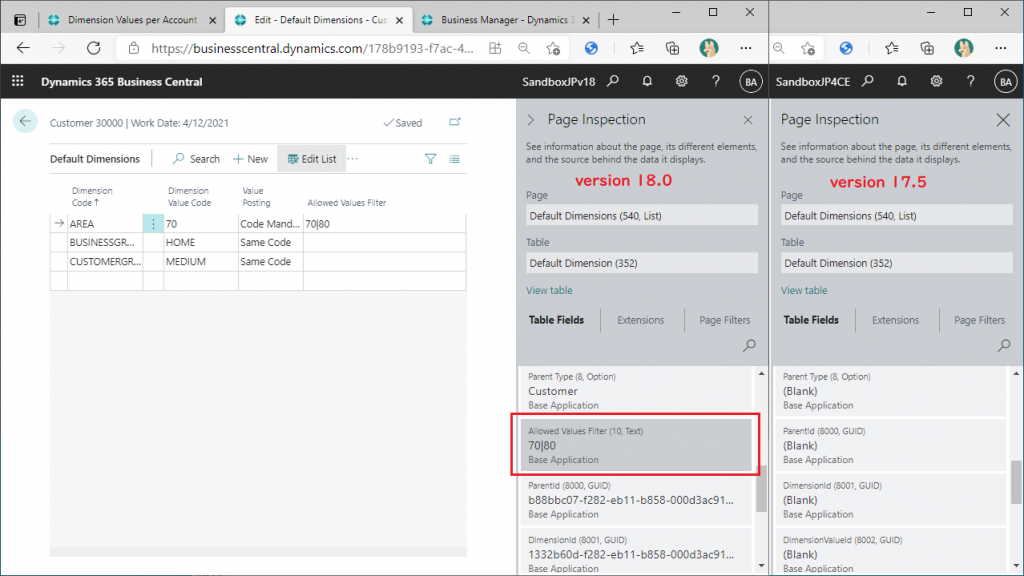
Select “3000: School of Fine Art” from the list of customers, and select “Dimensions – Single” in the “Customer” tab.
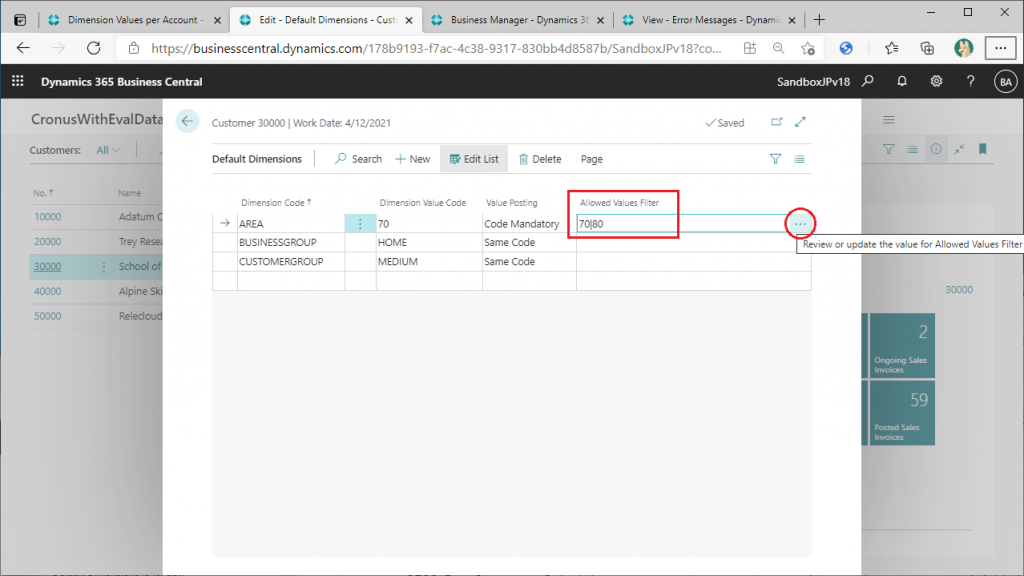
You will then be able to see the default dimension codes and the default dimension value that have been set for this customer. There are three dimension code: “Area”, “BusinessGroup”, and “CustomerGroup”. The first one, “Area,” is set as Code Mandatory. The “Allowed Value Filter” column is set to “70|80”. The second column from the left, “Dimension Value”, is set to “70”. This means that the default value is “70”, but it can be changed, and “70” and “80” are allowed. For other possible values, click the “…” button to the right of the item. button.
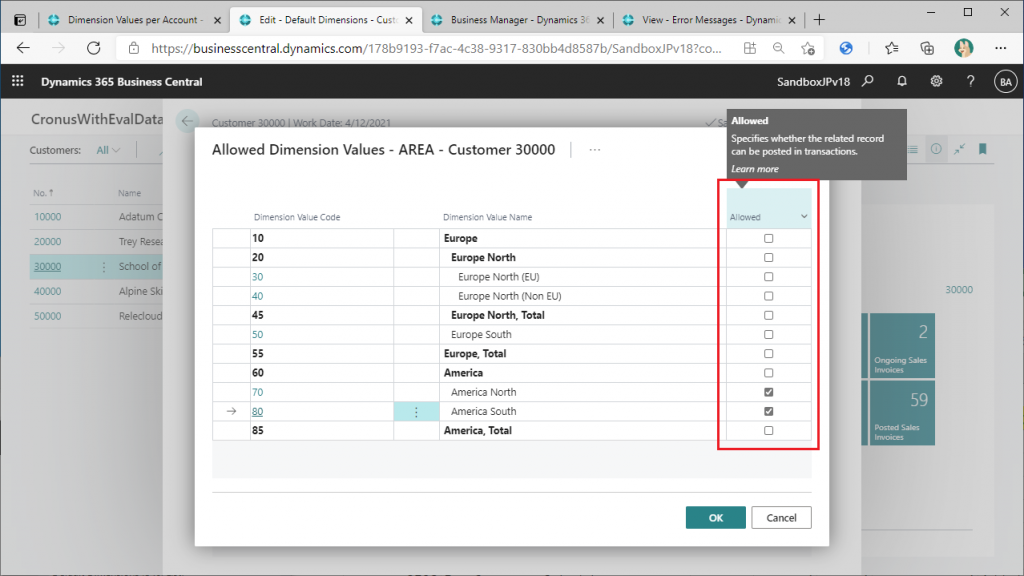
You can see that the Area’s options are displayed. Only the lines with codes 70 and 80 have “Allowed” checked on the right column, meaning that although there are other options for Area itself, only 70 and 80 are allowed for this client.
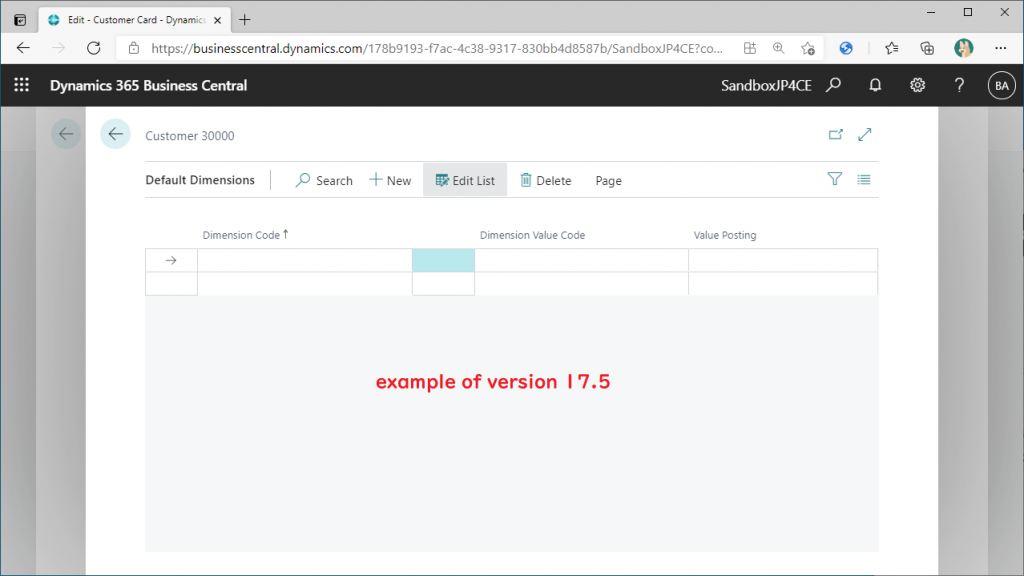
Just to be sure, let’s compare it with the previous version: Here is an example of the v17.5 screen. There is no “Allowed” column here.
Check the data structure of the table by using Ctrl+Alt+F1. v18.0 has an “Allowed Value Filter” column, and there is no difference in the other column items.
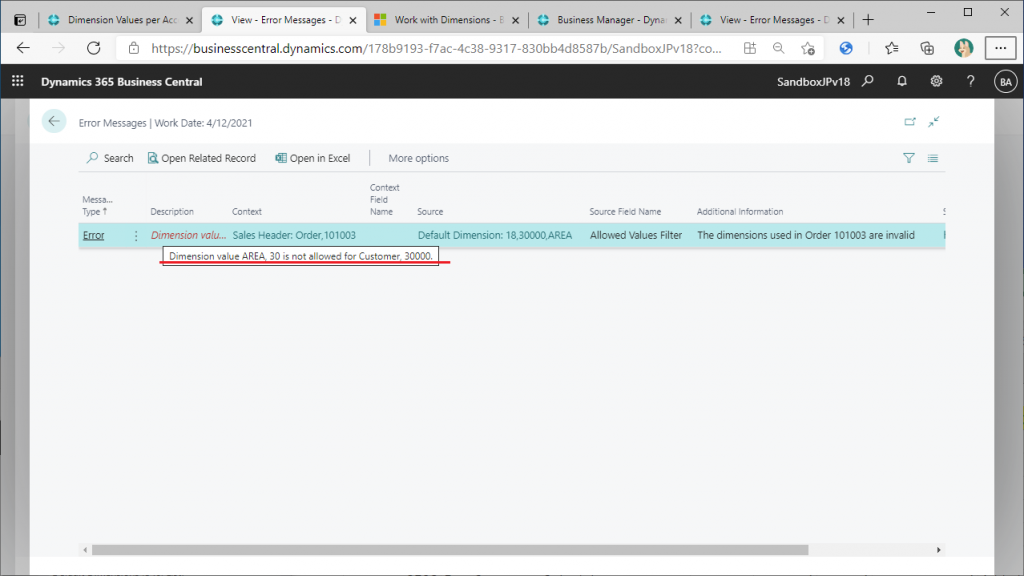
Let’s check if an error occurs by actually posting the transaction data. Select the customer “30000: School of Fine Art” in the customer list screen, and click the number in the “Ongoing Sales Orders” tile on the right.
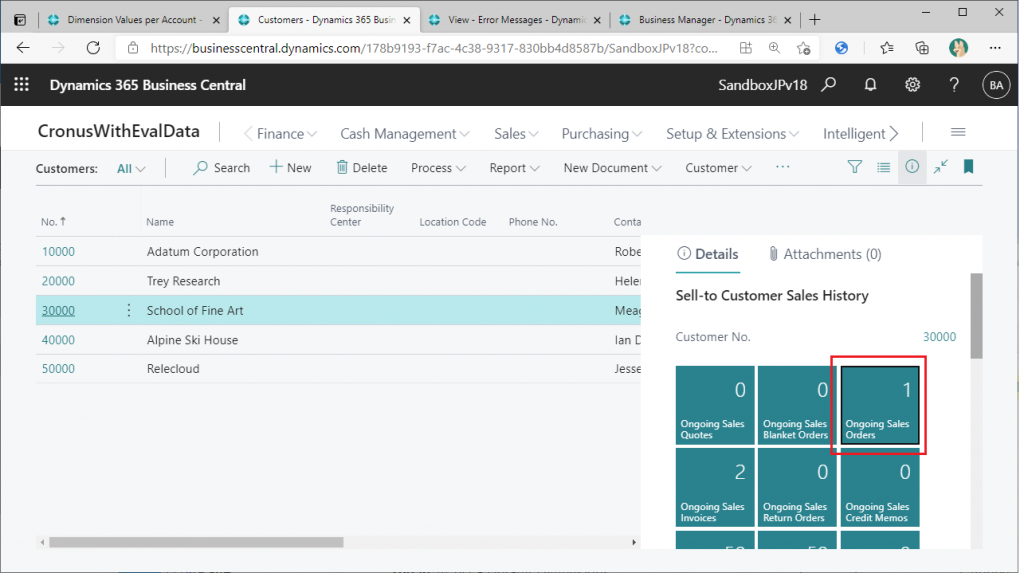
Then the list of sales orders for this customer was displayed.
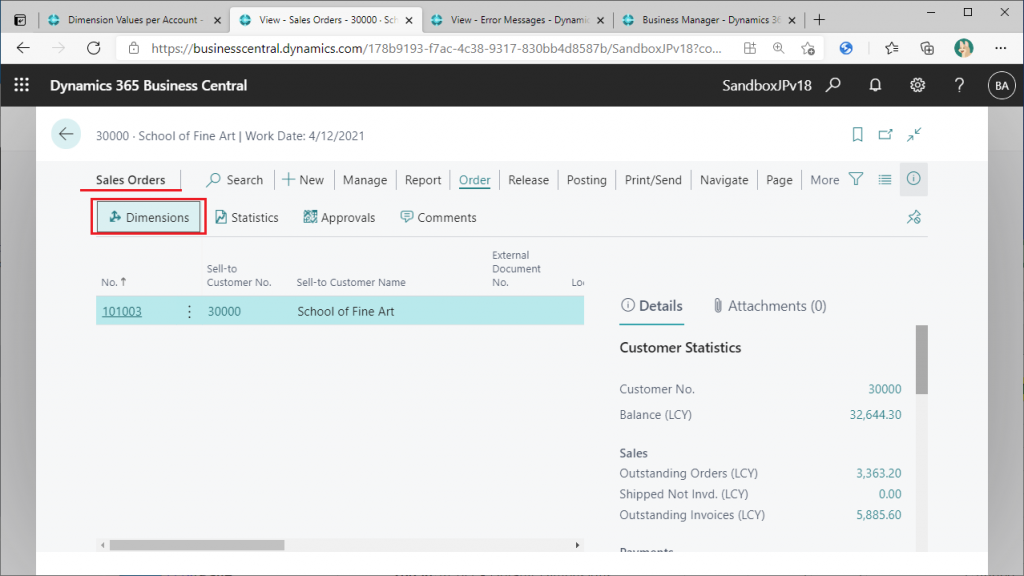
Change the dimension code value of the sales order, Area is set to the default value of “70”.
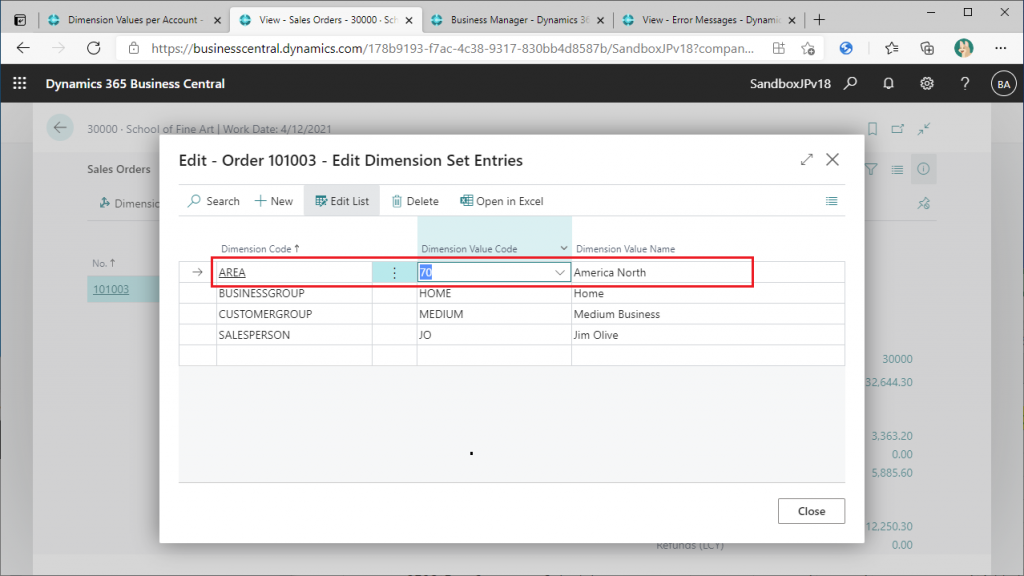
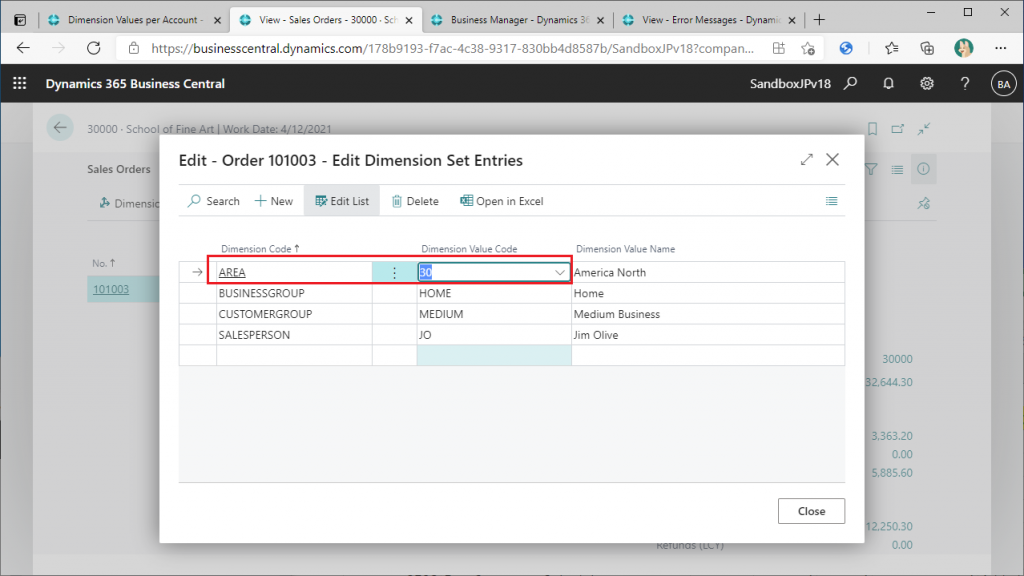
Change this value to 30.
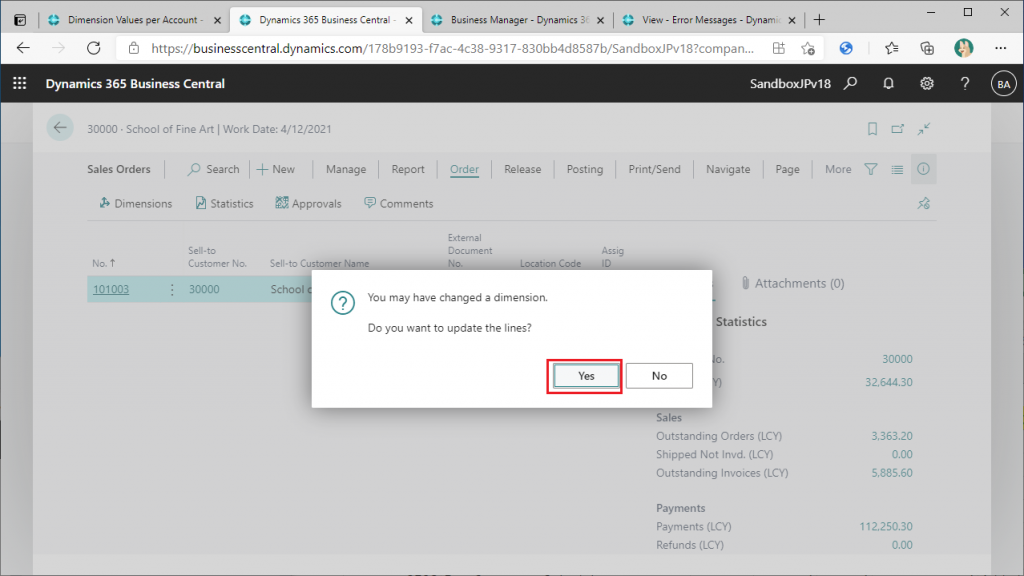
It is the header values that I changed, do I change the line values as well? You will be asked if you want to change the line values as well. Select “Yes” this time.
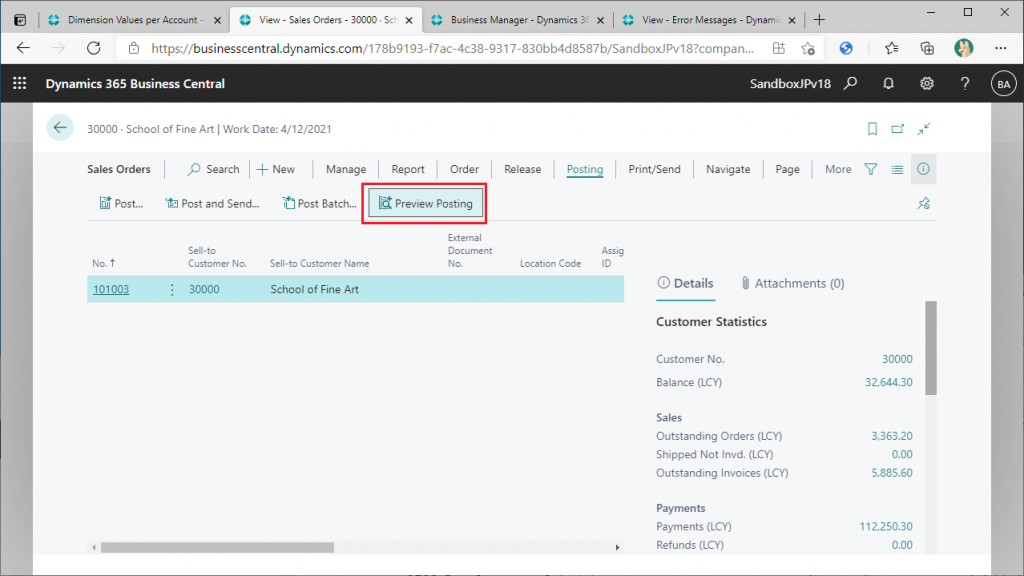
The values of the dimension value have been changed and will be posted. Use the preview function to confirm.
It is true that I could not post values other than those set in the master.
It is very easy to use and I think even end users can handle it well. In actual business, it can be troublesome if you make a mistake in posting the value of an analysis item. (Although the addition of another feature in this update makes it much easier.) It would be great to have a system like this to avoid mistakes from the start.