
Continuing from the previous article, I will explain how to correct the Dimension code value of General Ledger Entry. This time, the rest of the explanation is on how to correct multiple records. Here I will show you how to extract a large amount of data by applying conditions to it.
Source: Dimension corrections (for G/L Entries) – Dynamics 365 Release Plan | Microsoft Docs
h. Clear Selected G/L entries
The first step is to clear the previously selected G/L entries. Click “Manage Selection Criteria”.

Delete all the items. As explained in the previous article, the extraction procedure are recorded here, and once all steps are deleted, then…
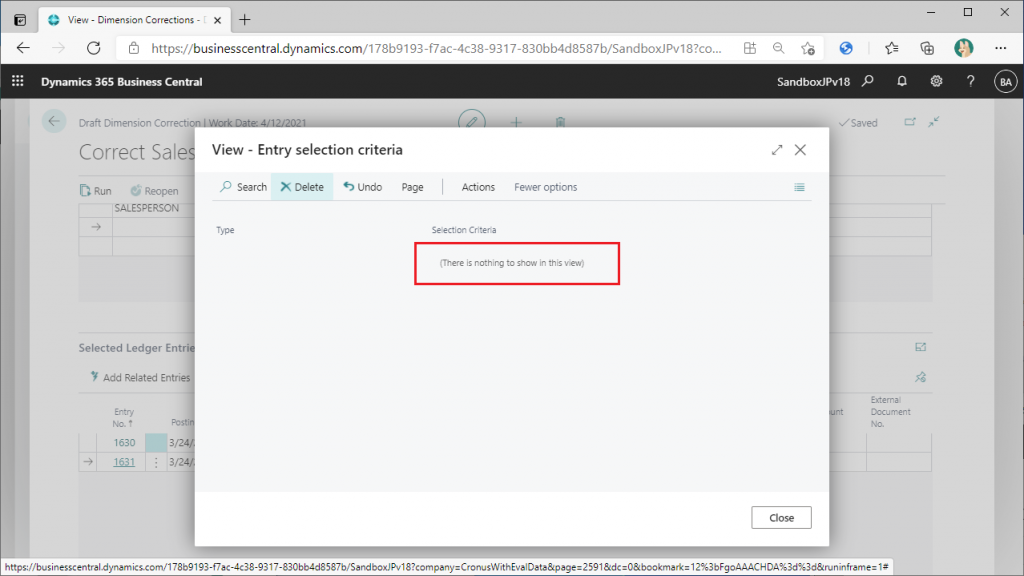
All the records in the “Selected Ledger Entries” section have removed.
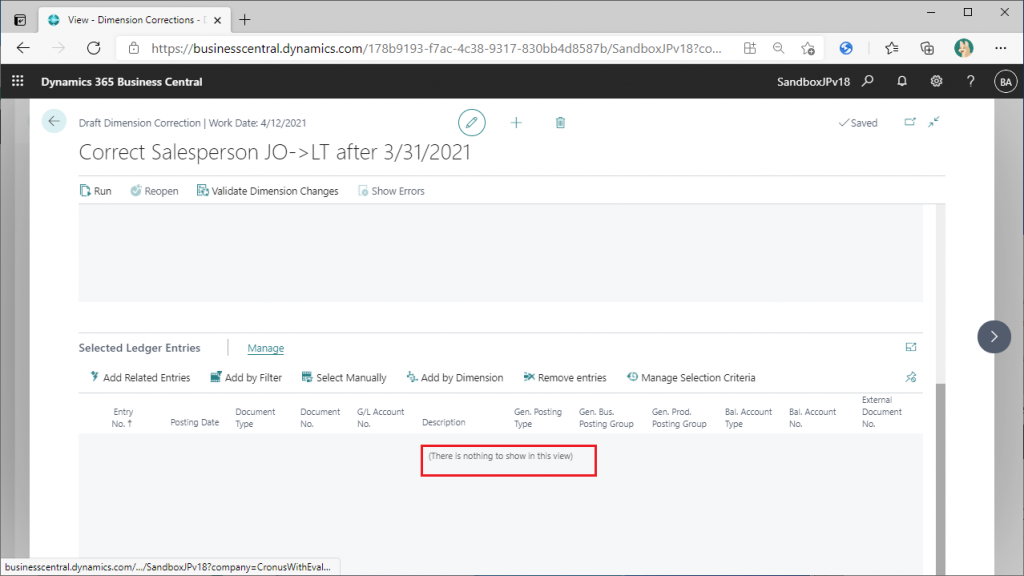
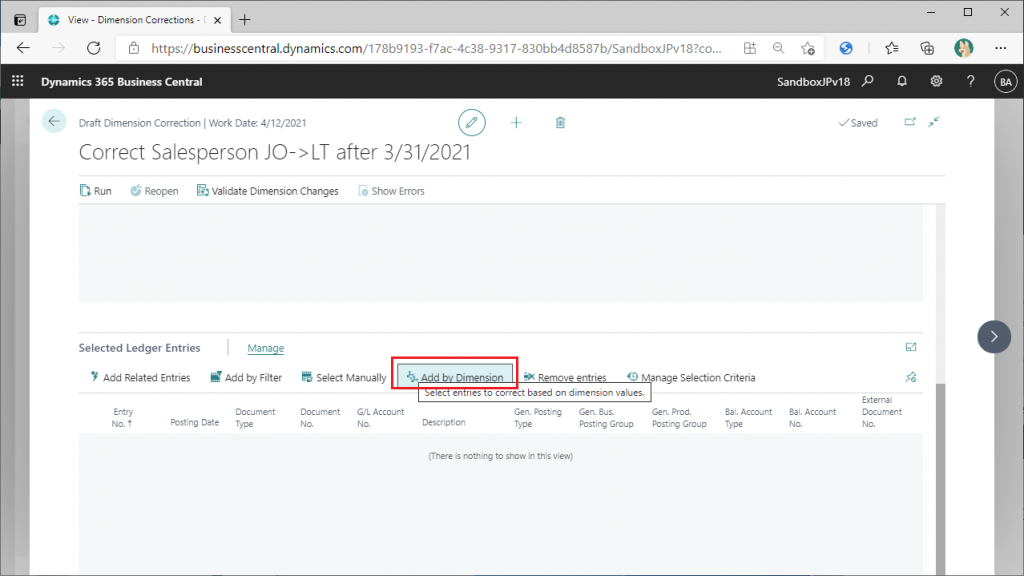
i. Add Entries by Dimension
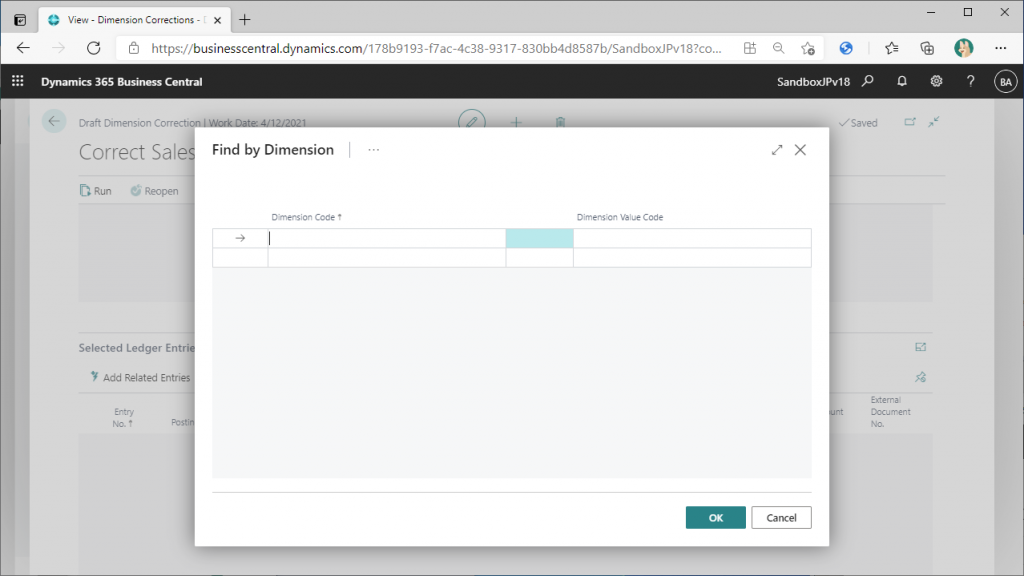
The main topic of this article is here. Click on the “Add by Dimension” button. This function extracts the General Ledger Entries to be corrected by specifying the Dimension code.
The “Find by Dimension” page will open. It seems that you can specify the value of the Dimension codes and Dimension values.
Specify CUSTOMERGROUP=Small, SALESPERSON=JO to extract.
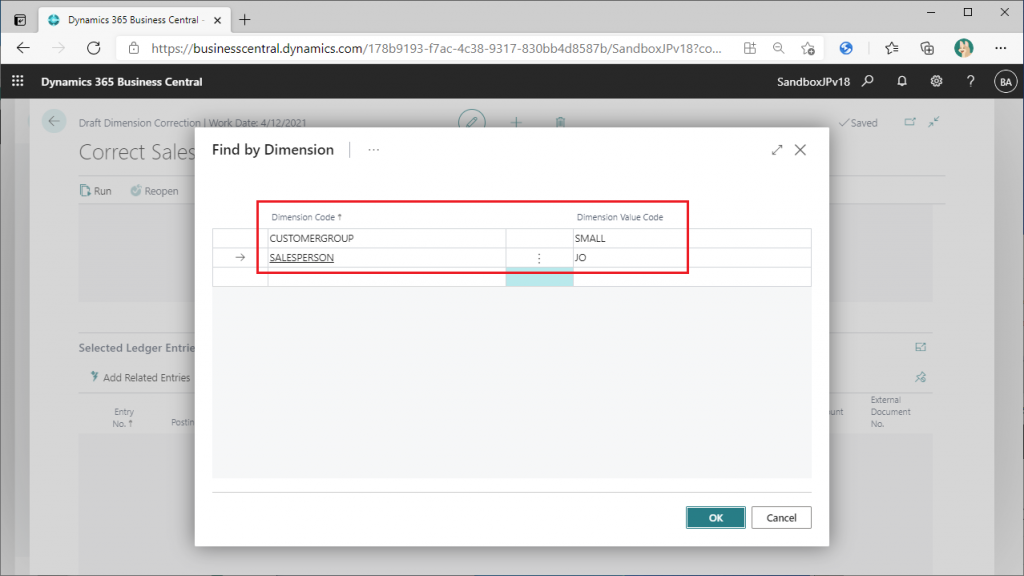
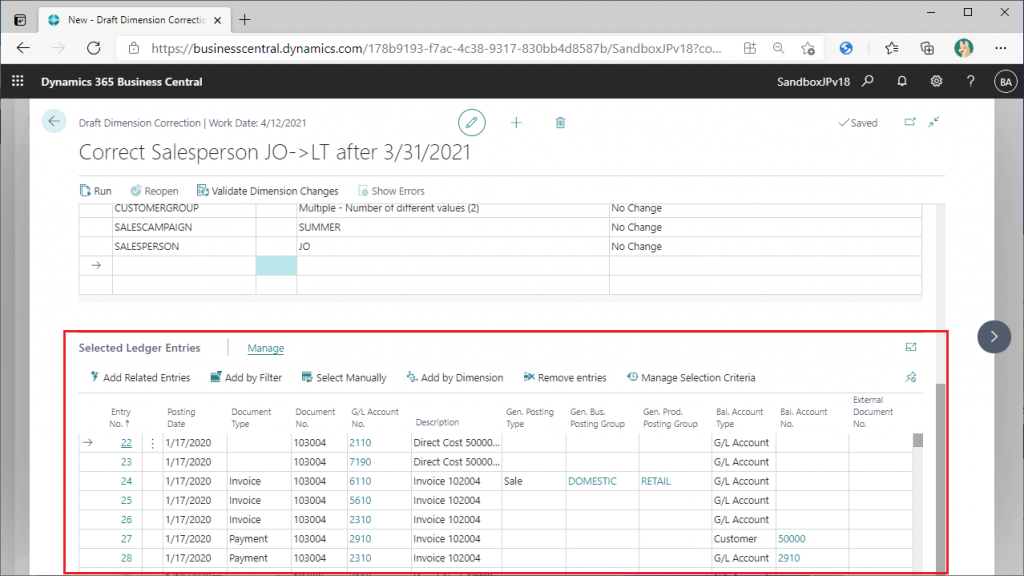
The General Ledger Entries that match the criteria have been extracted and set in the “Selected Ledger Entries” section.
j. Remove unwanted entries with the filter function
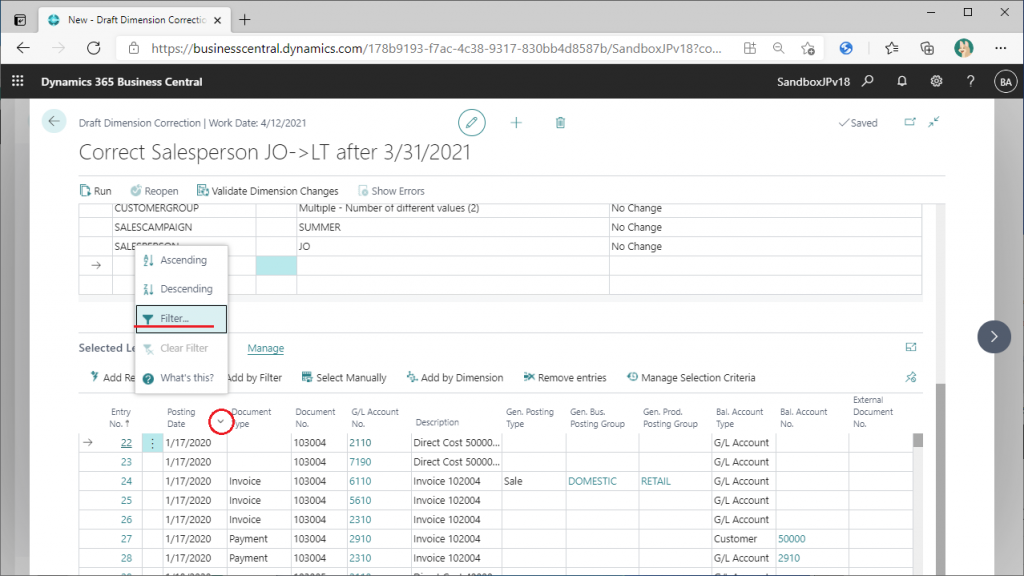
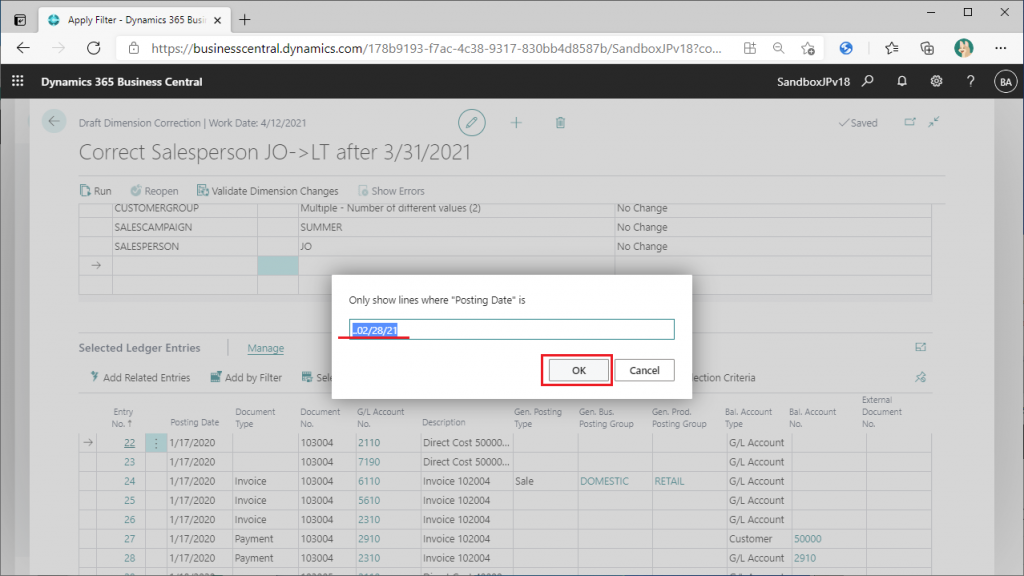
Since the Entries I want to correct are those with a posting date of March 2021 or later, I need to exclude entries before February 2021. The “Selected Ledger Entries” section is a list-type sub-form page, so it can be filtered. Click on the “v” icon to the right of the “Posting Date” column heading to apply the filter.
Specify “..02/28/2021”.
Select all the filtered entries and click the “Remove entries” button.

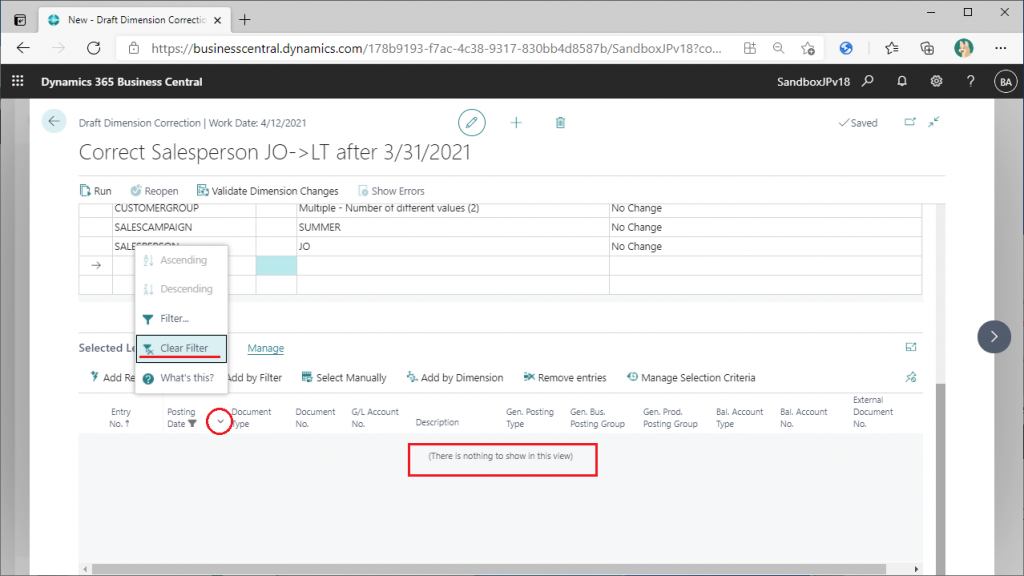
Clear the filter after the removal is complete.
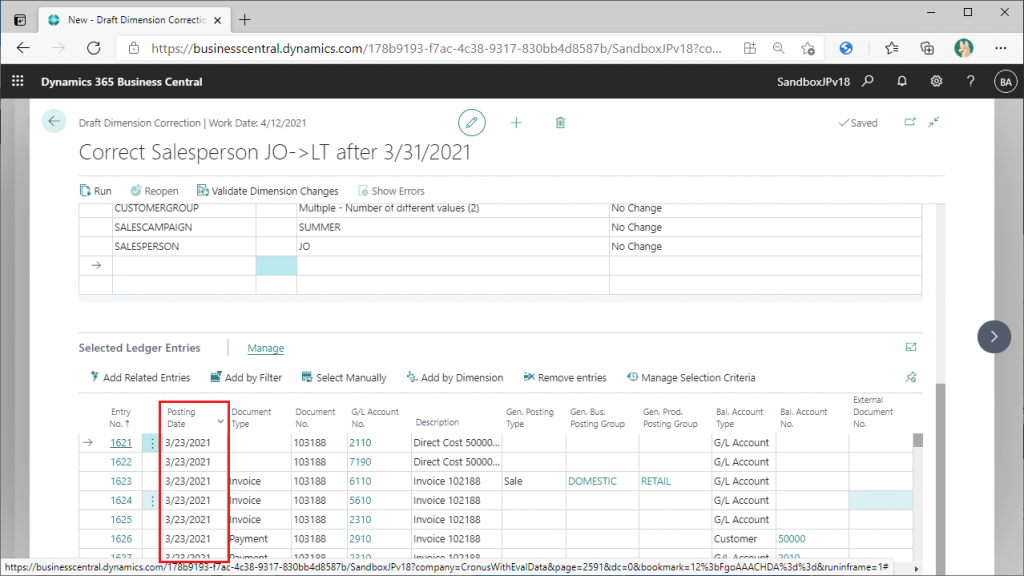
As a result, only entries with a posting date of 3/1/2021 or later are now listed.
Indeed, I met the requirements for the target data, but the procedure is a bit complicated. In particular, I needed three steps to exclude the details that did not meet the posting date requirement. Is it possible to make it easier?
k. Add by Filter
Using the “Add by Filter” function, you can filter the data in one step, including the posting date condition. First of all, let’s clear the data from the previous step. Click on “Manage Selection Entries”.

As before, delete all the items.
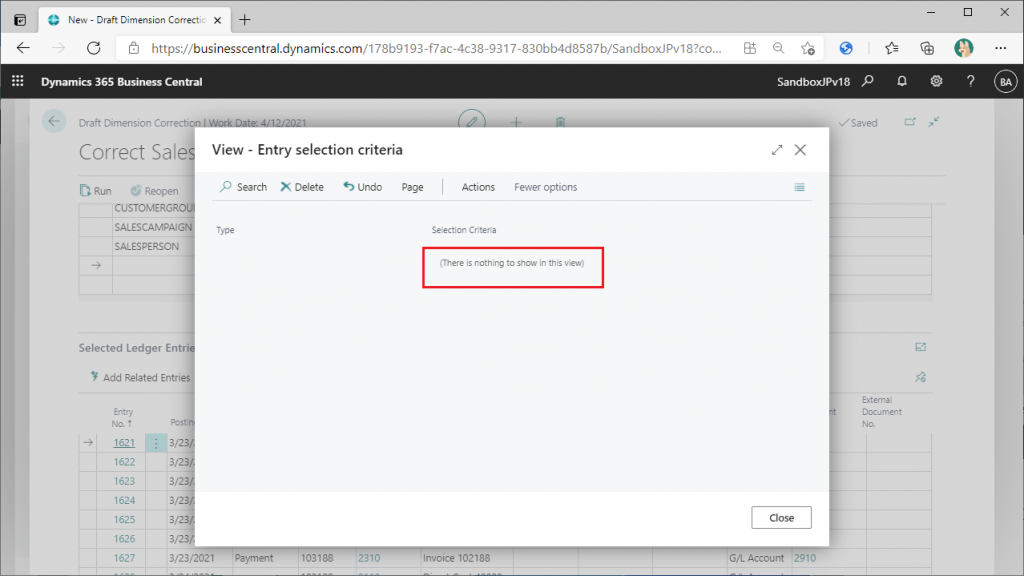
The “Selected Ledger Entries” have been cleared. Now click on the “Add by Filter” button.
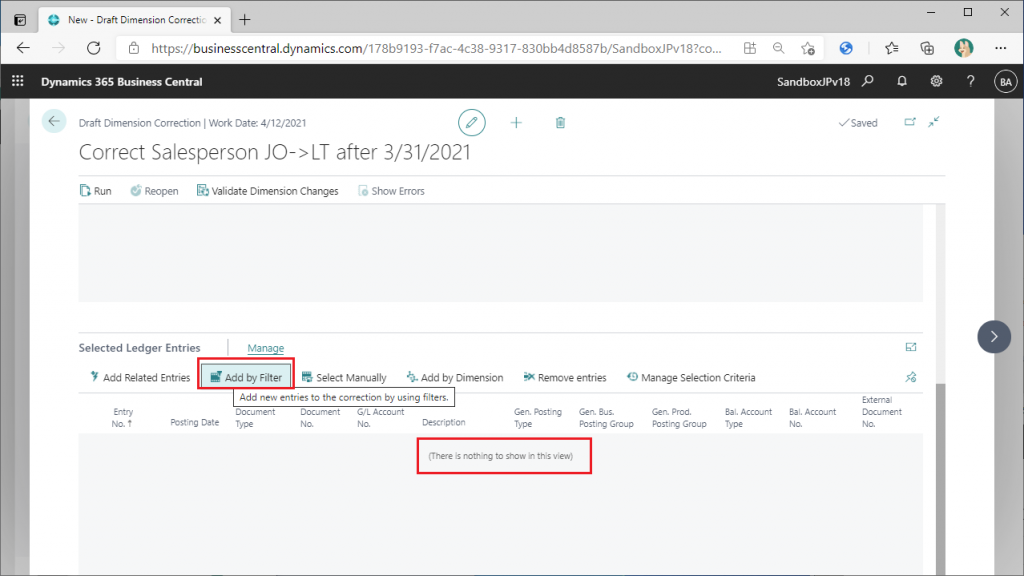
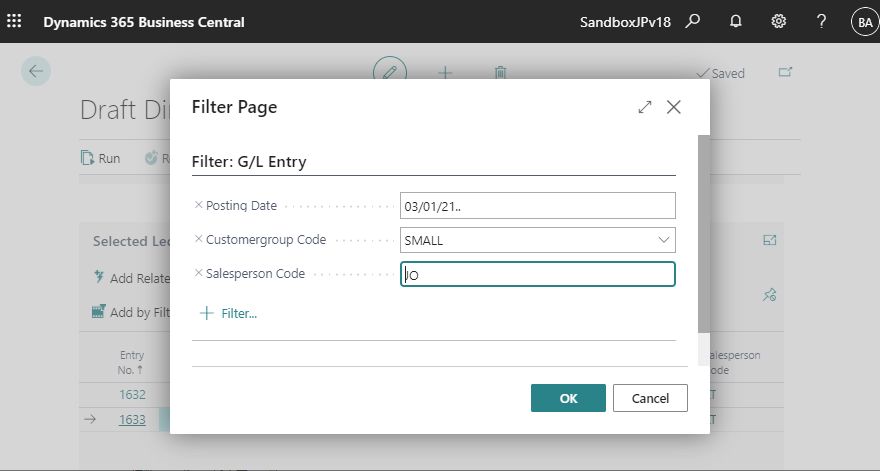
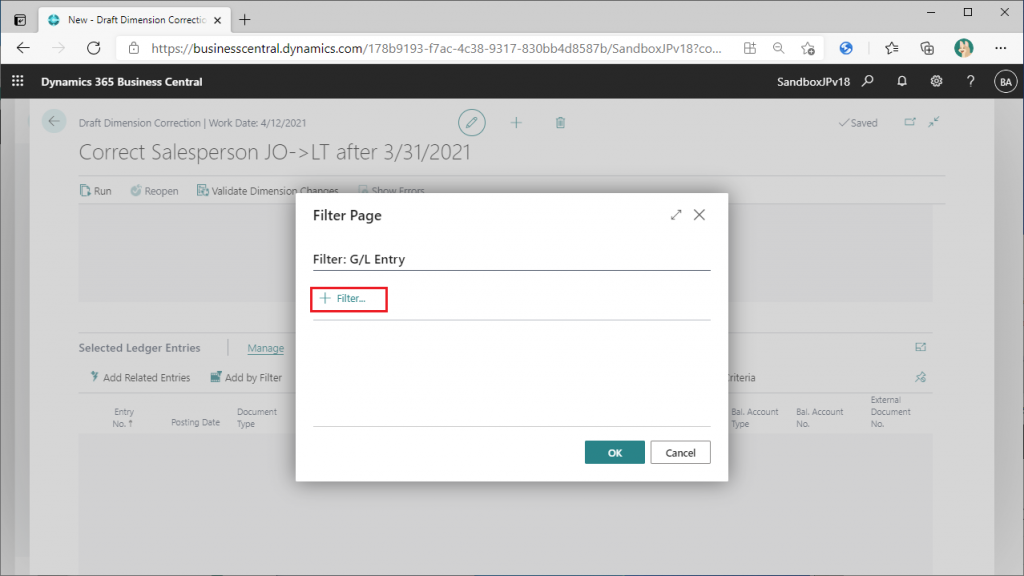
You can specify filter conditions for G/L Entries. Click “+Filter”.
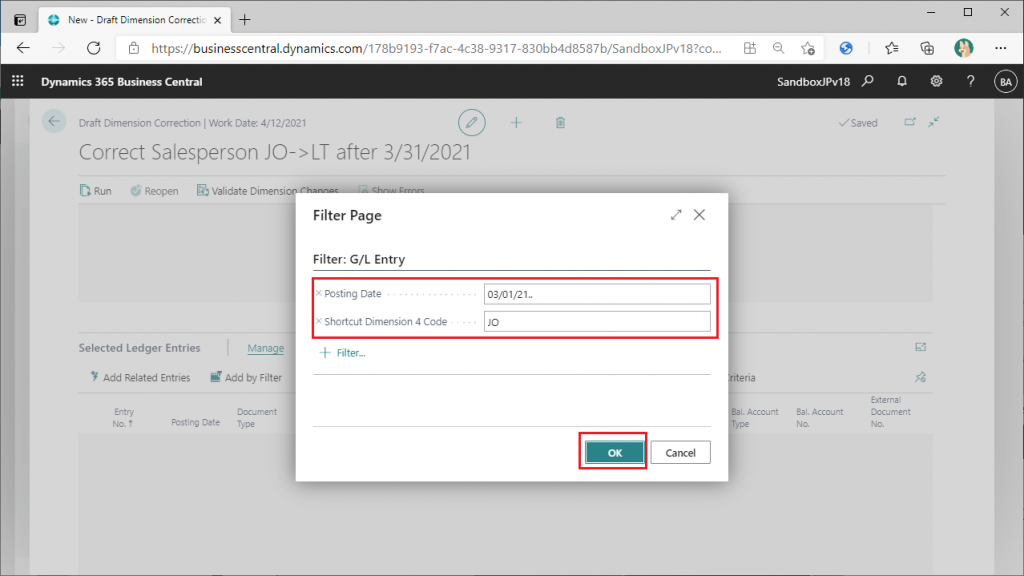
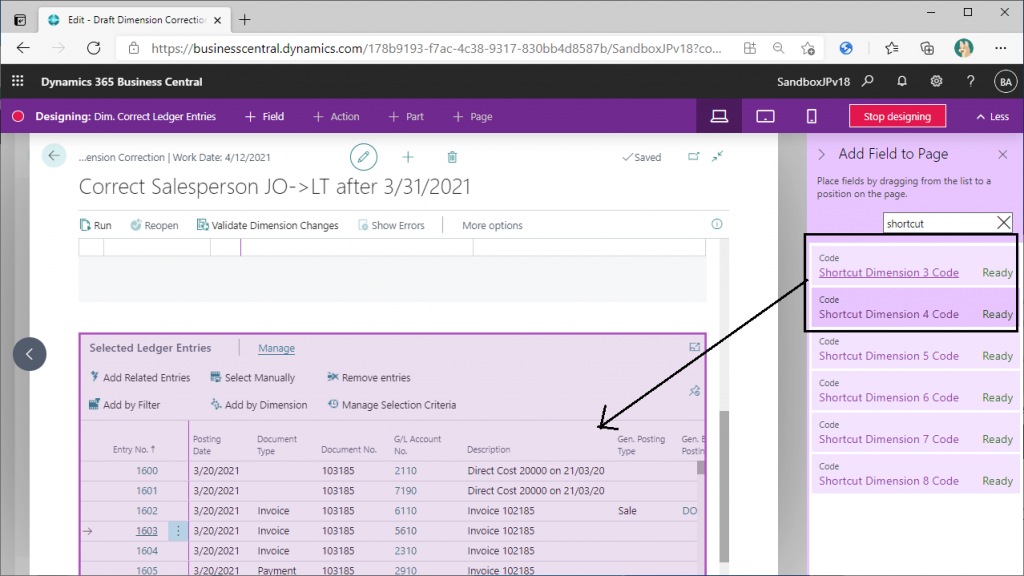
Then “Posting Date” and “Shortcut Dimension 4 Code” can be specified as shown below. Shortcut Dimension 4″ is Salesperson. (I forgot to specify the condition for Shortcut Dimension 3 Code…)
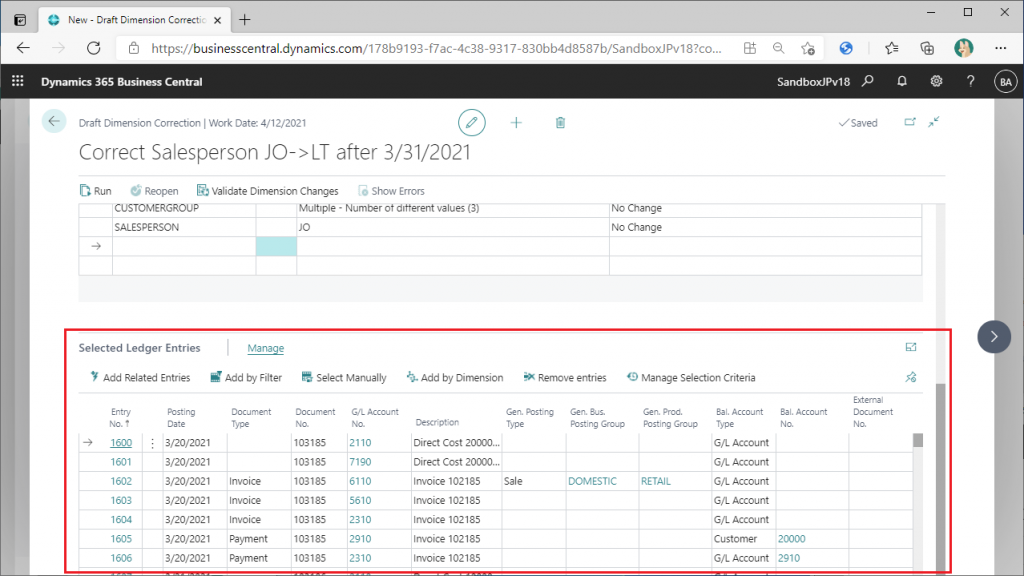
As you can see, the data you are looking for has been extracted by specifying the condition once.
By default, the Shortcut Dimensions are not displayed in “Selected Ledger Entries” sub-form , but they can be added to the sub-form using the Design function.
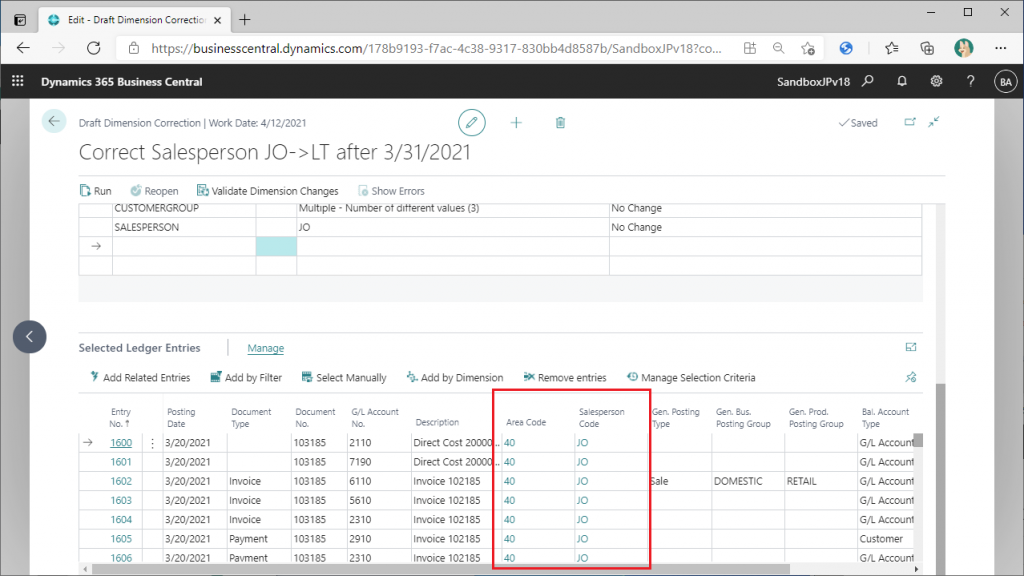
“Area” and “Salesperson” columns have been added. By sorting each item in ascending or descending order, you can easily make sure that no value other than the specified one is included.
l. Correct dimension values
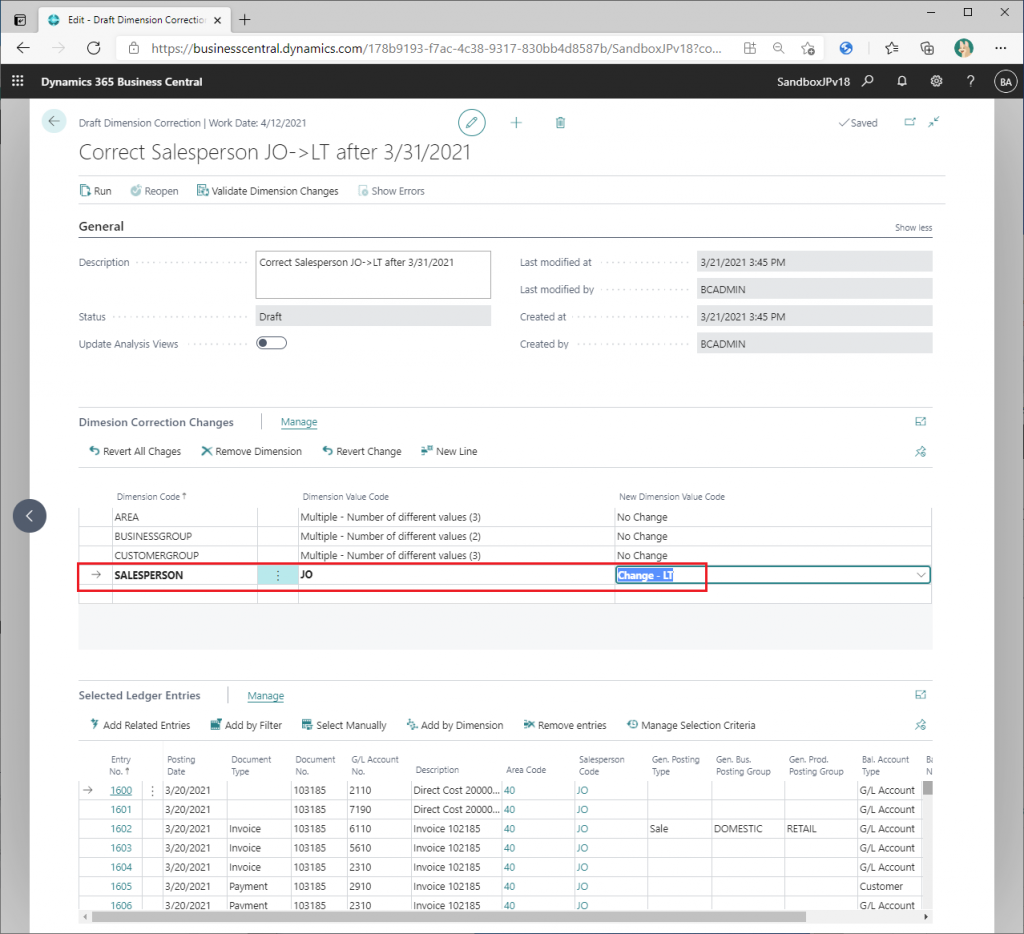
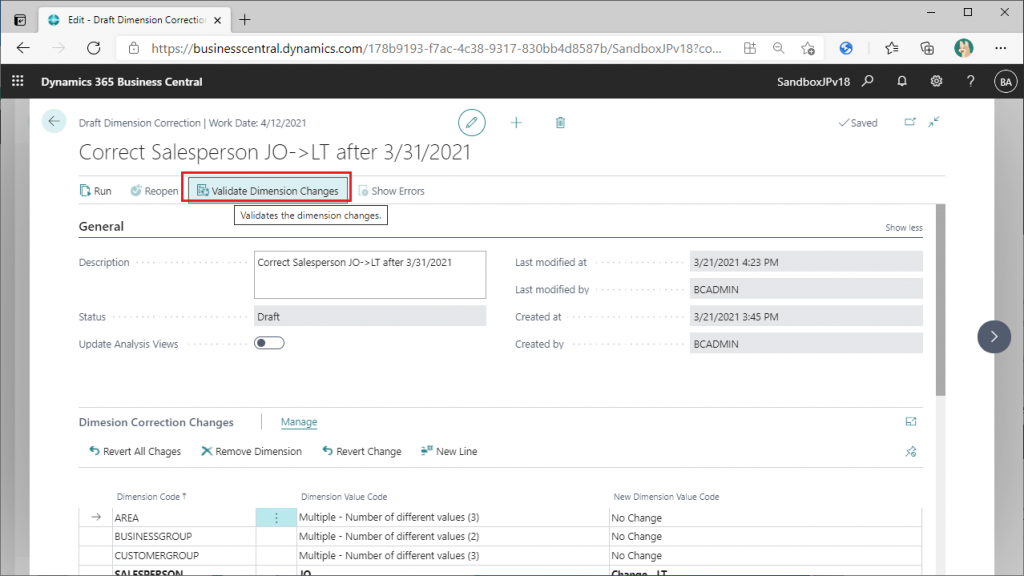
Now that we have extracted the data to be corrected, it is time to correct the values of the dimension codes. In the “Dimension Correction Changes” section in the middle of the page, you can see the name of the dimension code, its current value, and the new value. If we specify “LT” from the pull-down menu as the new value for the “Salesperson” column, the following will be displayed.
Then click the “Validate Dimension Change” button on the ribbon to check for errors.
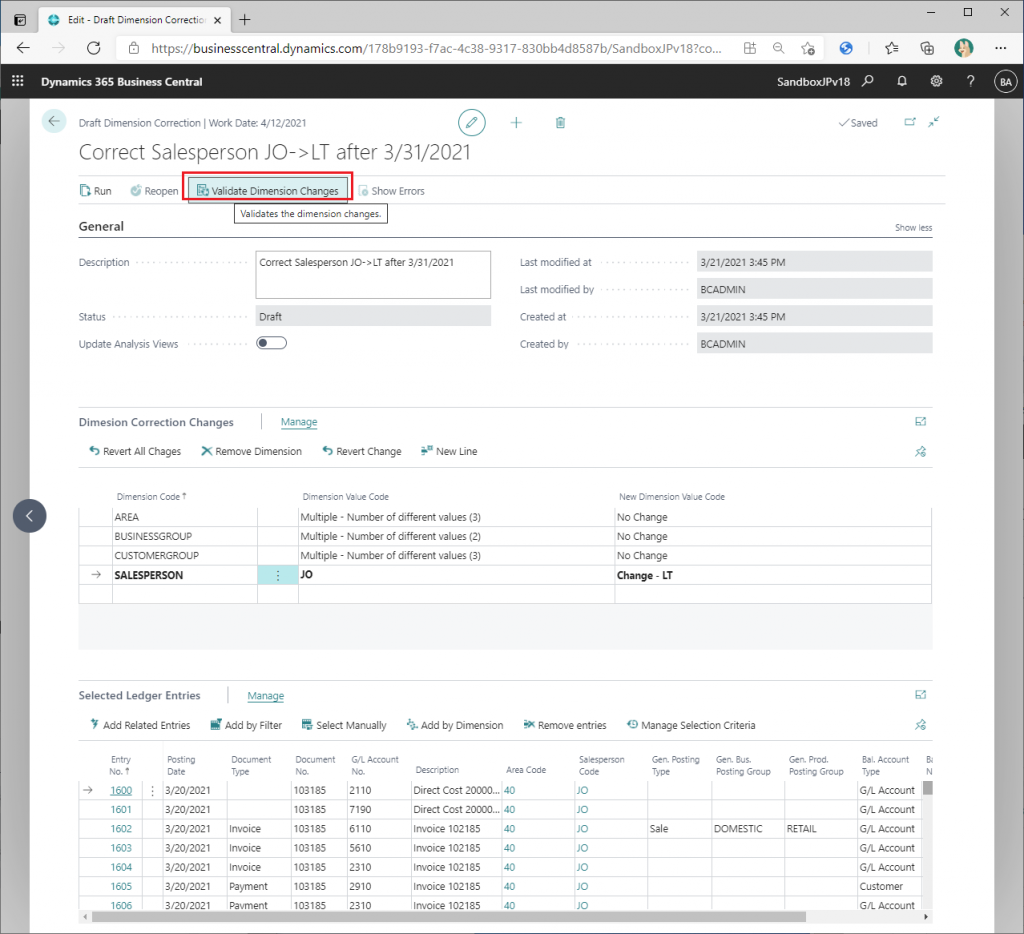
The procedure for this area is the same as the one explained in the previous article.
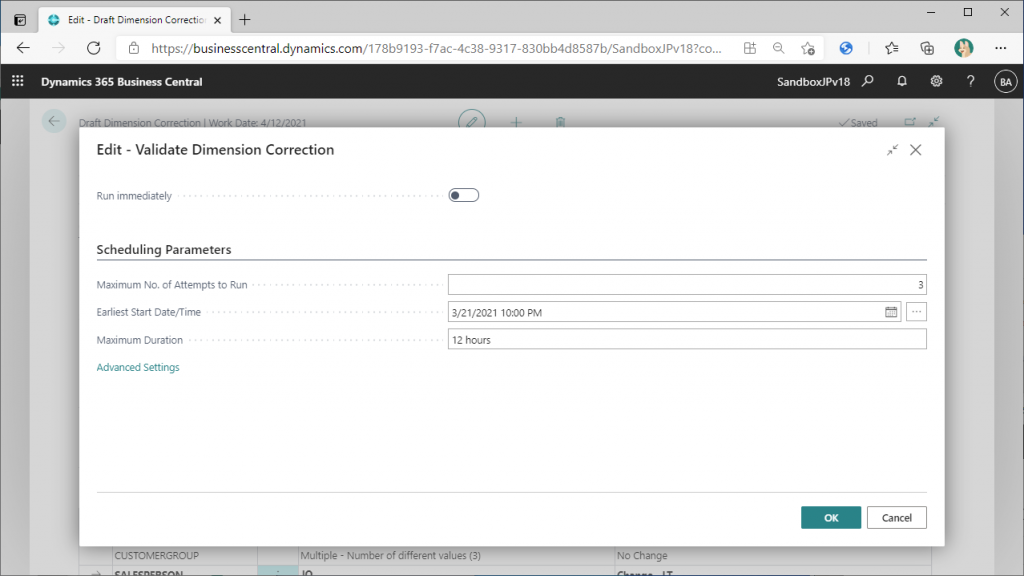
This time, specify immediate execution.
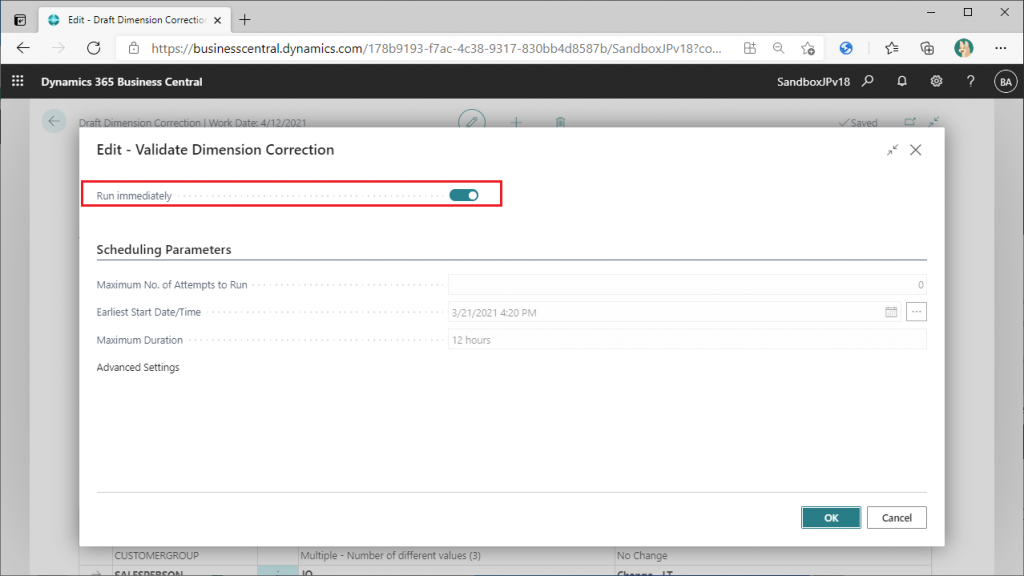
The check has been performed.

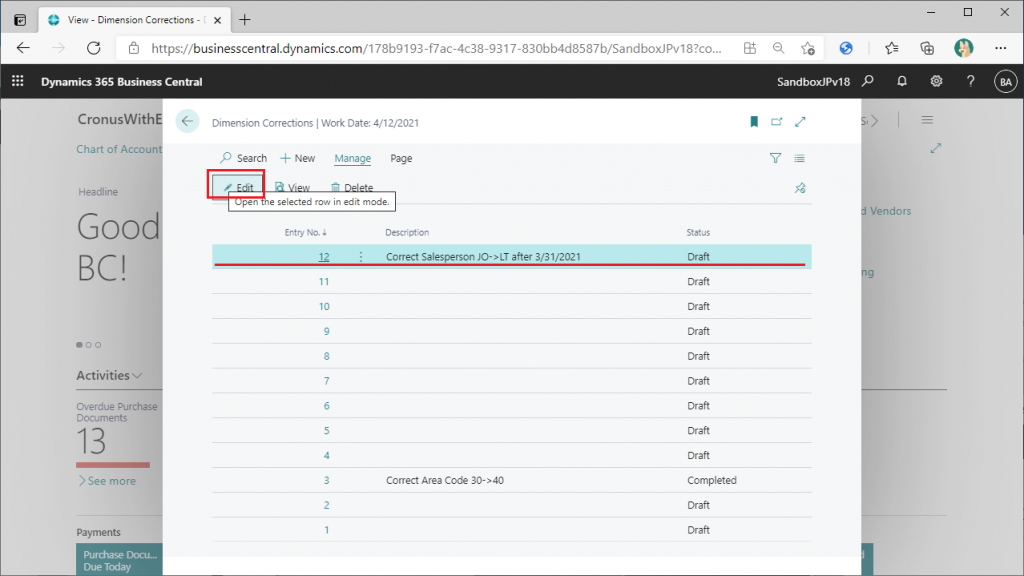
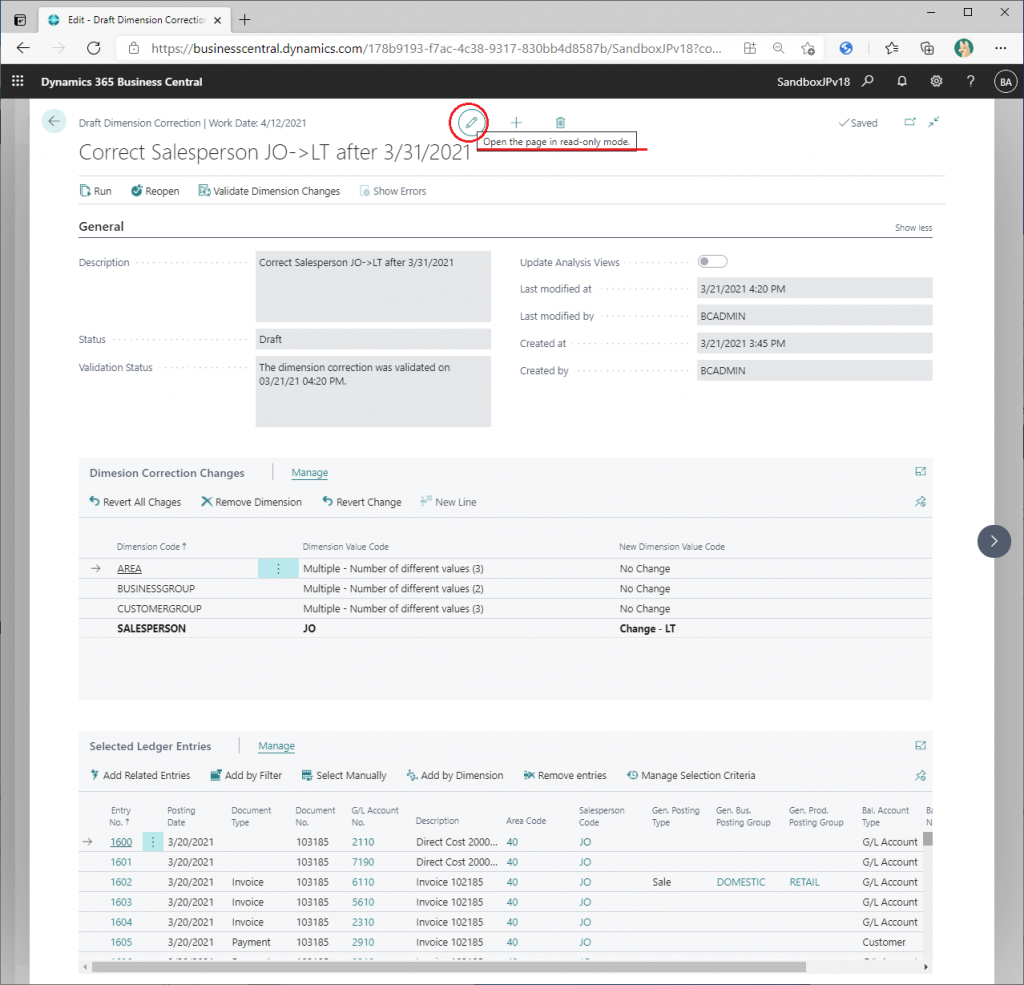
Once you are back to the Dimension Correction list page, select the appropriate item and choose “Edit”.
The card page looks like this when the validate is finished. The validate status is displayed, and even though the screen is in edit mode, it cannot be changed. Try clicking on the pencil icon at the top.
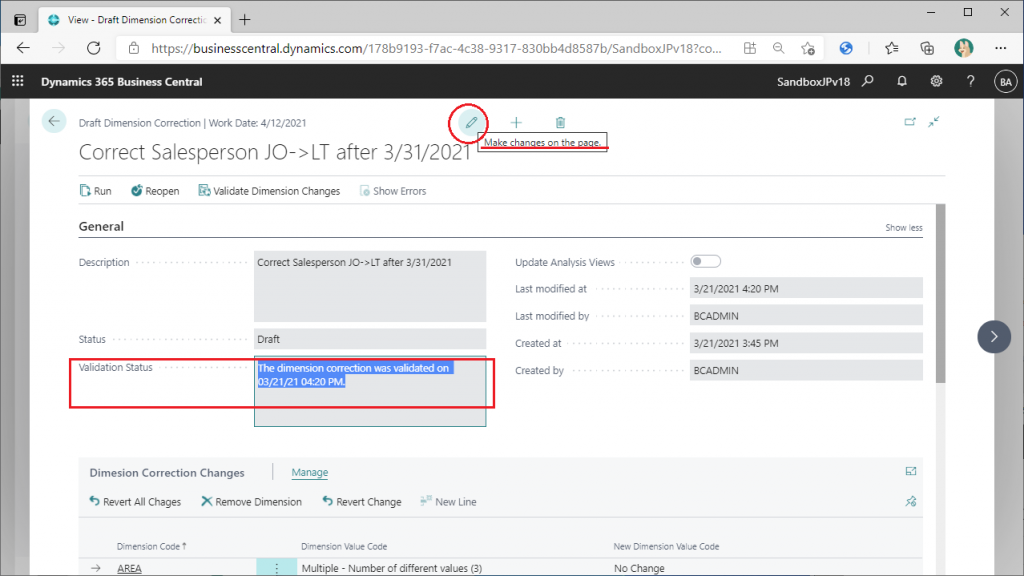
Clicking on the pencil icon will not make it editable. It’s a little confusing, but hovering over the pencil icon will let you know if you are in edit or view mode. Click on the pencil icon again to return to edit mode.
In the ribbon, there is a button named “Reopen”. Click on it.
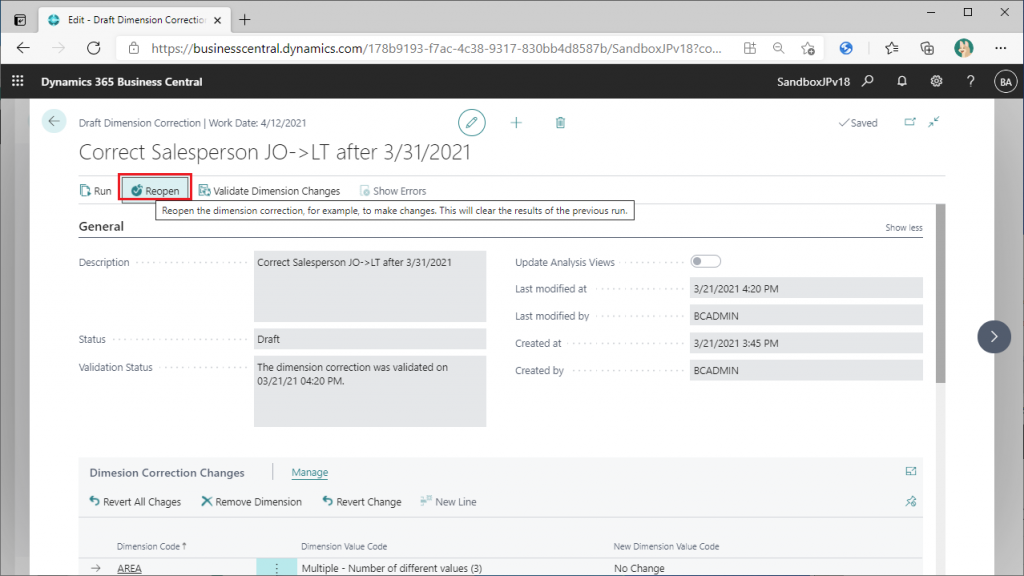
The message is a little unclear, but I think it means that reopening the card data will reset the data from the previous validation.
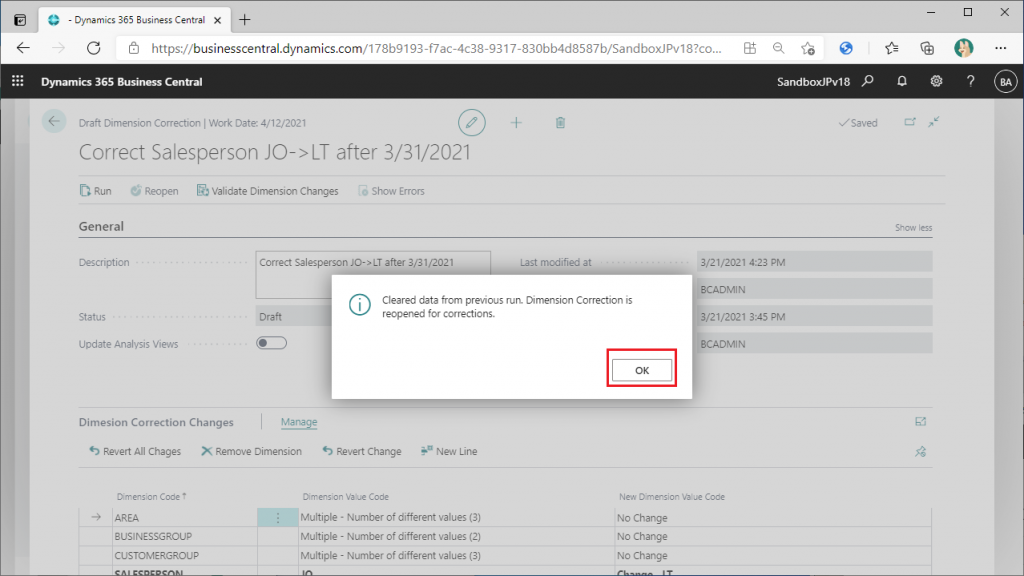
Status is back to draft.
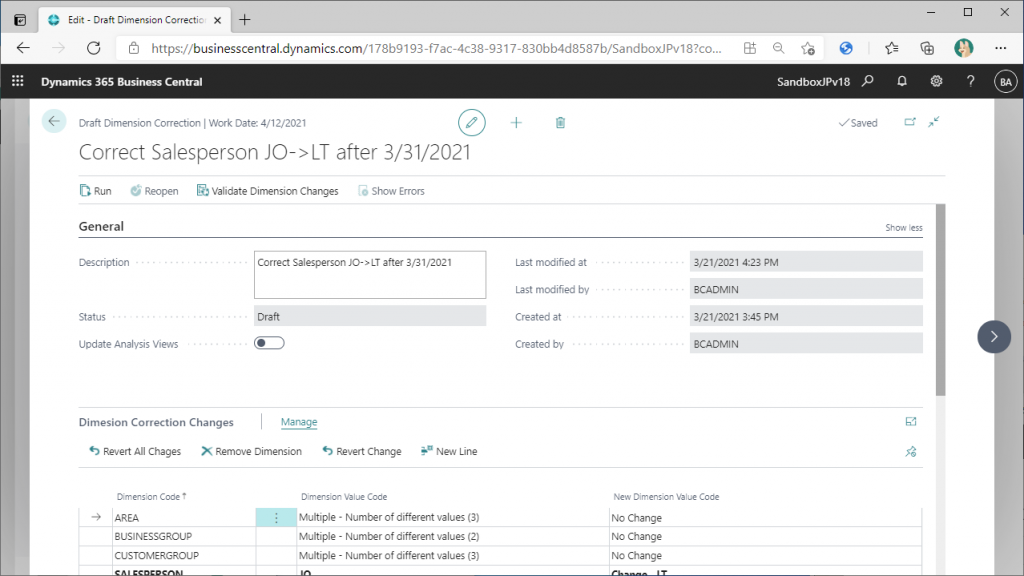
If necessary, you can fix it here. This time, do not fix it and run the validate again.
After rerunning the validation, click the “Run” button to apply the changes.
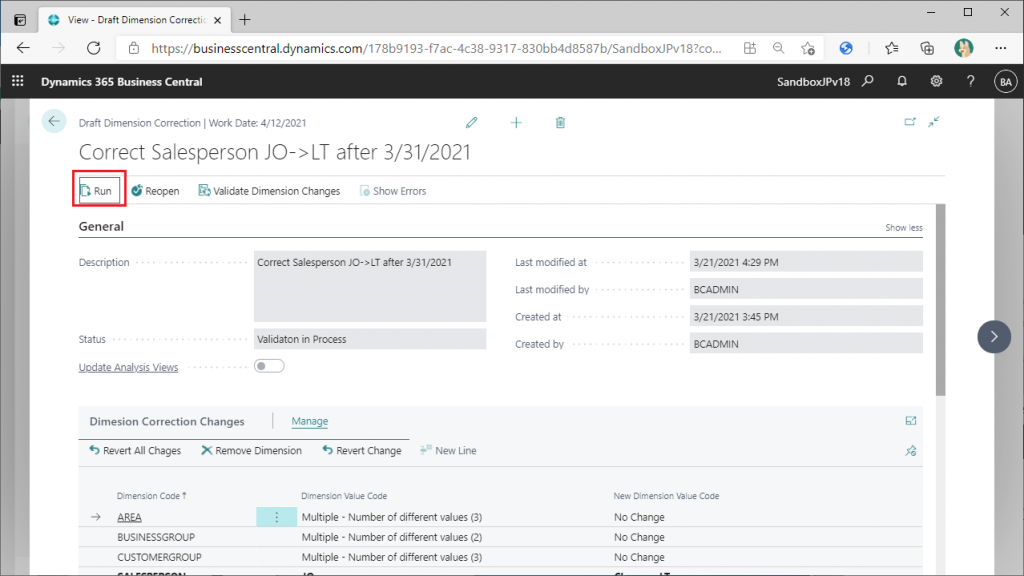
Immediate execution.
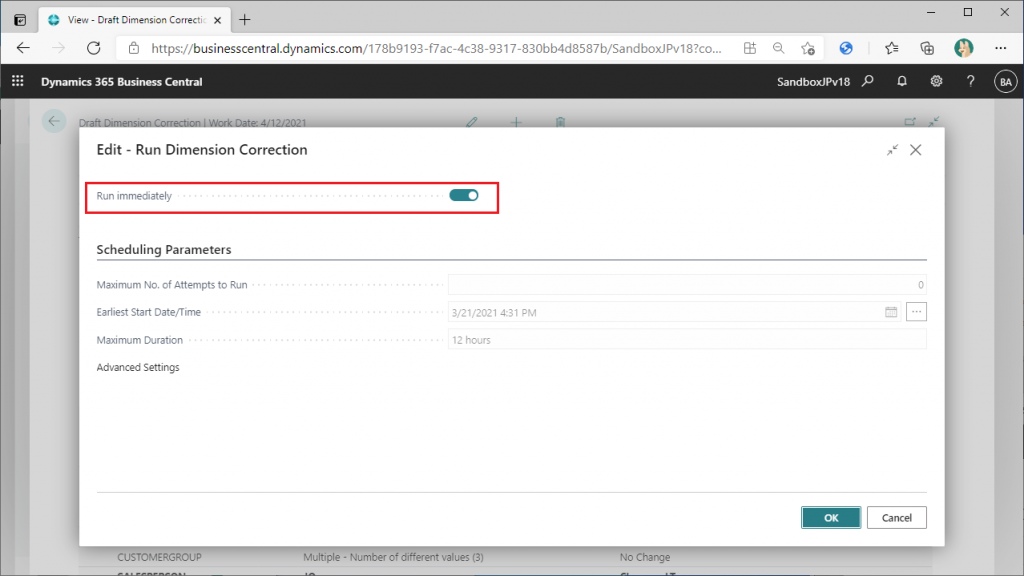
A message will appear saying that the change job has been scheduled, but it has been executed because I selected the immediate execution option.

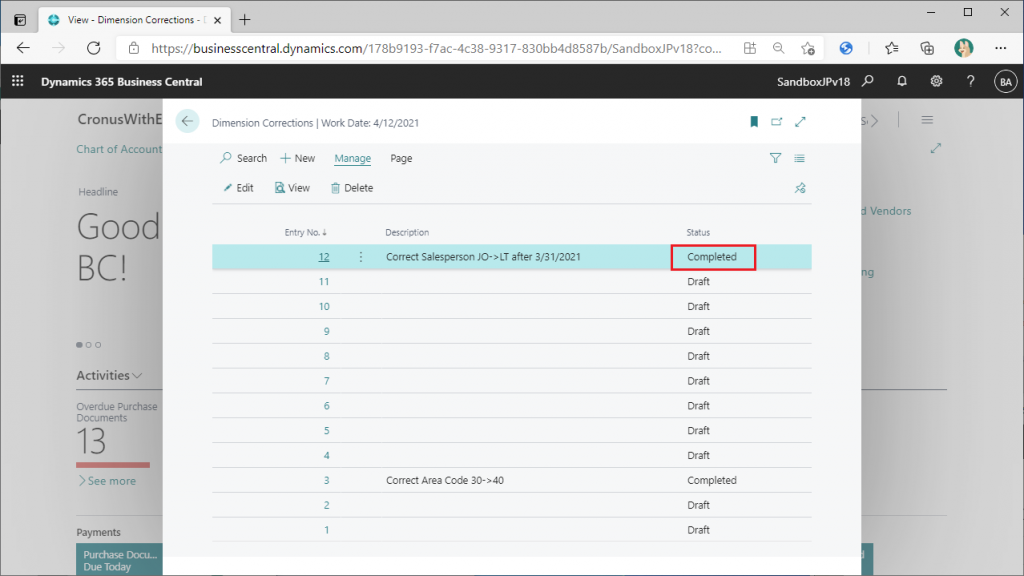
The status has changed to “Complete”.
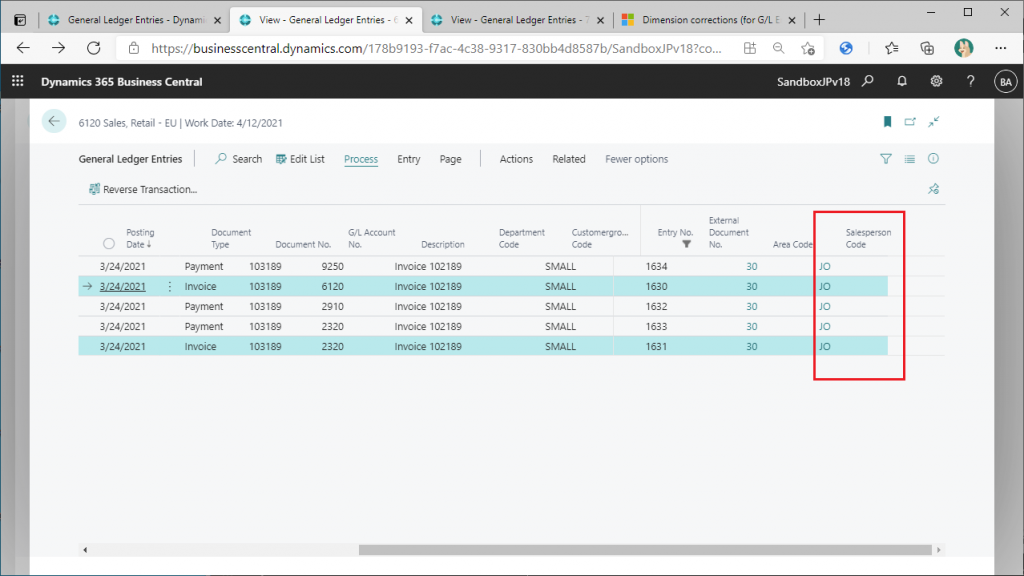
m. Check result
You will be returned to the General Ledger Entries list page that you were viewing before running the program, with SALESPERSON=”JO” displayed. Press F5 to refresh the screen.
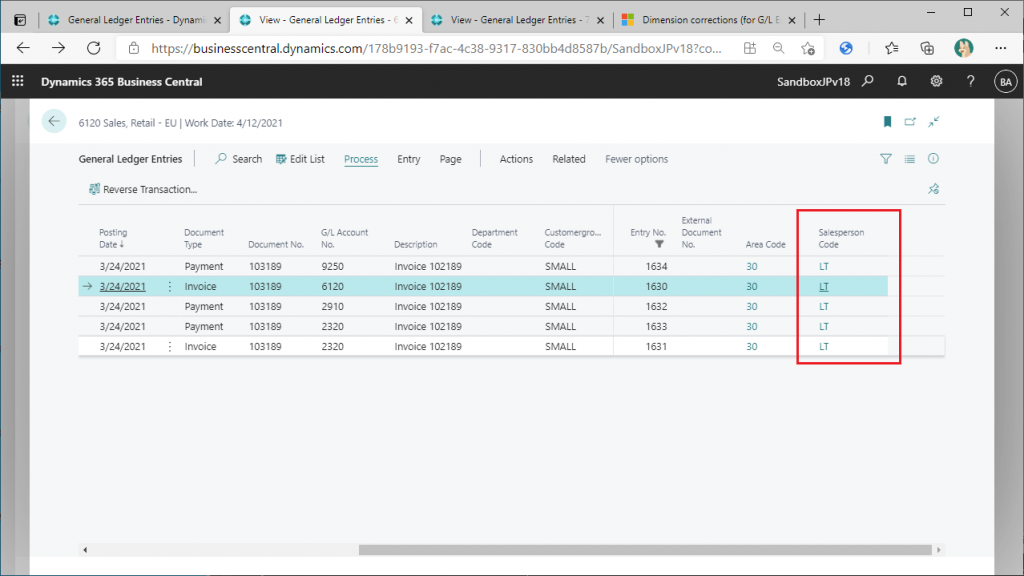
The values of SALESPERSON have been replaced by “LT”. The change is a success.
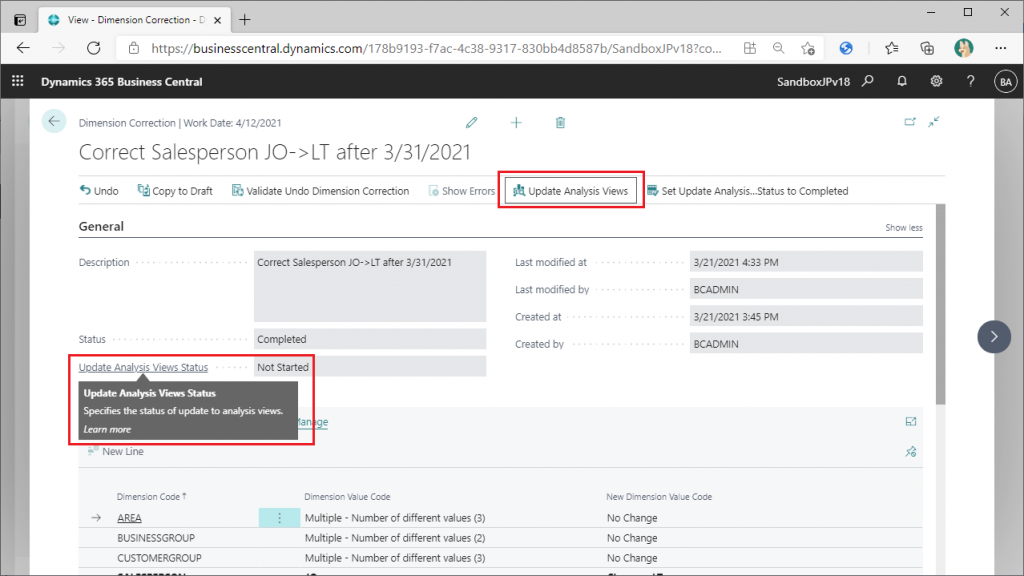
n. 分析ビューの更新
The “Dimension Correction” feature introduced in this article is itself a feature to correct the dimension code, but its ultimate purpose should be to update the analysis view. I think the reason why this new feature is limited to General Ledger and not Sub Ledger is because the purpose is to update the analysis view. I haven’t tried it yet, but from the buttons on the ribbon, it looks like you can update the analysis view from this screen.
o. summary
If you want to change a large number of multiple entries, it is best to use “Add by Filter”. The only advantage of using “Add by Dimensions” is if you want to filter on dimension codes items that are not defined as Shortcut Dimension. I don’t think that’s a common case. The ability to add a Shortcut Dimension to the G/L in the last Wave may have been a stepping stone to this new feature, and although you will need to make changes in Design mode, you can add a Shortcut Dimension to a sub-form so that you can check it.
I have presented a very long scenario, but I hope you have understood that how the dimension code correction feature is a very powerful and useful feature. I hope many users will learn about this feature and actively use it.