
This is a sub contents of How to Setup Workflow of D365BC
In the previous two articles, I explained BC workflow that is triggered by clicking a button of “Approval Request”. There is another type of BC workflow that is triggered when the value of specific table fields is changed without clicking ” Approval Request”. In this article, I will explain this example.
The first thing we do is to disable the workflow we created last time. Strictly speaking, disabling is not mandatory, but we will do it to make it clear which workflow is running.
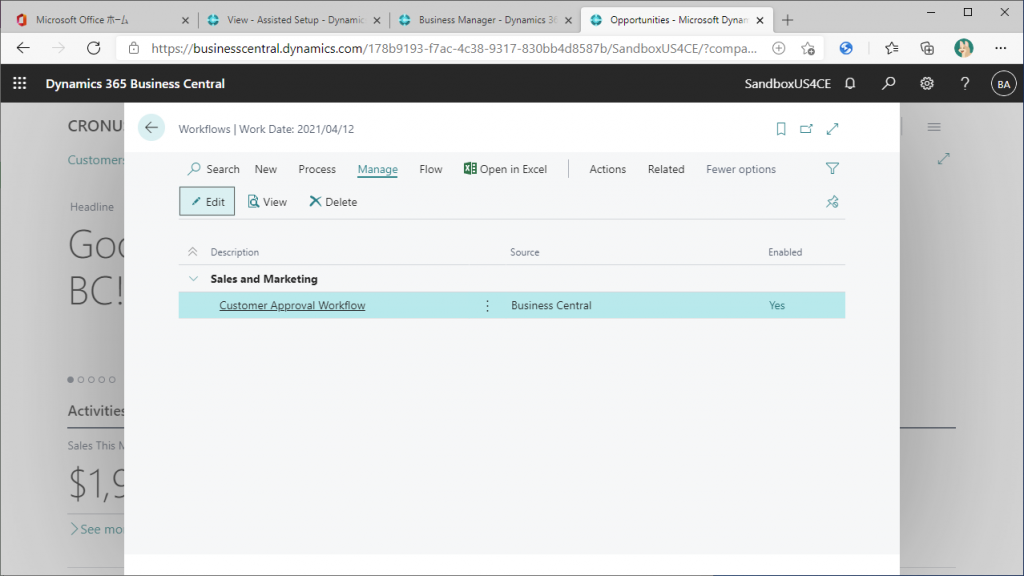
When you go to the Workflow List page, you will see the workflow you created last time, and the “Enabled” column is set to “Yes”. Click on the workflow, or click on the Edit button on the Manage tab with the workflow selected.
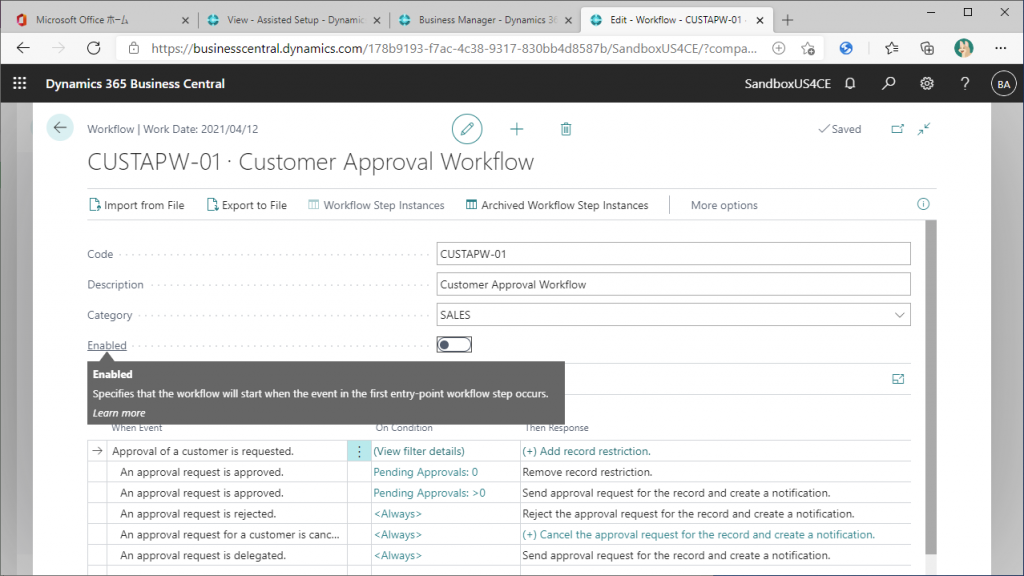
Set the Enabled flag to Off. This will disable this workflow and you will not be able to click the Approval Request button in the customer card page. It is better to switch to inquiry mode by clicking the pencil mark at the top center of the page and save it explicitly.
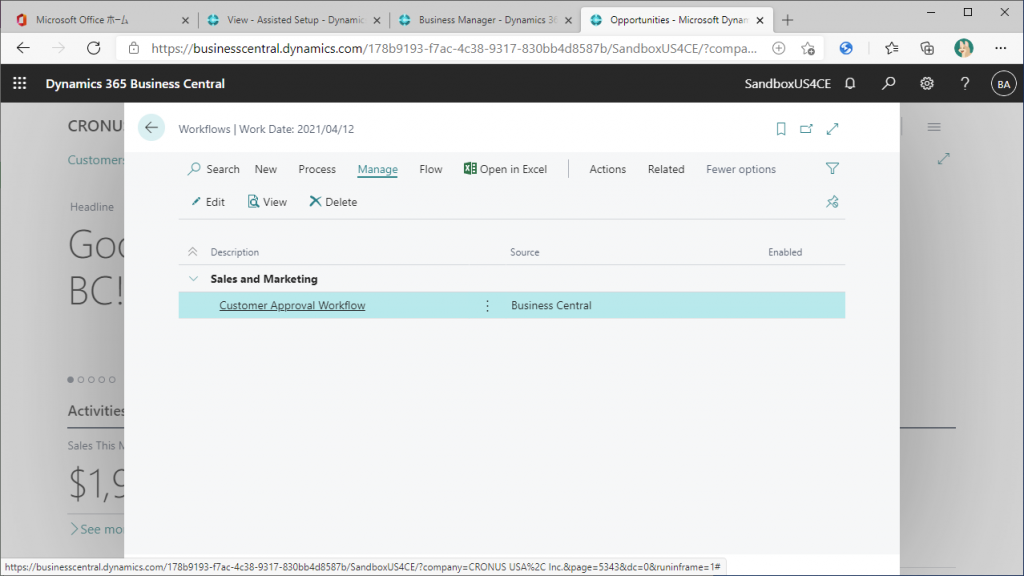
Return to the Workflow List page, and make sure that the Enabled column is blank. Disabling is now complete.
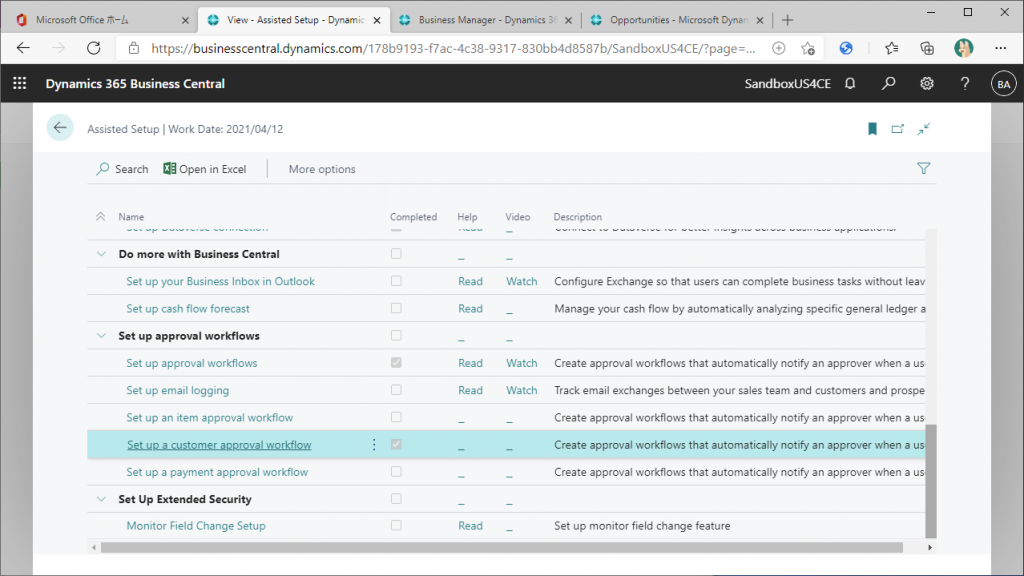
Return to the Assisted Setup page. Click on “Set up a customer approval workflow,” which you used to create workflow in previous article, to start the wizard.
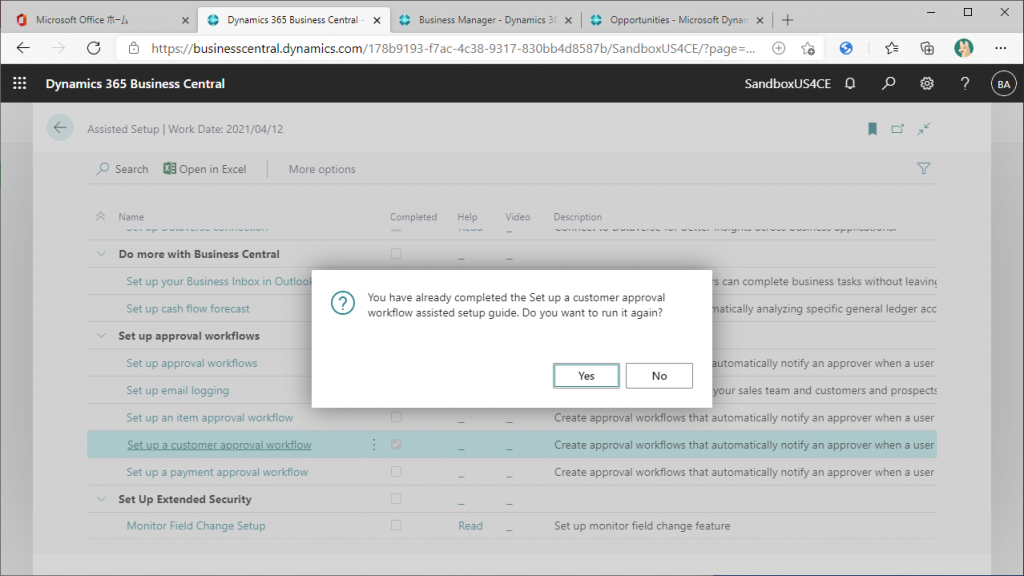
You will get a confirmation message “Do you want to run it again?”, because this wizard has already run. Select “Yes”.
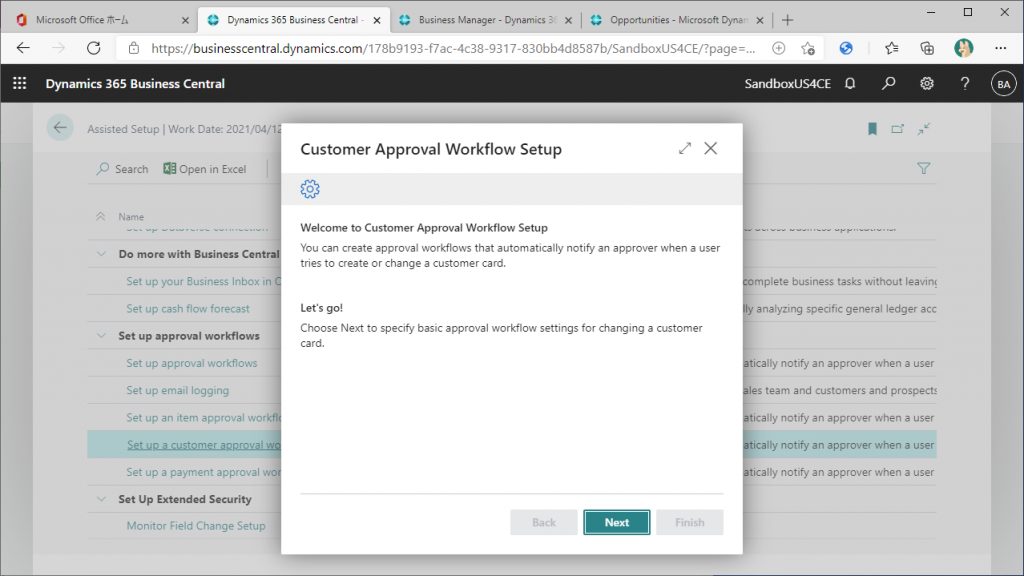
Read the instructions and select “Next” to proceed.
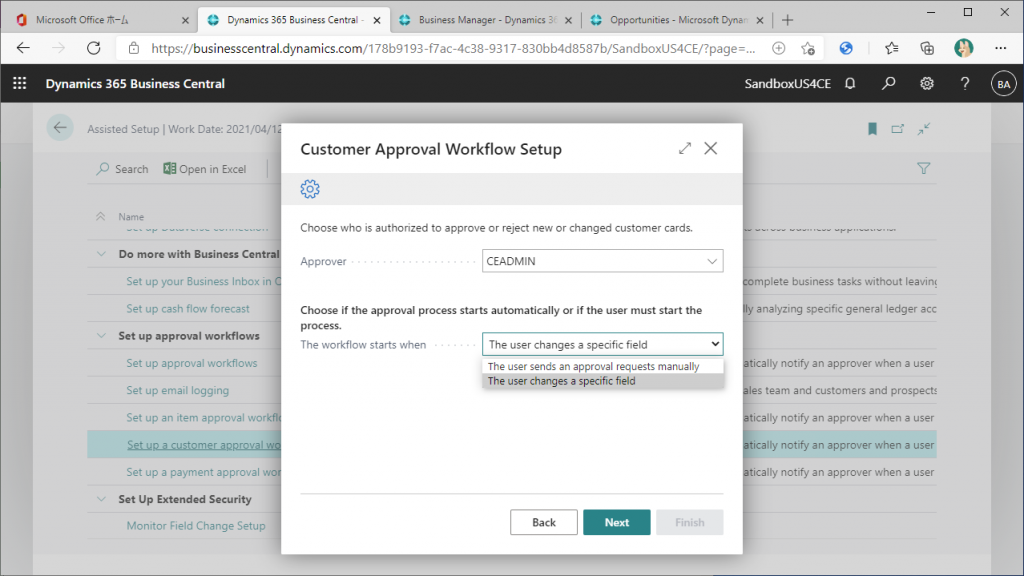
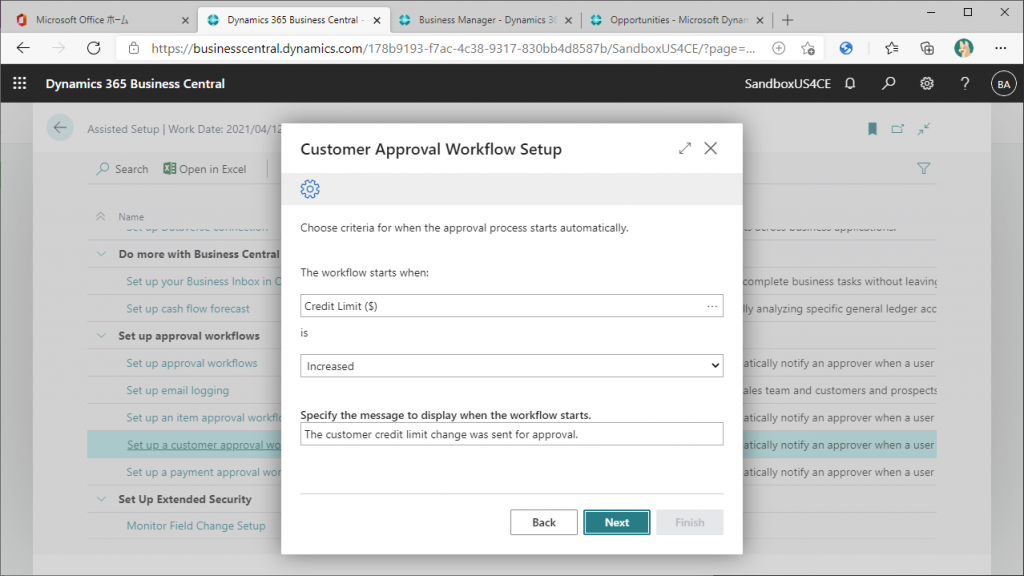
Approver has already been set to the user ID you specified last time in wizard. This is the same as the previous step. For “The workflow start when” field, select “The user changes a specific field”. This is the difference from last time. The workflow will be started when “The user changes a specific field” as described in the pull-down text. After selecting the value for the pull-down, click the Next button.
In the next page, you can configure which field’s change will trigger the workflow and what kind of change will trigger the workflow. By default, it is set to be triggered when the Credit Limit is increased. You can change this setting from the default, but in this example, just click the “Next” button to continue without change.
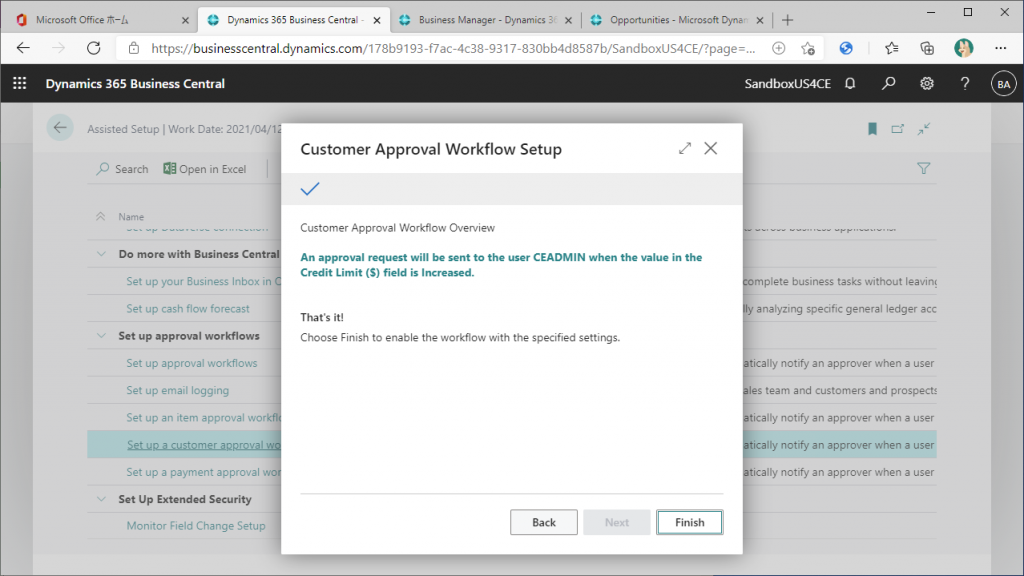
Click the “Finish” button to complete the configuration.
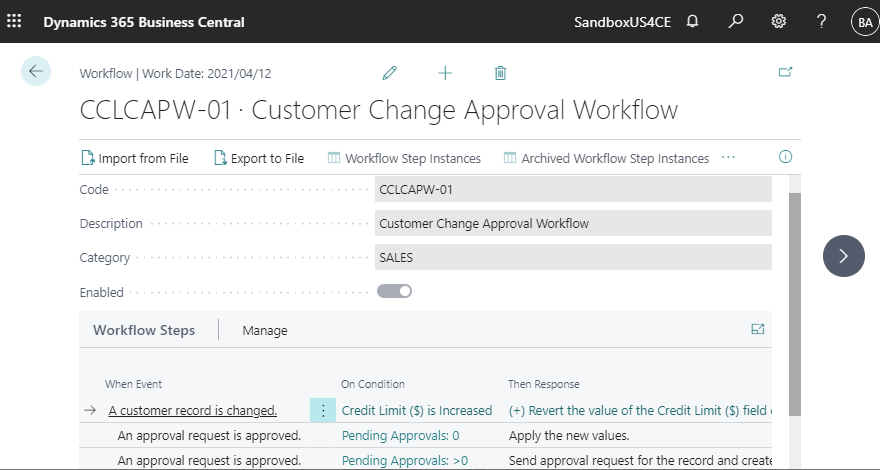
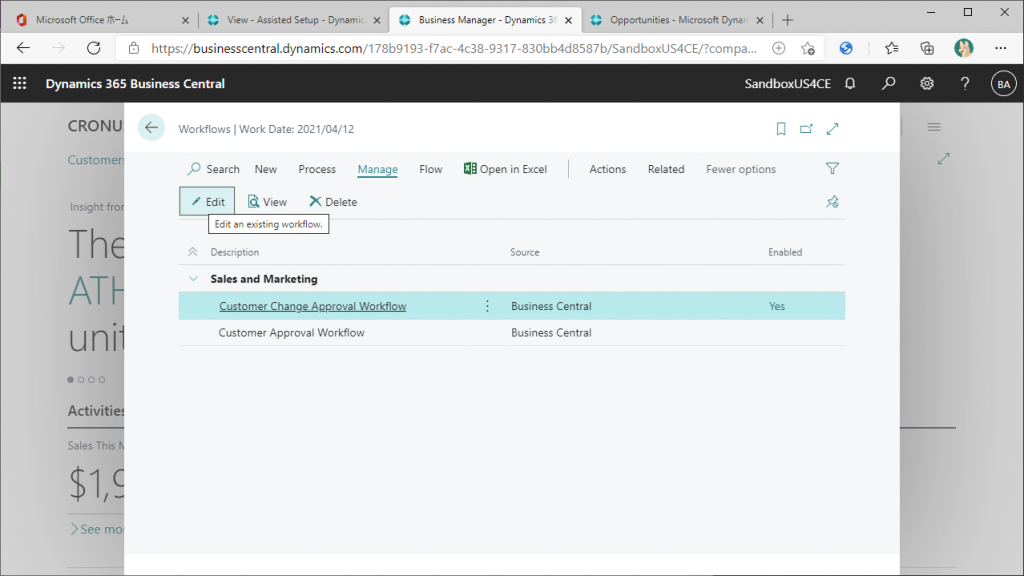
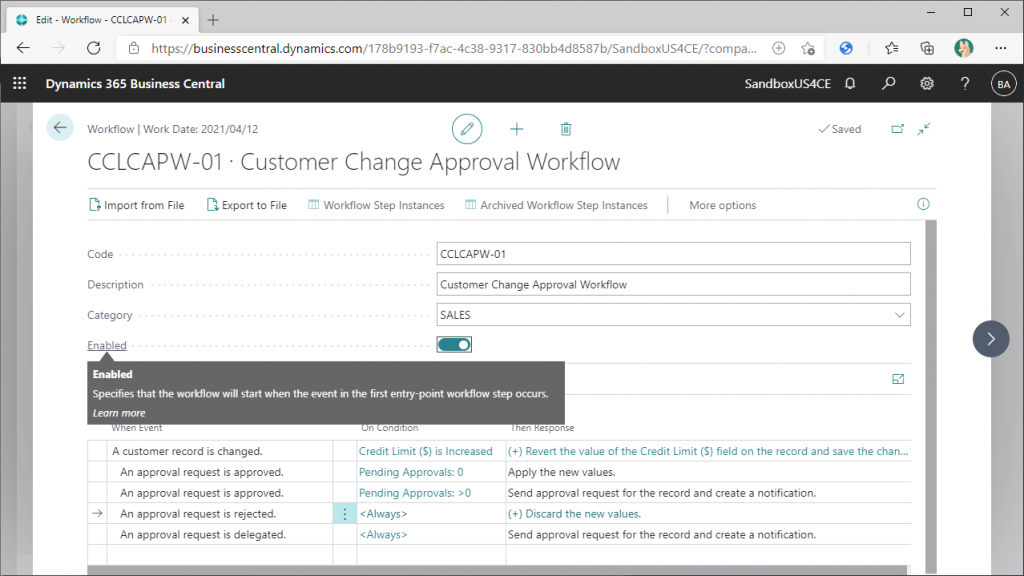
Go back to the list page of workflows. A new workflow named “Customer Change Approval Workflow” has been created, and its “Enabled” column is set to Yes. Let’s take a look at the workflow that has been created. Click on the new workflow name, or click on the Edit button on the Manage tab.
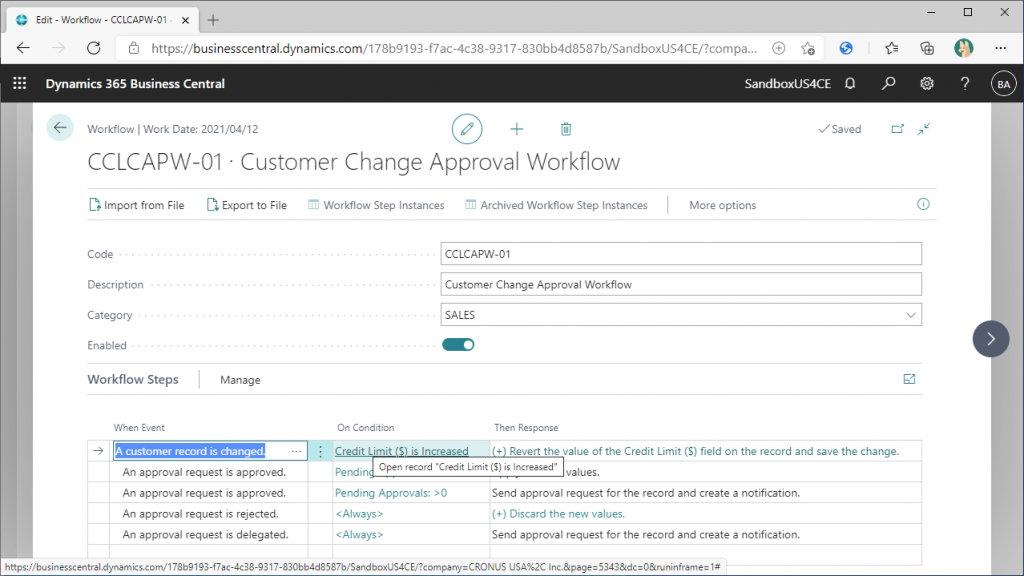
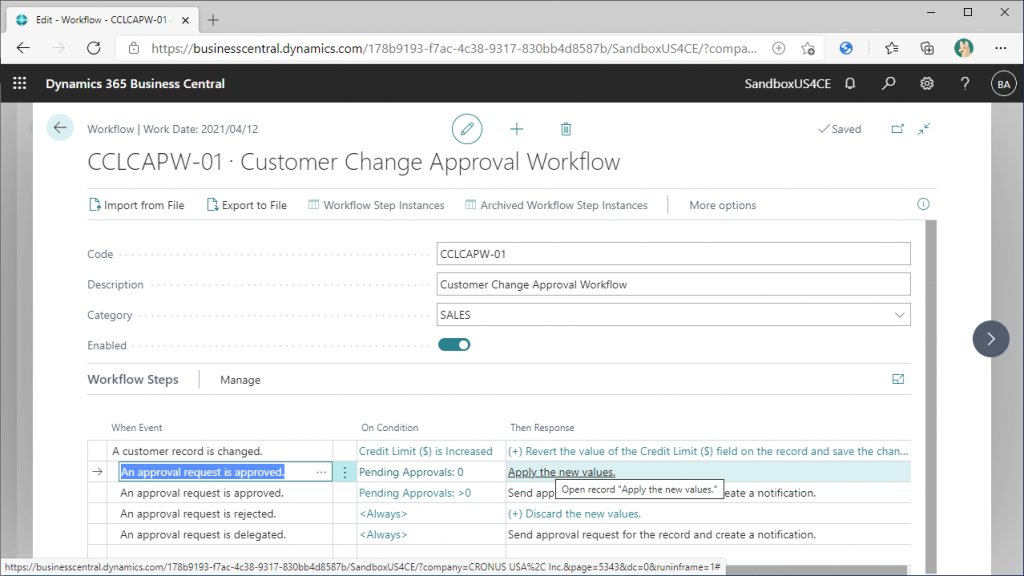
The Workflow card page will open. The header part has a code and a name, so I won’t explain more it here. Let’s take a look at the line parts.
The first line describes the conditions for triggering the Workflow. When Event” says “When a customer’s record is changed”. In the “On Condition” column, there is a specific change condition: “Credit Limit is Increased”. Let’s click on the link.
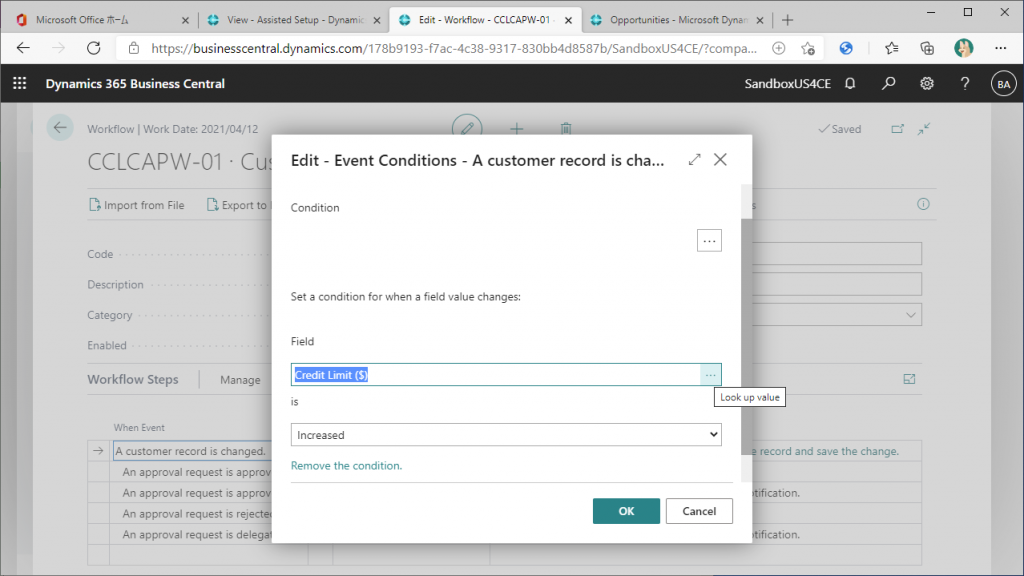
As configured in the Wizard, this page describes which field’s changes is to be detected and what kind of change is to be caught. In this case, it is set to “When Credit Limit is increased. Click on the “…” button.
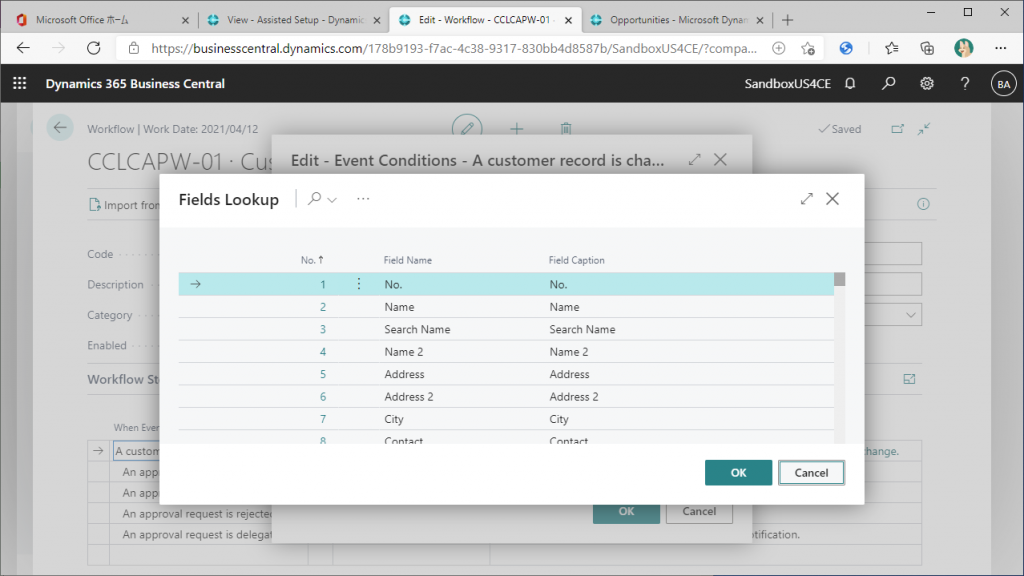
The fields of the customer table will be displayed in the list. The default value is “Credit Limit”. You can change the feild, but in this case, click “Cancel” to return without change.
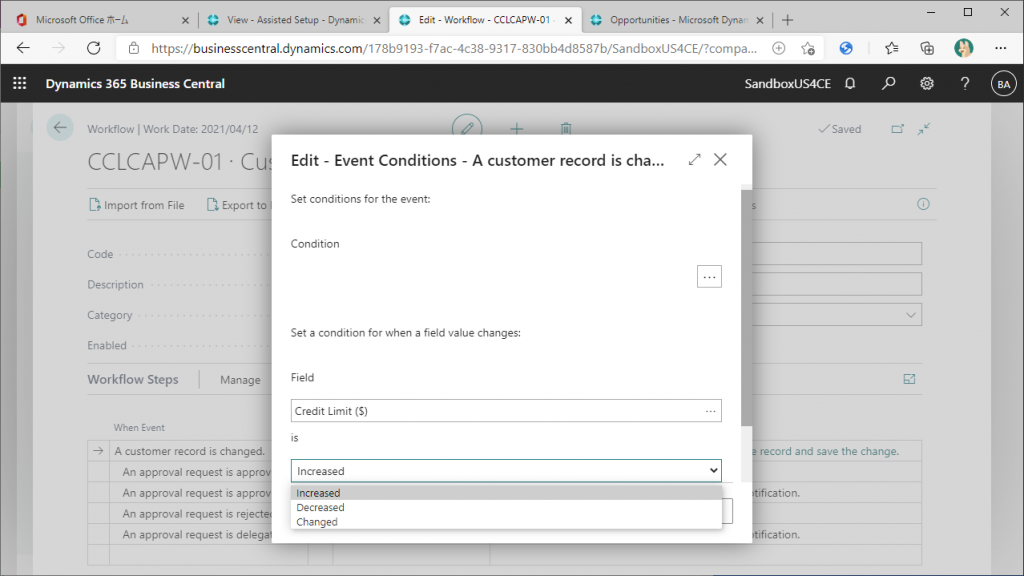
Let’s take a look at the options in the “Increased” pull-down. You can also select “Decreased” or “Changed”. For example, if you want to start Workflow when the field “Blocked” in the customer record becomes blank, specify “Blocked” as the “Field” and specify “Decreased” instead of “Increased”. In this case, we will leave the field as “Increased” and return without changing it.
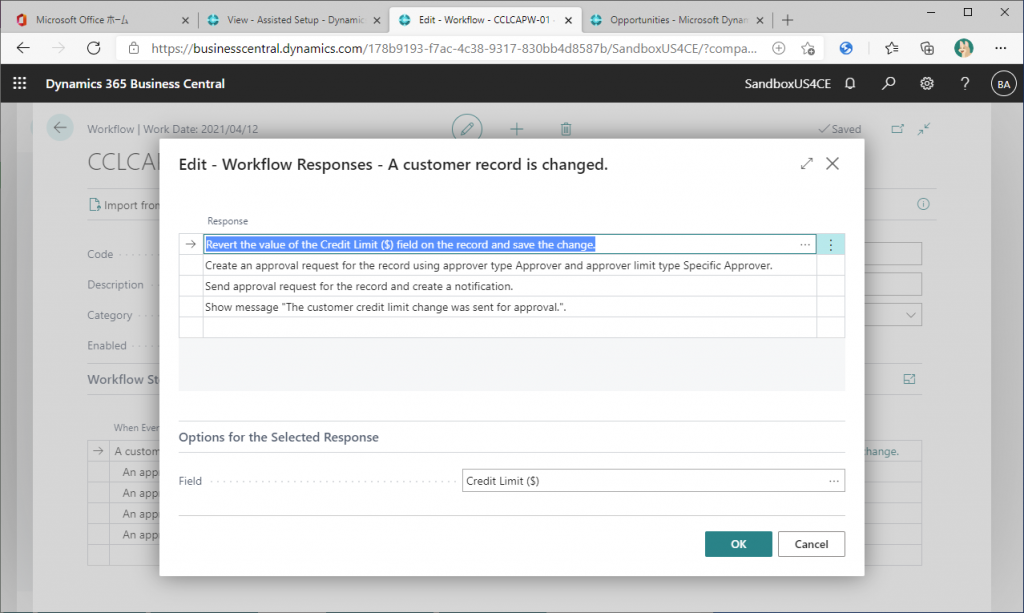
Let’s check what Workflow does when the Credit Limit is increased. Click on the “Revert the value of…” link in the “Then Response” column.
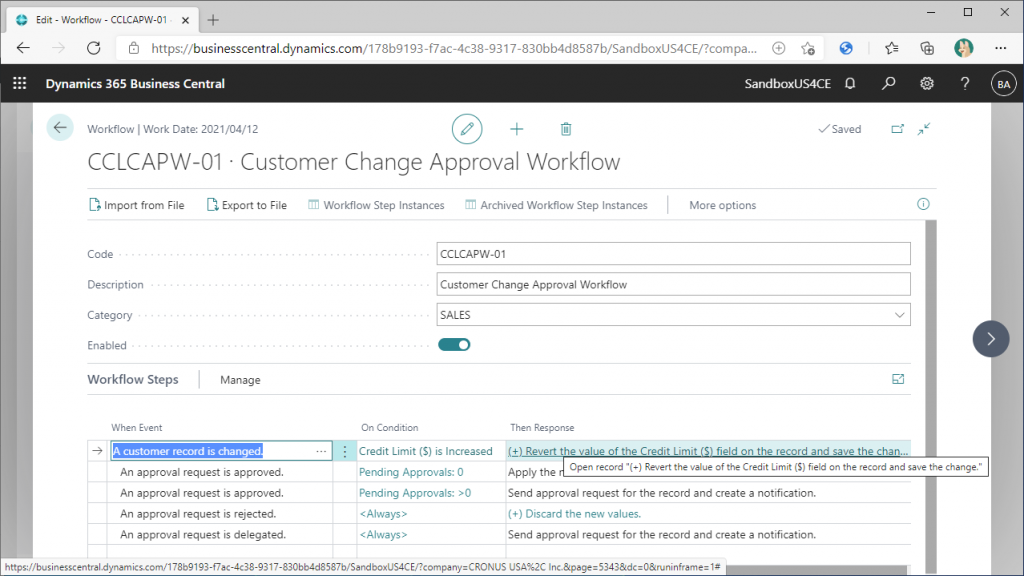
There are four responses when the Workflow is triggered. The most important is described in the first line “Revert the value of the Credit Limit field on the record and save the change. It stores the changed value separately and then reverts it to the previous value. For example, if we increase the “Credit Limit” from 0 to 10,000,000, Workflow will be triggered and the “Credit Limit” value will return to 0.
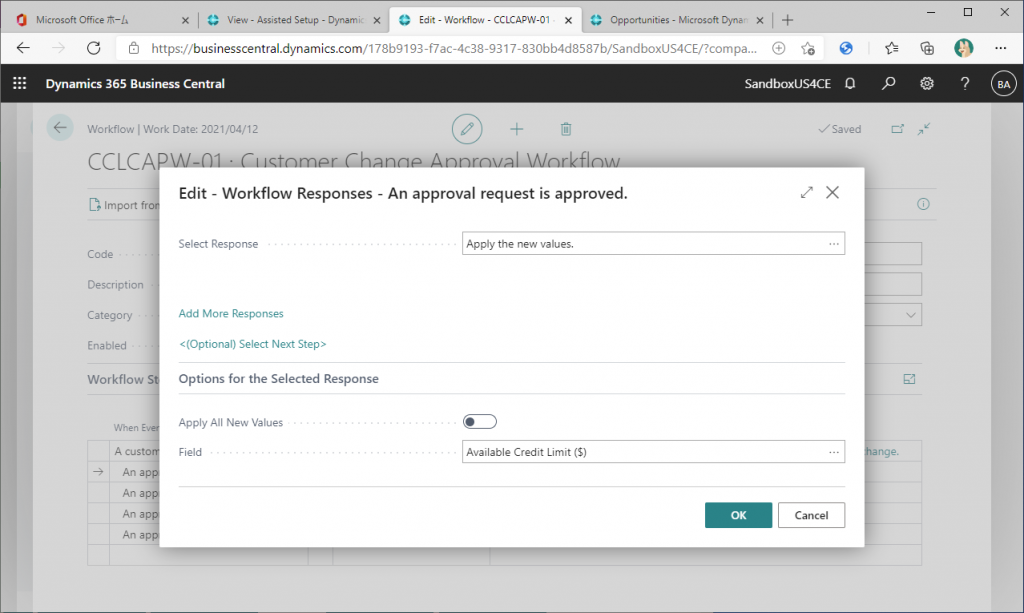
When the Workflow is finally approved, the “Credit Limit” value will reflect the changed value (ex. 10,000,000). Conversely, until the Workflow is approved, it will remain at the unchanged value (ex.0). The second line defines this behavior. “When Event” in the second line is “An approval request is approved”. “Then Response” is set as “Apply the new values. Let’s click on the link.
This page says “Credit Limit” will be set to the modified value that workflow have stored when workflow has been triggered. After confirming the settings, click the “Cancel” button to return to this screen.
Let’s also see what happens when the approval is rejected, which is described in 4th line. Click on “Discard the new values” in the “Then Response” column.
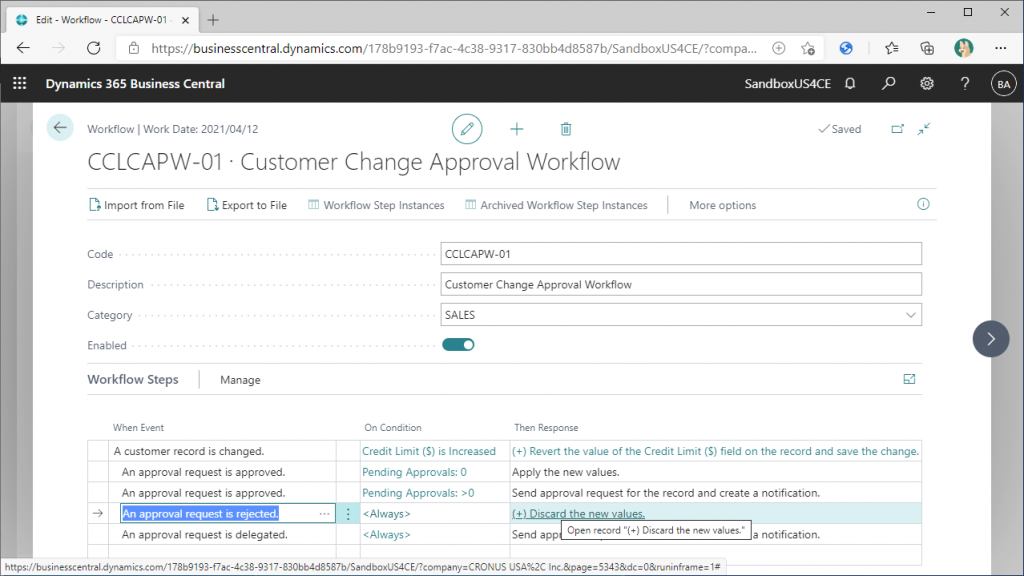
The Response is defined in two lines. The first line says “Discard the new values”. This means that if the Workflow is rejected, the modified values that triggered the Workflow will be discarded.

That’s all for Workflow configuration and checking the contents, make sure the Enabled column is ON and close the Workflow card screen.
In the next blog article, I’ll try to run the workflow.
2件のコメント