
Dynamics 365 Business Central has an integration feature with Dynamics 365 Sales, which allows you to synchronize the data of BC and Sales. It is a feature that has existed for several years, and I have written an article explaining it in the past, but since “Common Data Service” has been replaced by “Dataverse” and various other changes have been made, I will explain the setup procedure again. All the steps are described with free trial version, so you can build your own environment by following the same steps.
This blog post is first article of the series, I will explain the steps to create a tenant and subscribe for the free trial version of Teams. The free trial of Teams is not required for the integration of Dyn365BC and Dyn365Sales, but it is more convenient to use Outlook (Exchange, to be precise) when experimenting with various types of integration, so I will add it. This free trial version of Teams is very good and worth reading for this blog article alone I think.
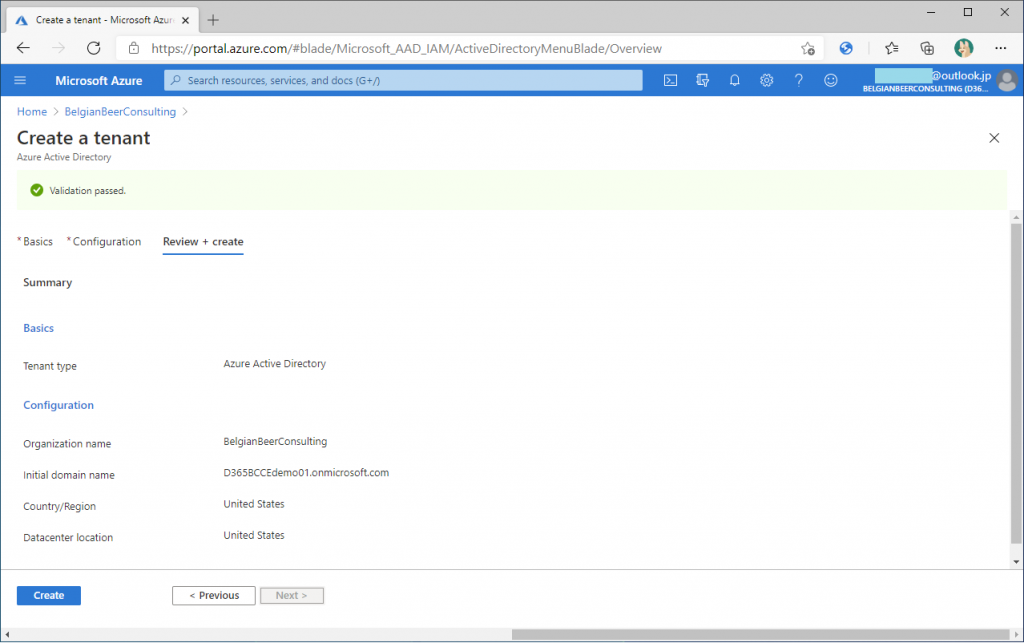
The first step is to create a tenant, you will need an organization account for the free trial of Dyne365BC and Dyn365Sales. The easiest way to do this is to create an Azure AD tenant. I used to create one by signing up for the free trial of O365, but I found that creating Azure AD on Azure portal is more easy way. You can create an Azure AD tenant with a Microsoft account. Sign in to Azure Portal with your Microsoft account and create a new Azure AD from the Azure AD blade . If you are Japanese, you should not choose Japan region. The key point here is to choose US region. It’s also OK to choose UK region, but if you choose Japan region, you will get an error message when you sign up BC free trial. (I hope the free trial will be available in Japan soon…)
Once you have created a tenant for the US region, create a user ID for that tenant. I recommend to create an Admin user for BC and an Admin user for Sales.
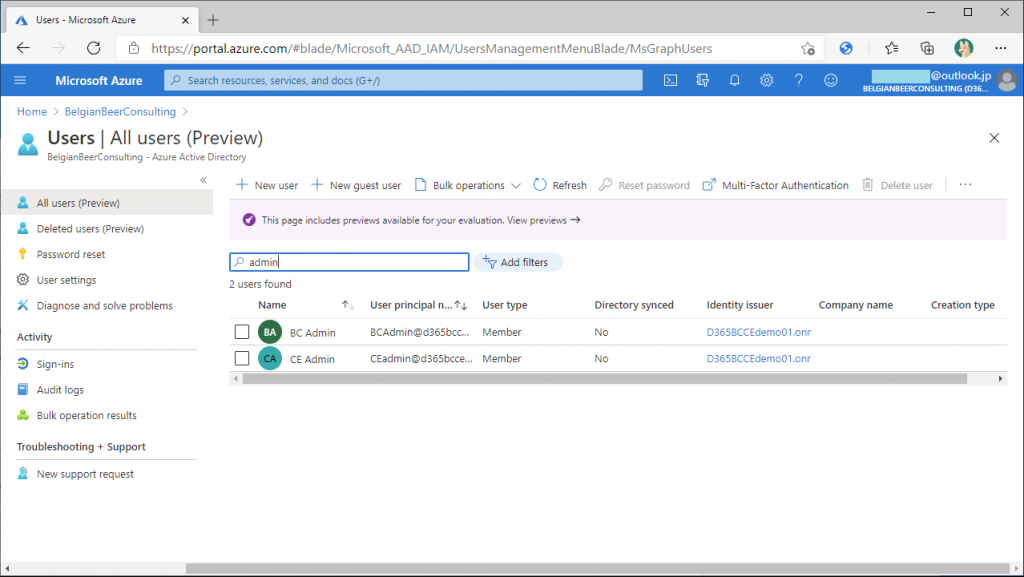
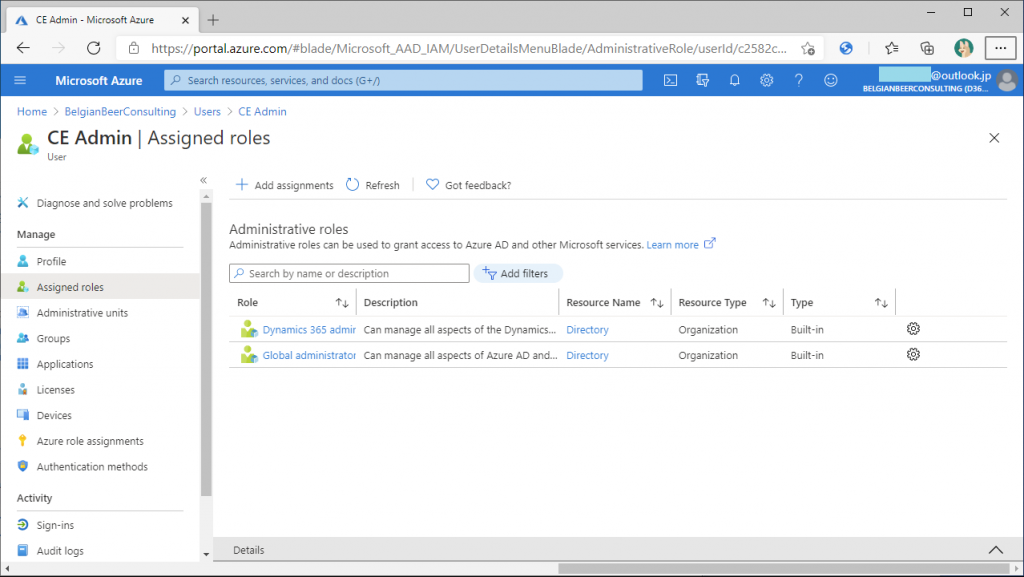
Both roles should be set to General Administrator, but it is also a good idea to set D365 Administrator. It should be included in the overall administrator, but just in case there was a time when we could not proceed without the D365 administrator, so I added it.
Tenant creation and user creation in Azure AD is now complete.
The next step is to sign up free trial of Teams. I did this procedure several times, and when I made some mistake in the procedure, I was not able to retry, so you need to do it one by one very carefully.
Start the browser in InPrivate mode. If the sign-in information of another tenant is still in the cache, and that tenant is already using Teams, in my experience it often doesn’t work. To be on the safe side, use InPrivate mode in Edge (or Secret Mode in Chrome). I think the best way is using new Edge and create a new profile and then do it. This is very convenient because it does not leave a cache and can remember passwords.
Access the following URL.
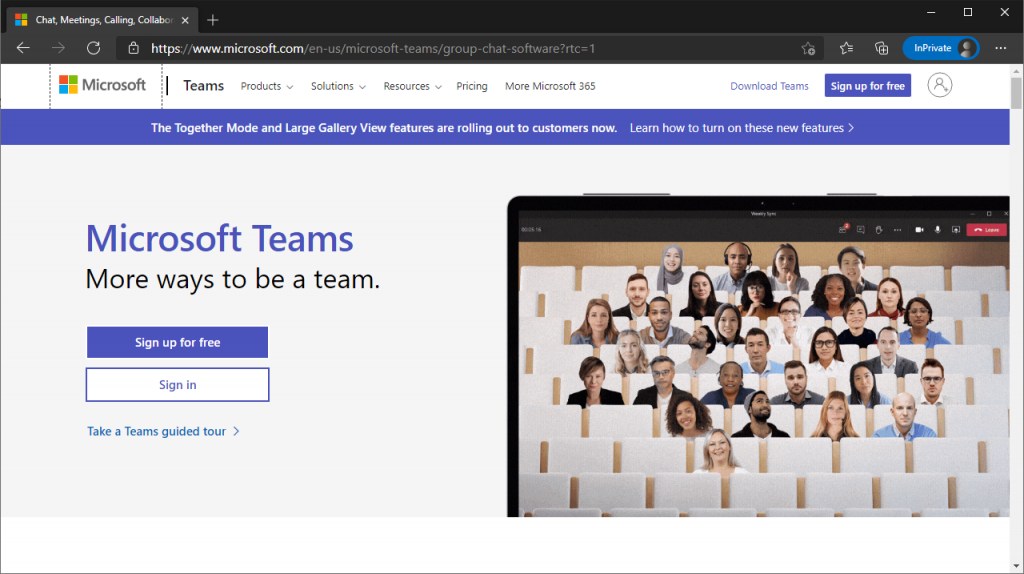
https://www.microsoft.com/en-us/microsoft-teams/group-chat-software?rtc=1
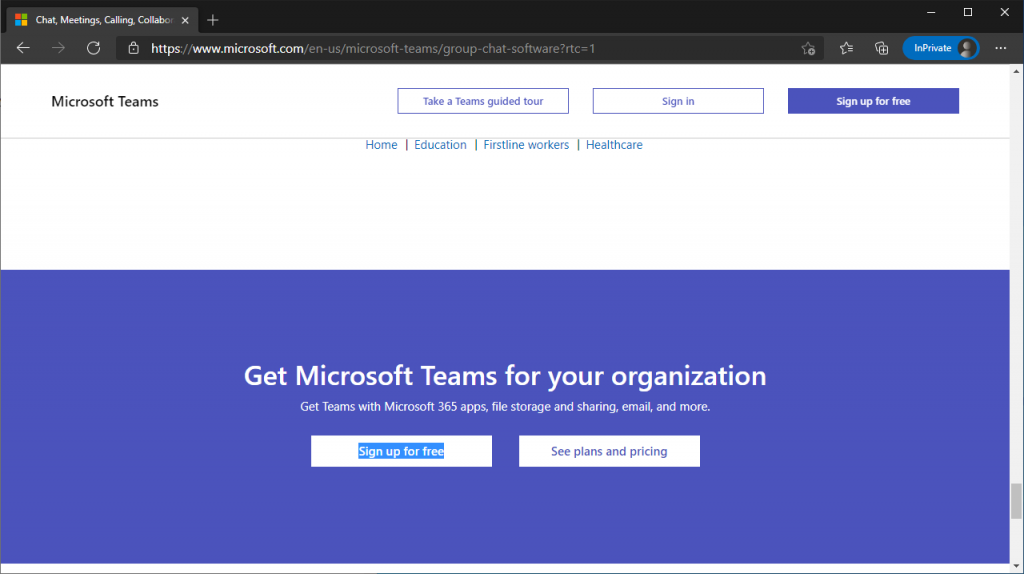
It is better not to press “Sign up for free” on the top of this page.
Scroll to the bottom of the page and click “Sign up for free” under Teams for Organizations.
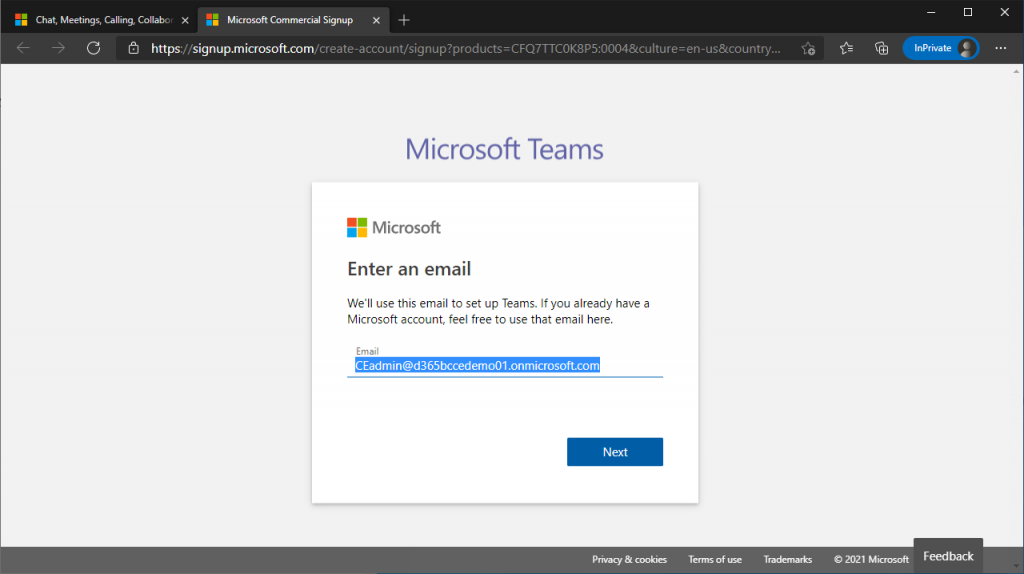
Then you will jump to this screen. Enter the user ID that you created previous step in creating Azure AD. Here is the URL as of Feb 2021, in case the screen transition changes in the future.
https://signup.microsoft.com/create-account/signup?products=CFQ7TTC0K8P5:0004&culture=en-us&country=US&lm=deeplink&lmsrc=NeutralHomePageWeb&cmpid=FreemiumSignUpFooter&ali=1
Enter your password and sign in.

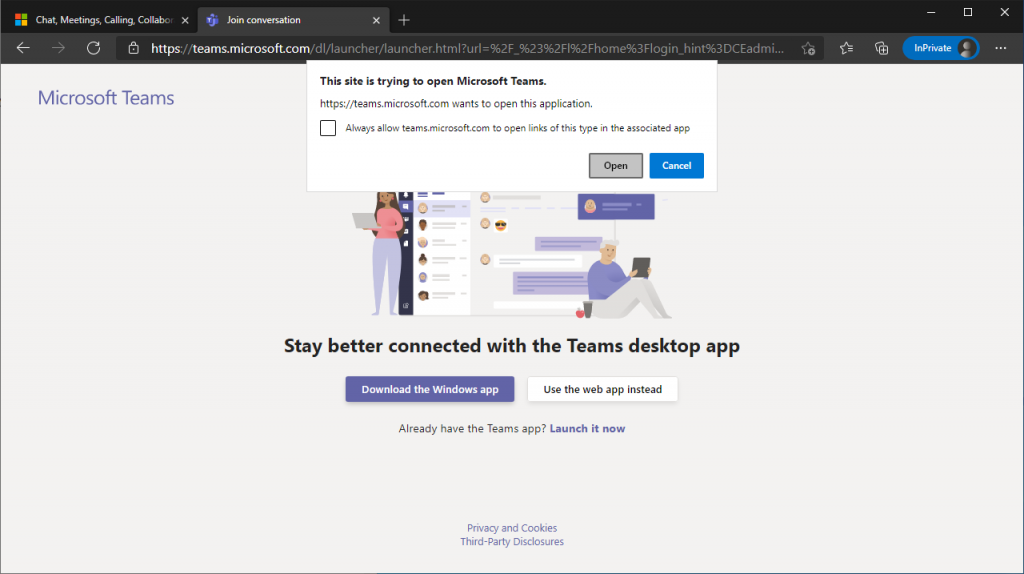
You will now see the following page, asking if you want to continue in the web browser or in the client app. Stop at this point and sign out of Teams in the client app if you are signed in. If you continue the following procedure with signed in status, you will fail.
Once you have signed out of Teams in the client app, click “Open” in pop-up of the browser. This means you chose to continue in the client app. Note that if you select “Use the web app Instead” in the middle right of the screen, you might fail in my experience.
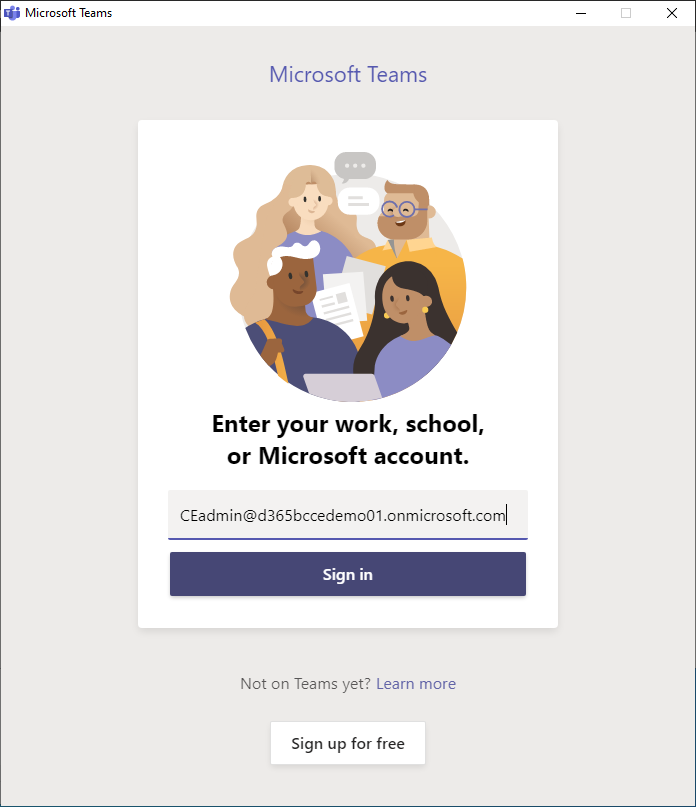
The client Teams application will be launched and you will be asked to sign in. Now, sign in using the user ID you created in AzureAD. Enter your user ID and click Sign in.
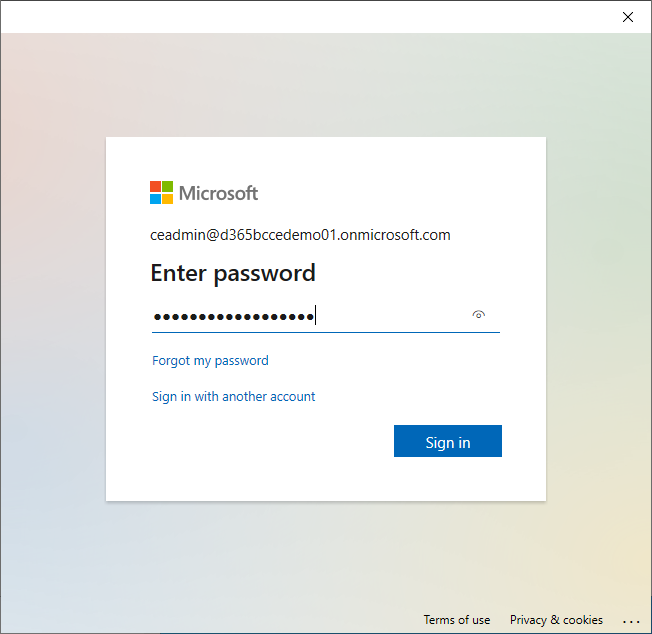
Enter your password and click Sign in.
This is your choice as you like. I left it unchecked and chose “No, sign in to this app only”.

At first glance, it looks like an error, but it’s okay. In some cases, the error does not appear. If not, it’s OK.
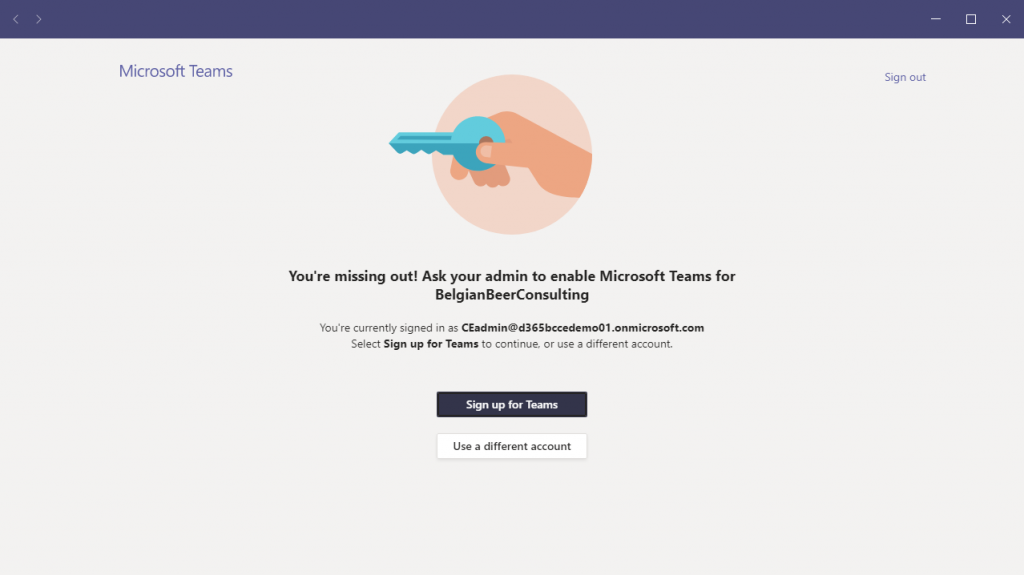
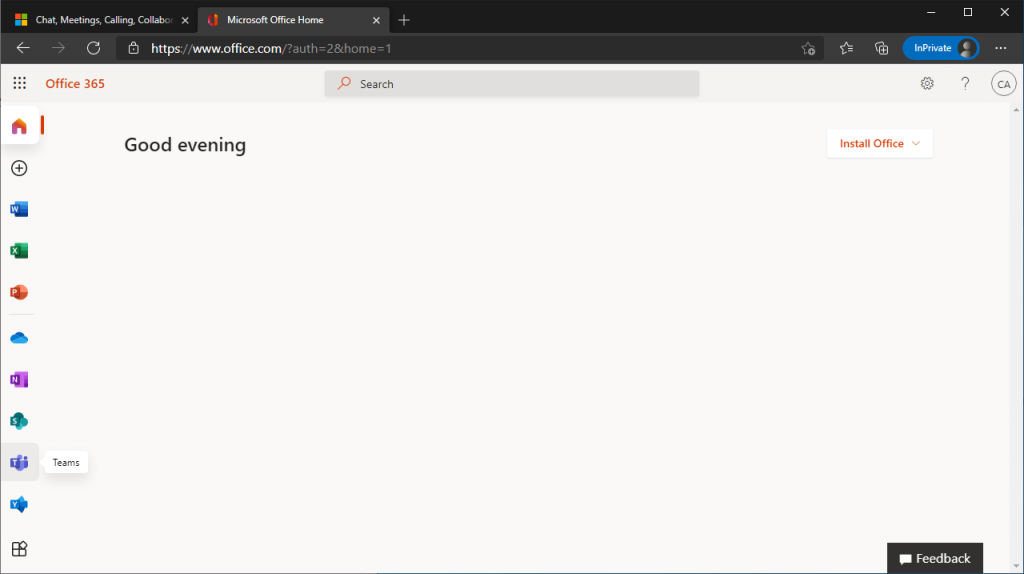
Go back to your browser and sign in as usual from the O365Portal. You will see the icons for the various apps including Teams, then your sign up procedure for Teams free trial is successfully completed.
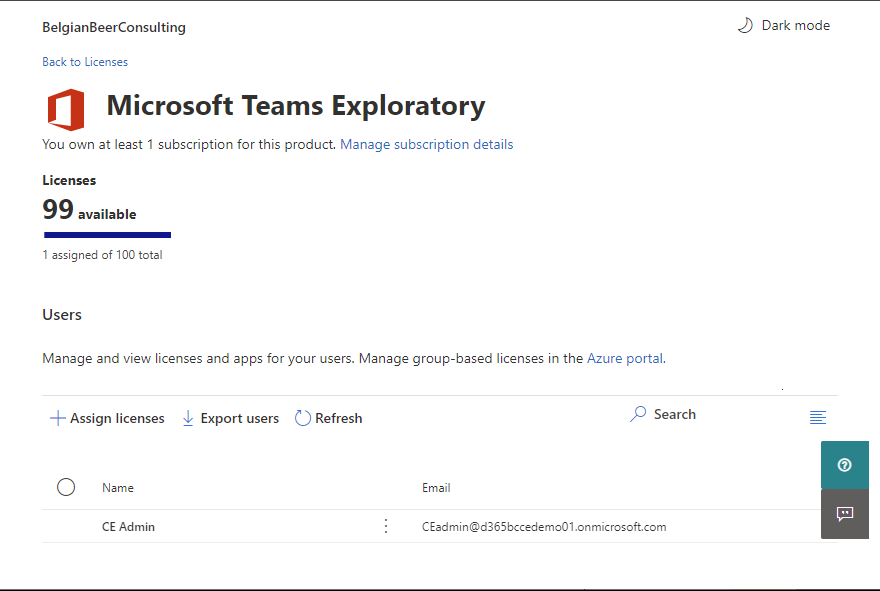
Go to the M365 admin center and click on the Licenses tab on the left pane and check your licenses, you will see that you have a Microsoft Teams Exploratory license and one license out of 100 is assigned to you. Click on the “Microsoft Teams Exploratory” link.
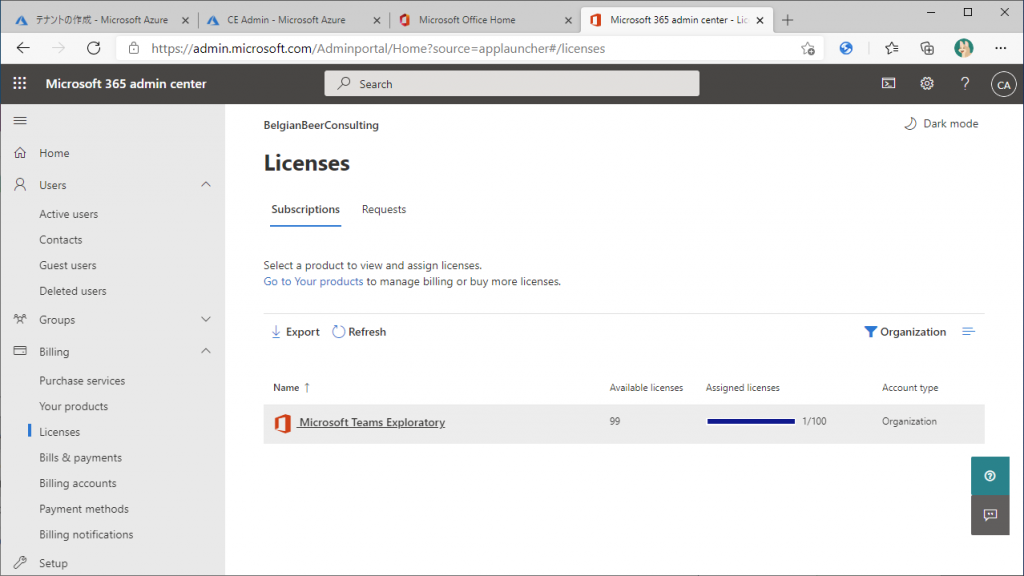
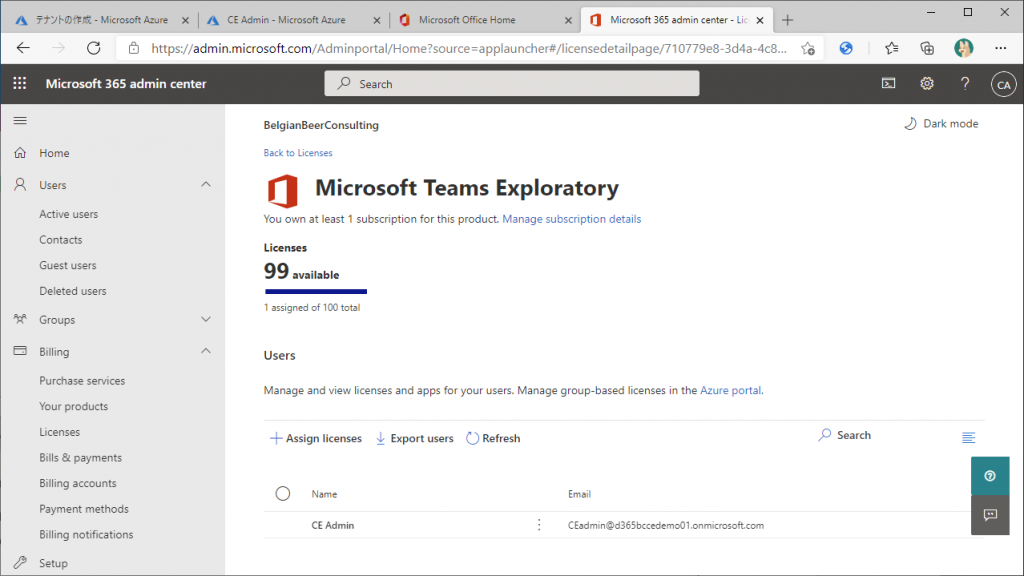
You can see one user is assigned to this license. That’s the current user. Click on “+Assign Licenses” to assign it to the other user you have created.
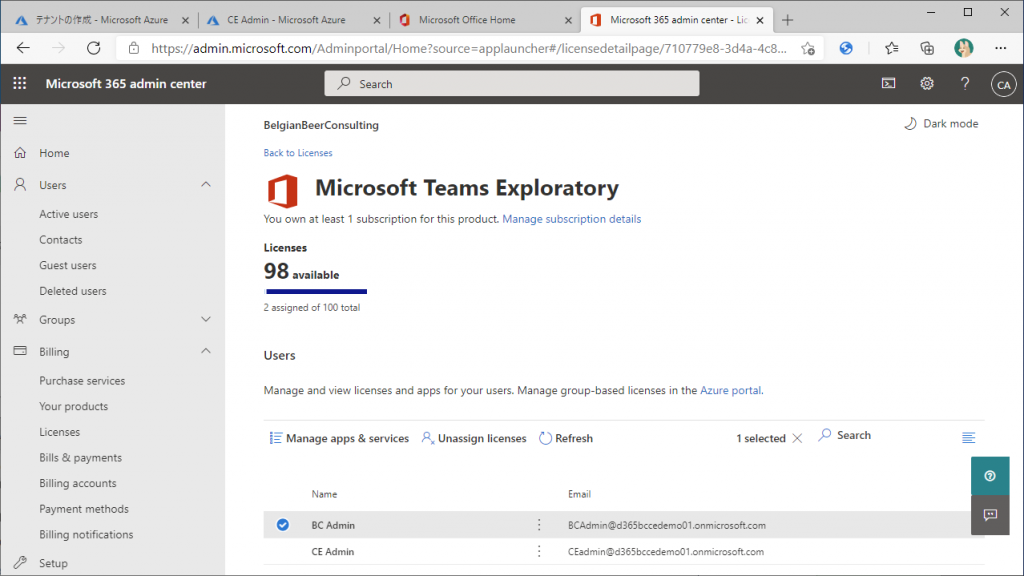
Two admin user have been assigned to the license.
One thing to note here is that Exchange Online is turned off by default for users who have signed up for the free trial of Teams. This is a mystery because it is assigned to users who are added later. From the license page, select the user and set Exchange Online to On. Now both users will be able to use email.

I won’t explain too much detail, but the free version of Teams has very high specifications. If your company is not sure where to start with teleworking, I think it would be a good idea to start with the free trial of Teams for your organization.
In the next article, we will explain how to sign up for a free trial of Dynamics 365 Sales and set up user roles.