
Continuing from the previous article, in this blog post I’m going to sign up for a free trial of Dynamics 365 Sales and set up my user role. It comes with other CRM applications (Field Service, Customer Service, etc.) as well.
You can sign up for a free trial by clicking the link below.
https://trials.dynamics.com/dynamics365/signup
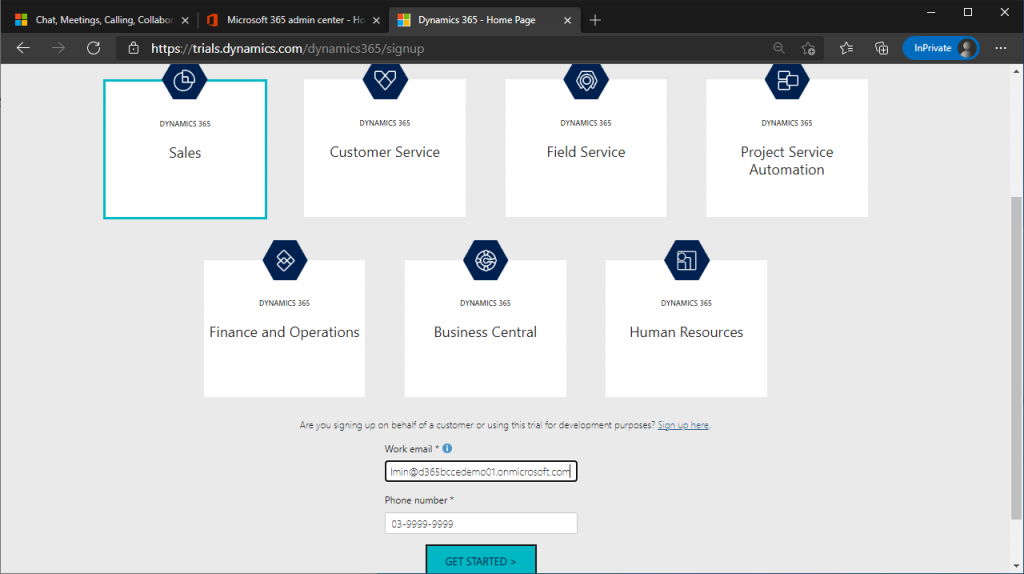
Select Sales in the upper left side, specify the user ID you created last time in “Work email”, enter your phone number, and click Get Started.
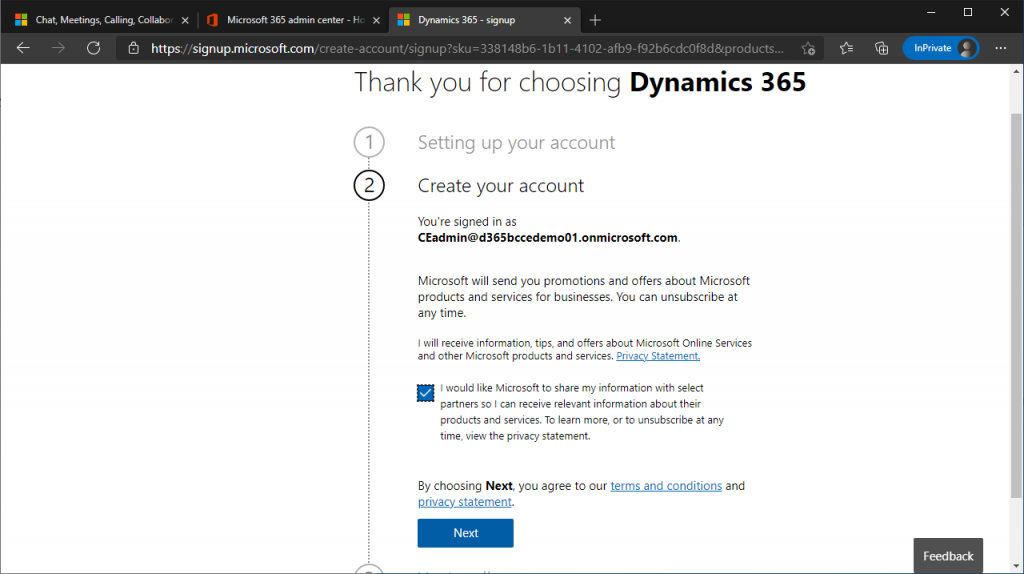
Then the sign-up procedure for the free trial will be executed as shown below. Check On and click the Next button.
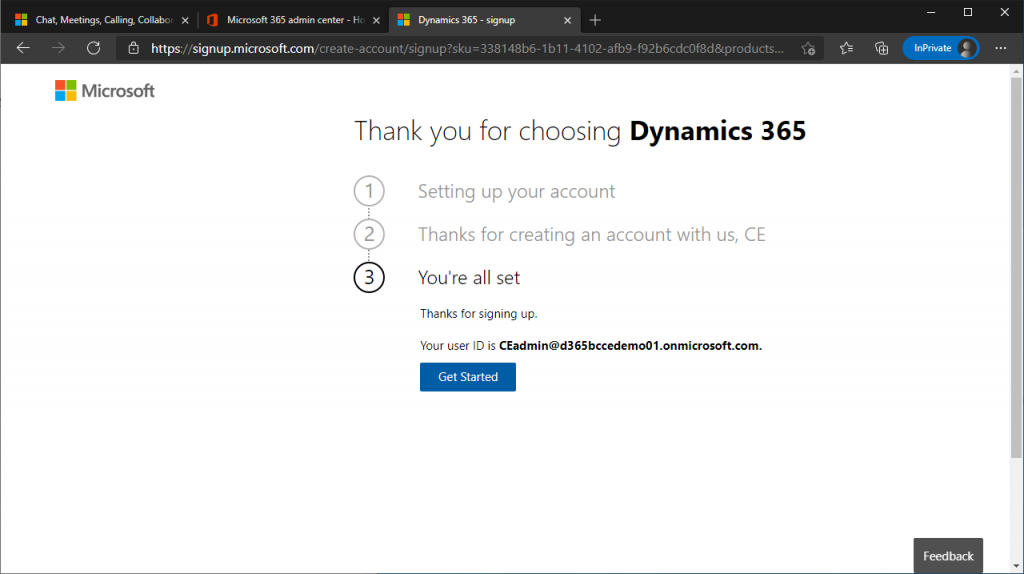
After a short wait, you will see this page and click Get Started.
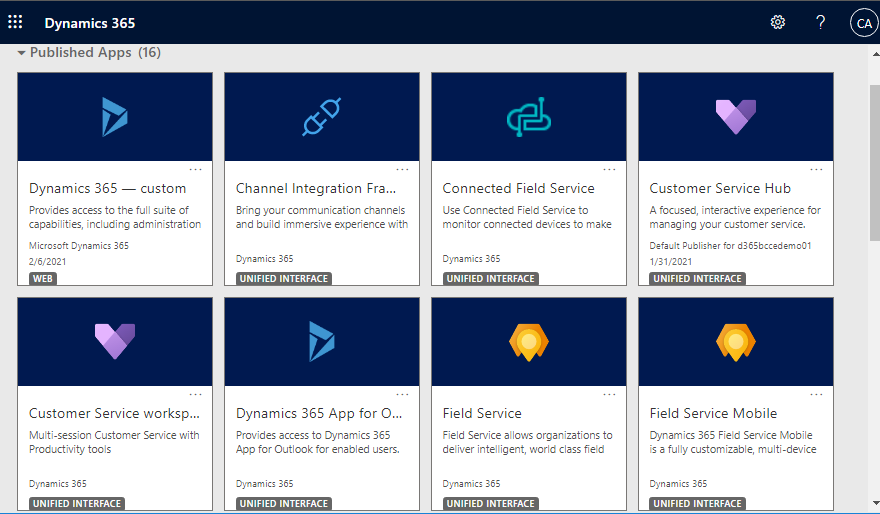
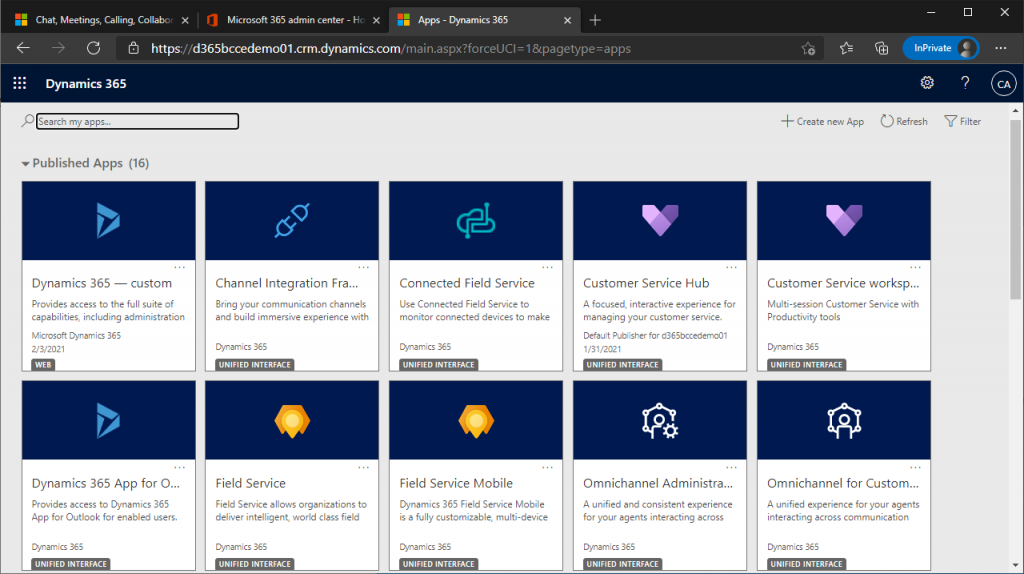
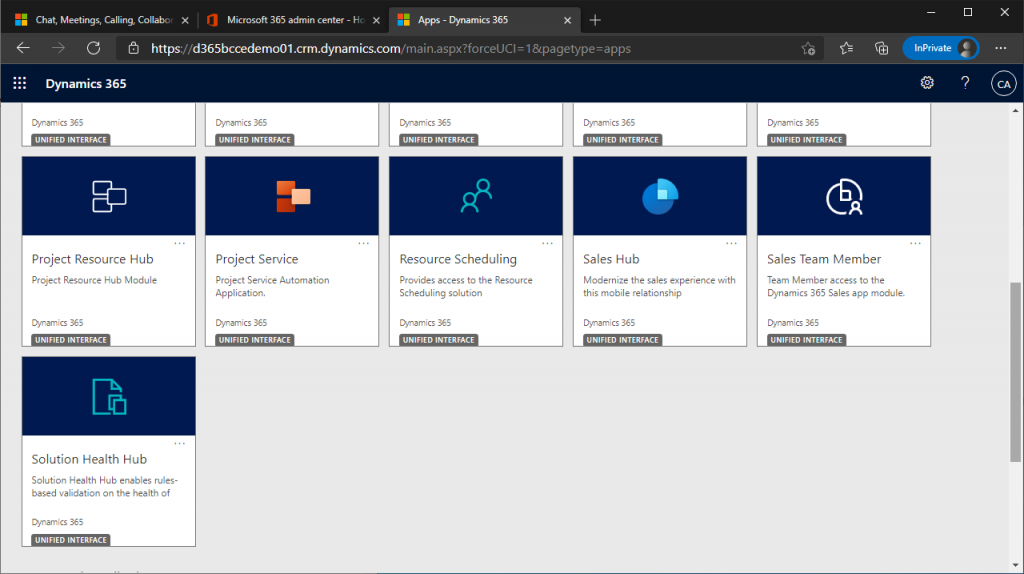
The app list page appears. All CRM apps are included including Sales. Two years ago, when I tried it out, only the apps that were checked on were installed: Sales, Customer Service, Field Service, and Project Automation. 2 years have passed, I realize that bunch of apps have increased considerably.
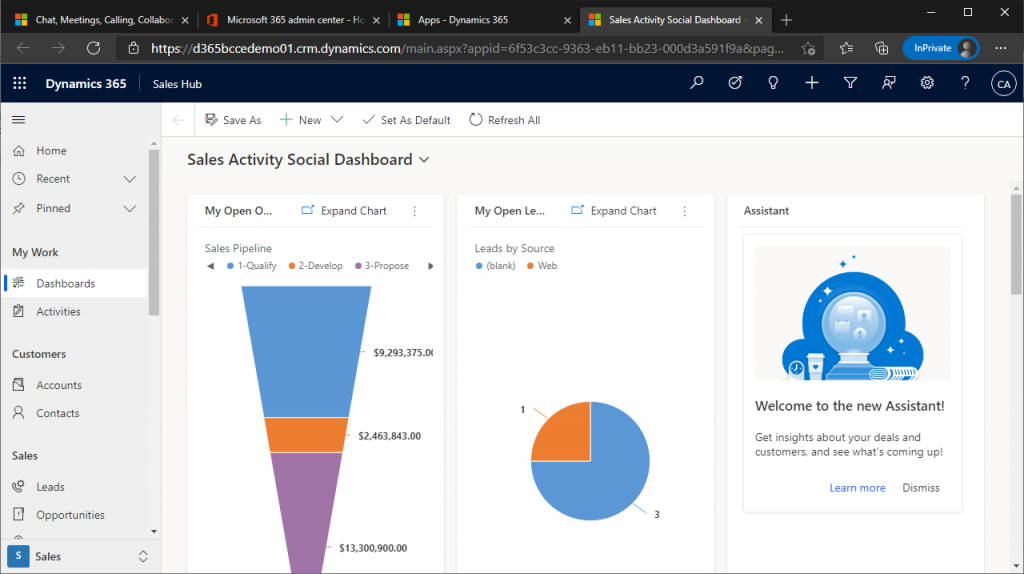
Scroll down. Now click on Sales Hub to open the Sales app. (It also opens in the top left corner of the previous image, but you’ll get a message to use the new one since it’s in the old format.
This is a page of the Sales app. The menu on the left side looks like the Dashboard screen. There is also some nice sample data in there.
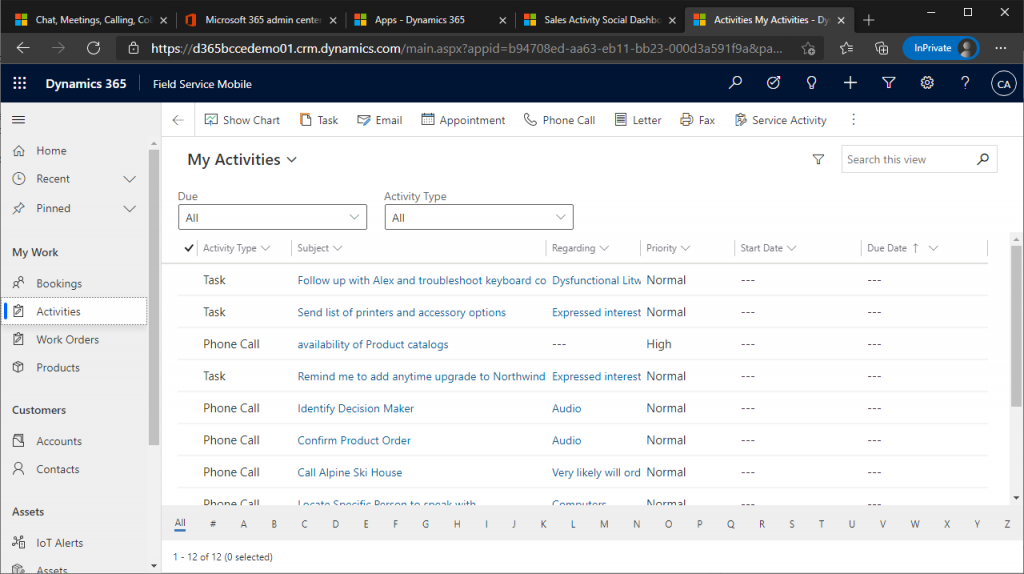
Click on “Activities” in the left pane. You will find a variety of sample data. It’s very nice because what’s hard about the free trial is that I don’t know how to make sample data and it sometimes breaks my heart.
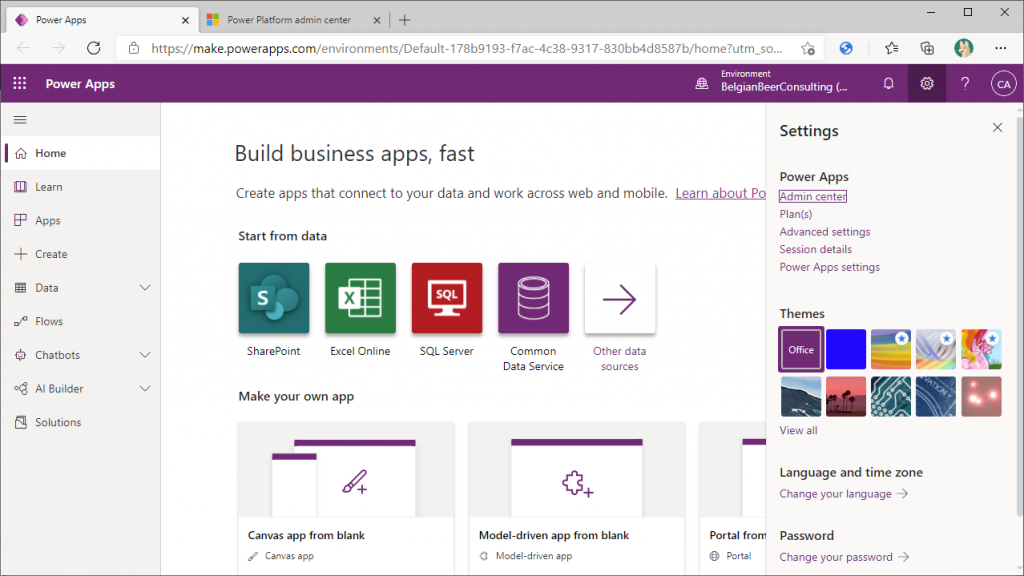
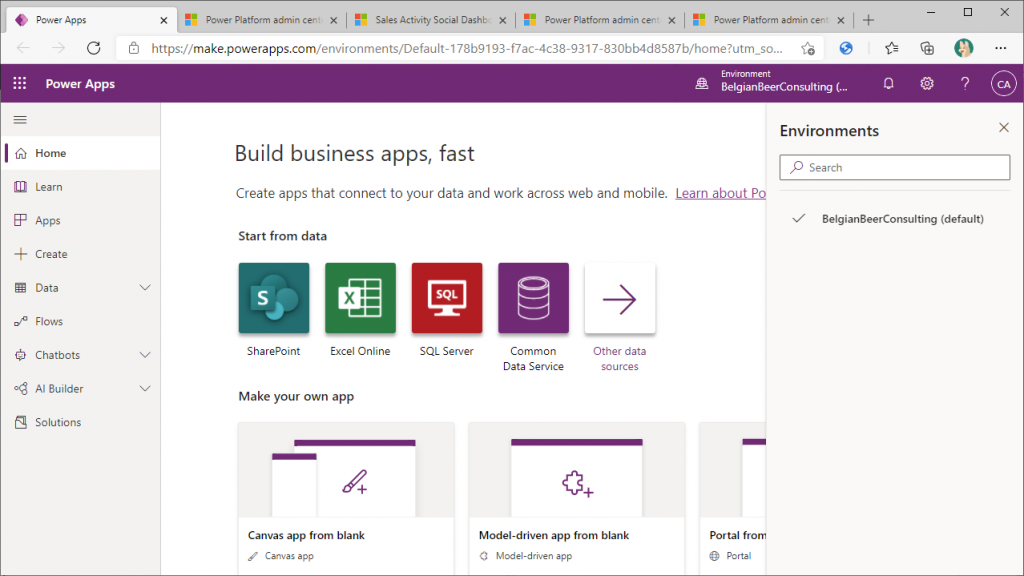
Now, let’s see what happens from the Microsoft 365 side. Sign in to M365 and launch PowerApps. Sign in to M365 and launch PowerApps, then click the gear icon in the upper right corner and click “Admin Center.
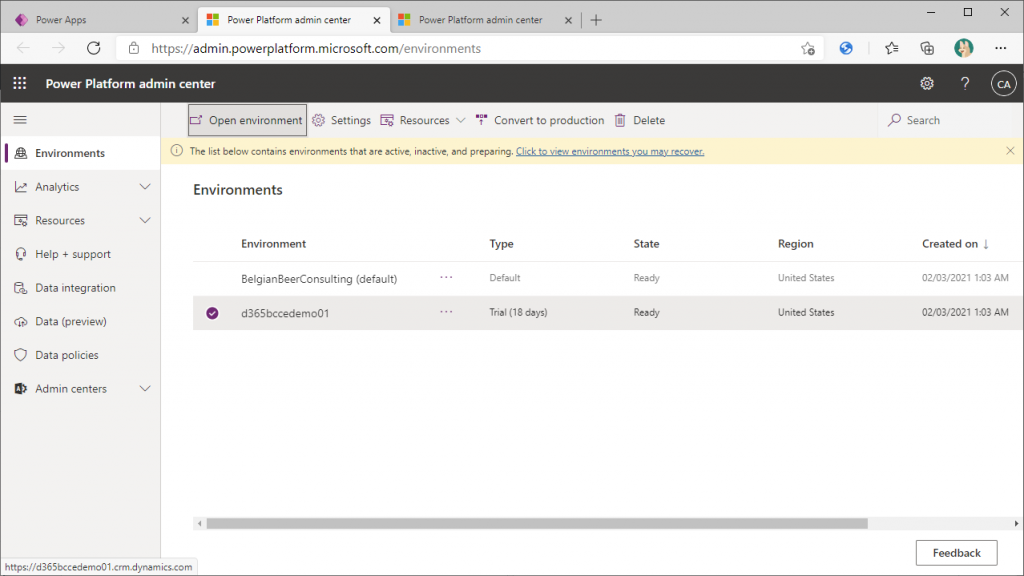
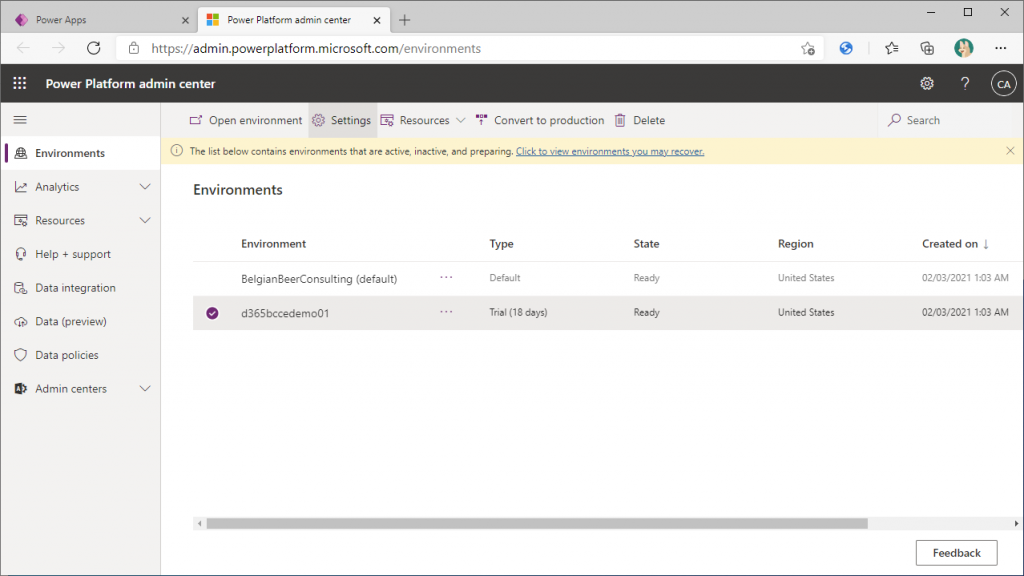
As shown below, the Power Platform admin center page will open, and a list of environments will be displayed. As you may know, this is not a list of Power Apps environments, but a list of Power Platform environments, and the one that is not “default” is the environment that was created by sign up for the free trial of Sales. The one that is “default” is created by sign up for the free trial of Teams. Click on the non-default environment and select “Open Environment” from the menu.
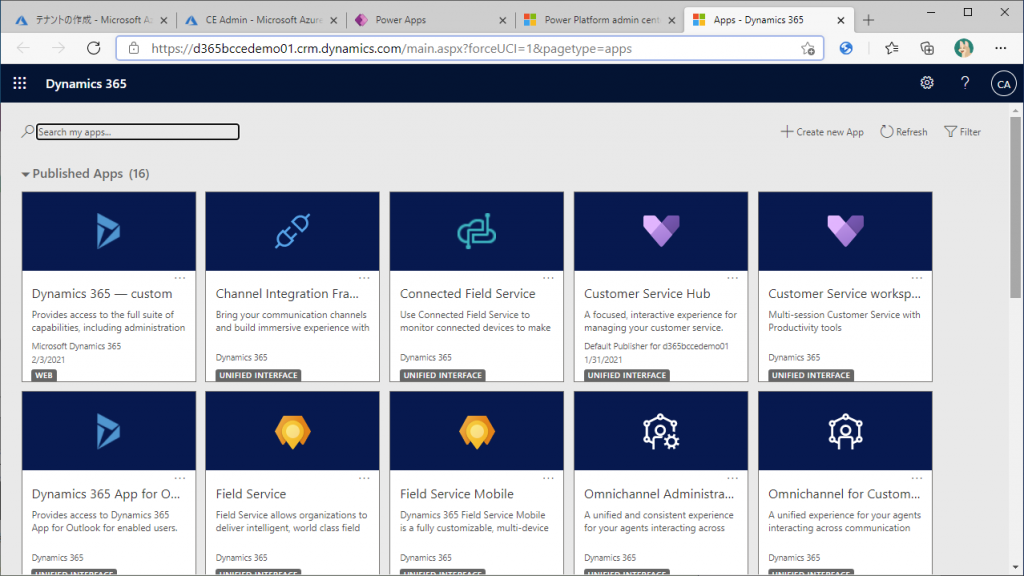
Then, the list of apps that we saw earlier is displayed.
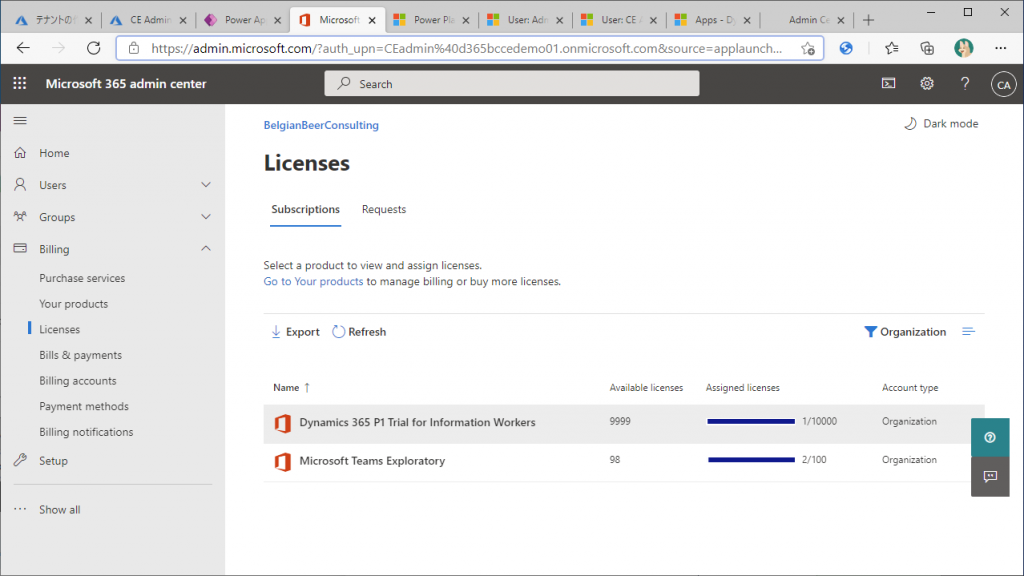
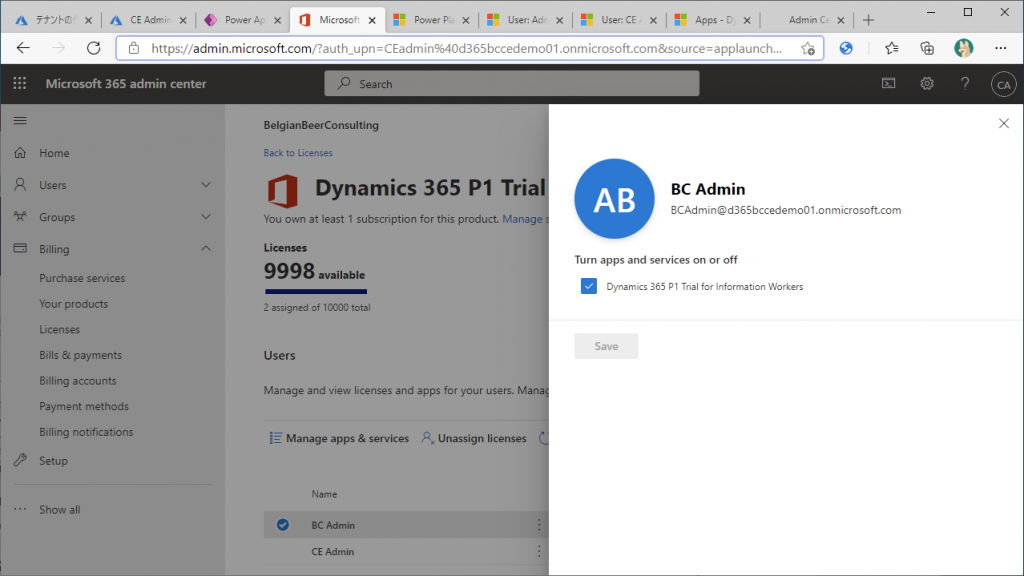
Go to the M365 admin center and click on Licenses under Billing in the left pane, you will see that you have been granted 10000 Dynamics 365 P1 Trial for Information Workers licenses. (I think the maximum number of licenses that can be allocated is 25.)
Let’s assign a license to another admin user ID as well.
In the Power Apps page, the current environment is displayed on the left side of the gear icon in the upper right corner. If I click on this, the environment for Sales should appear… but it doesn’t.
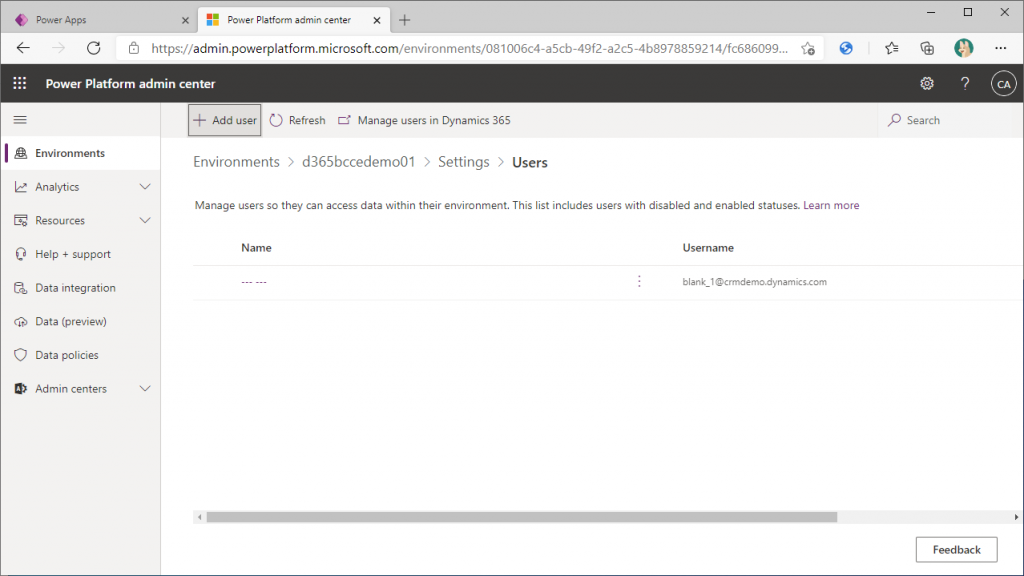
This is because there are not enough user roles to have for each environment. Select the environment for Sales from the list of environments and click “Settings” in the menu at the top.
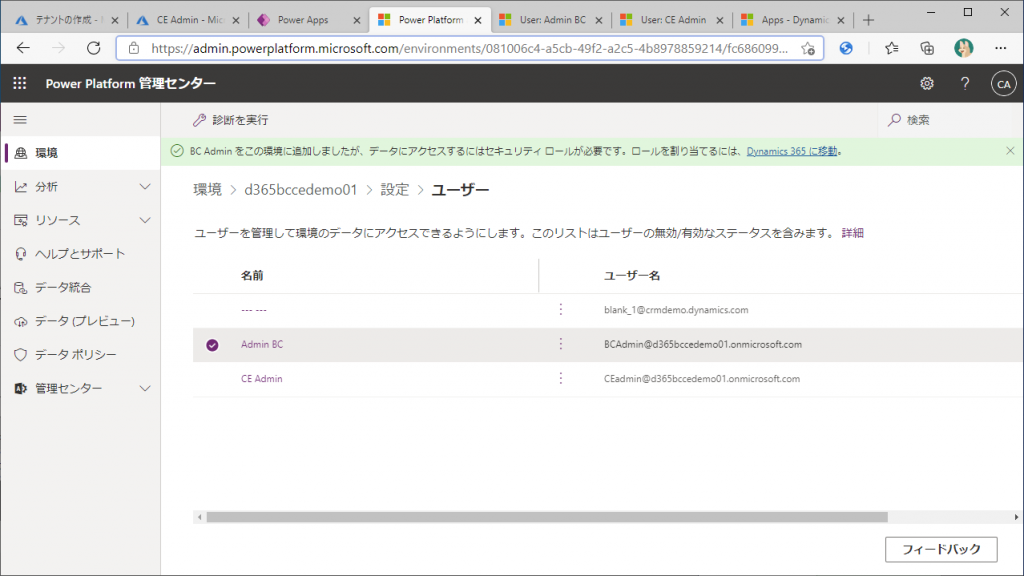
Expand “Users + permissions” and click “Users”.

You will then see a list of users who have access to this environment. Click on “+Add user” at the top.
Add a user ID on the right side. First, Add the user who is currently signed in. Specify the user and click “Add” at the bottom right.
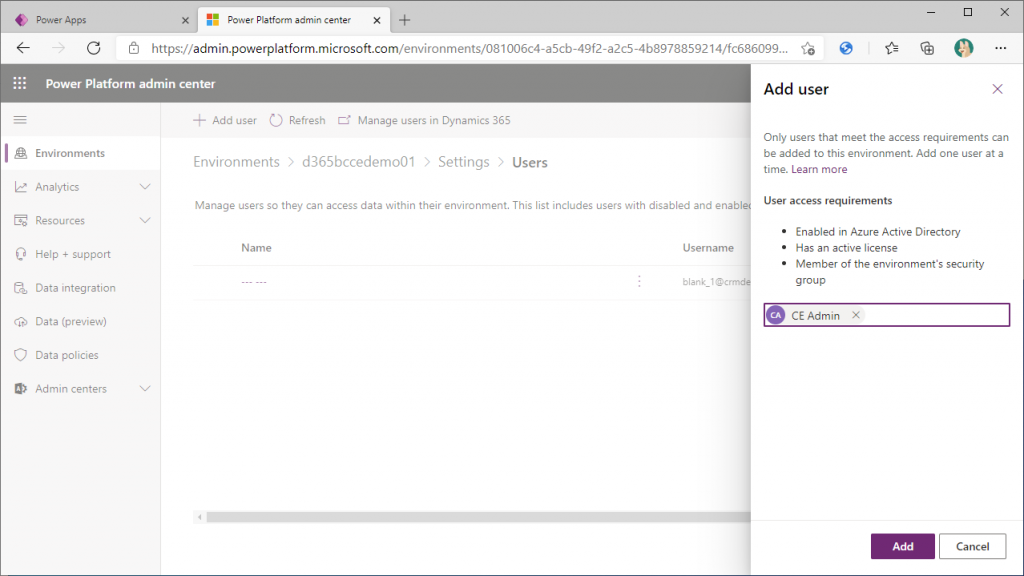
It will then ask you if you want to assign a role. It will ask you to do so. I want to add it, so I click on “Go to Dynamics 365”.
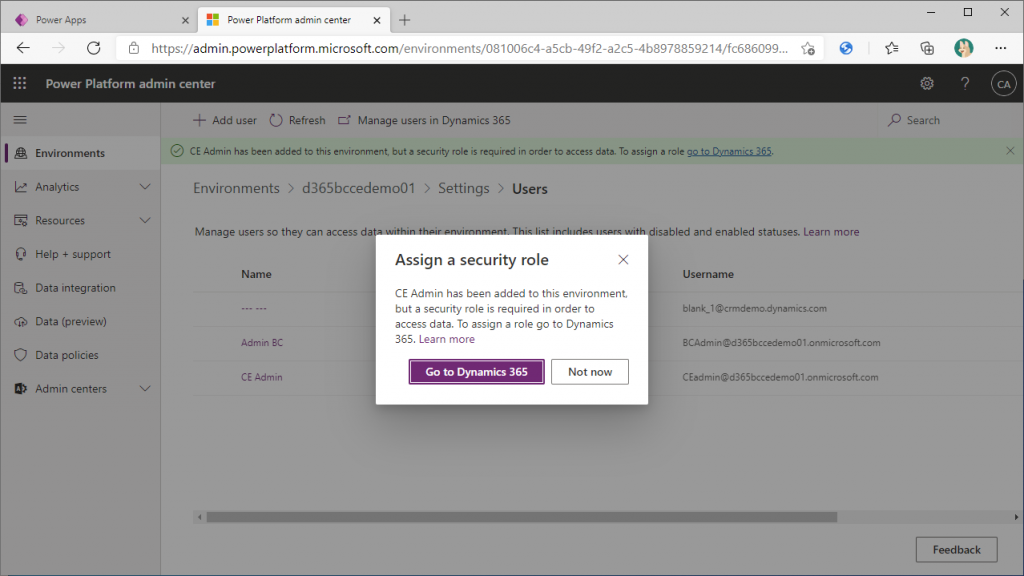
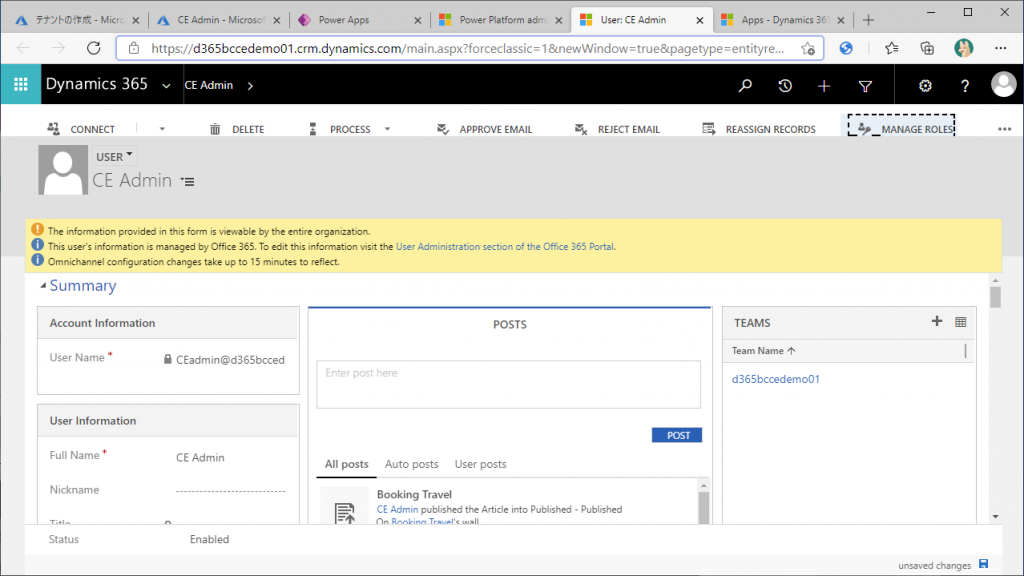
You will then see the following screen. You will see the user you added (now the currently signed-in user). Now click on “Manage Roles” from the menu at the top.
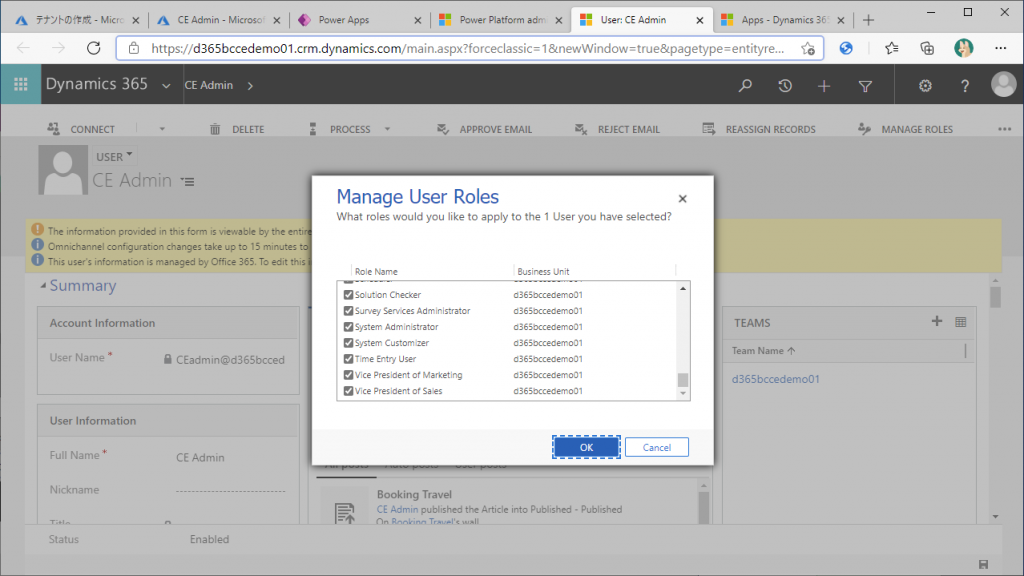
For now, check all of them ON. For production use, you should narrow down the checkboxes, but for evaluation, it is better to turn them all on.
Add another user ID as well, and assign all the roles.
That’s all for setting the Sales side (technically CRM side, or Power Platform). You’ll need to remember the role assignment part, as it comes up a lot in the integration setup. (You’ll get used to it as you go along.)
Next blog post , it’s time to sign up for a free trial of BC.
1件のコメント